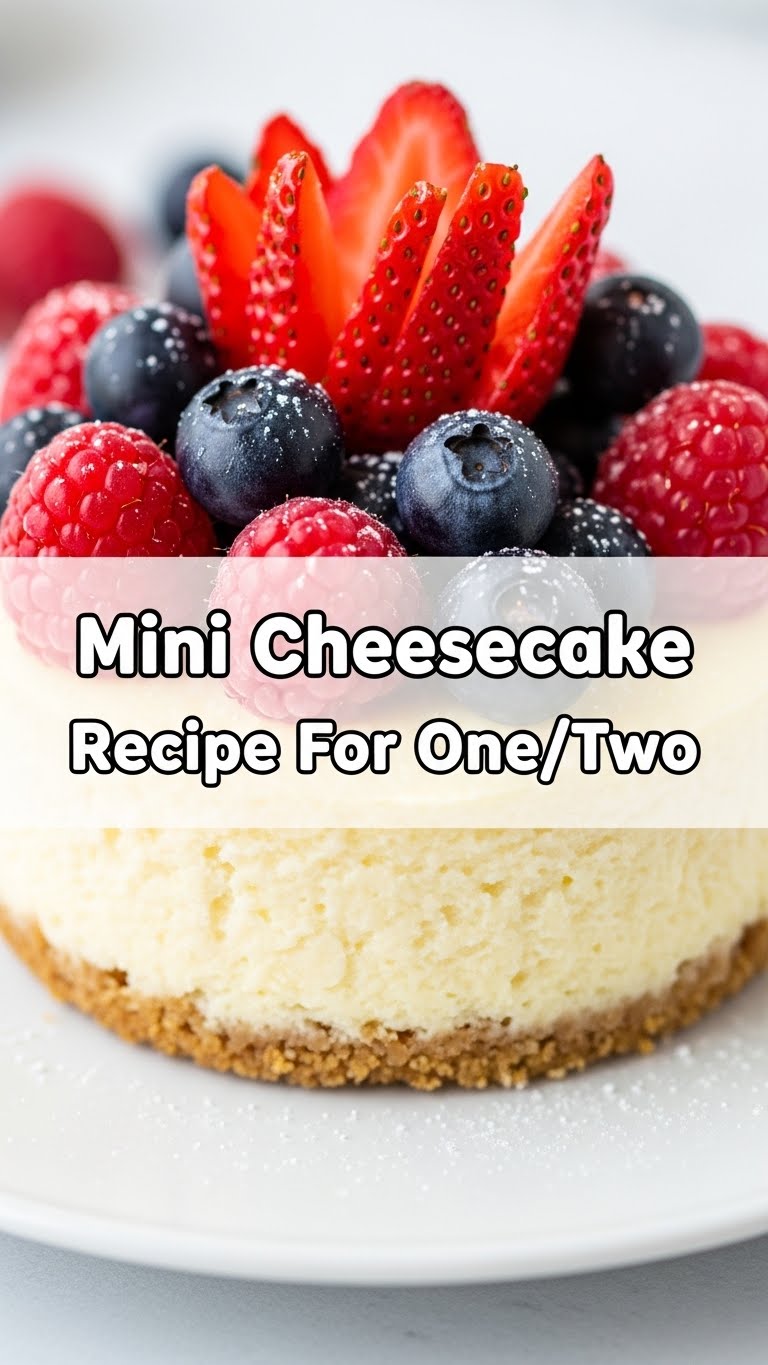
So you’re craving something tasty but too lazy to spend forever in the kitchen, huh? Same. You’ve scrolled through enough Pinterest boards to know that making a full cheesecake is a commitment. A delicious, creamy, potentially pants-tightening commitment. But what if you just want a little slice of heaven without the commitment issues or the mountainous pile of dishes? Enter the Mini Cheesecake for One (or Two, if you’re feeling generous, *wink*). This isn’t just a recipe; it’s a life hack for immediate dessert gratification!
Why This Recipe is Awesome
Let’s be real, this isn’t just any recipe; it’s practically a superhero in the dessert world. First off, it’s portion control perfected. No more “just one more slice” turning into half a cheesecake disappearing into the void (your stomach). Plus, it’s pretty much idiot-proof. Seriously, even I, a seasoned pro at burning water, have mastered this. It’s quick, uses minimal dishes, and looks way fancier than the effort actually required. It’s perfect for those sudden “I need cheesecake NOW” moments or impressing a date without breaking a sweat. You get all the creamy, dreamy cheesecake vibes without the existential dread of baking a whole one.
Ingredients You’ll Need
Gather ’round, my sweet-toothed companions! Here’s what you’ll need to whip up this little marvel. Don’t worry, it’s all super basic stuff, probably lurking in your fridge right now.
- 1-2 Graham cracker sheets: Or about 2 tablespoons of pre-crushed crumbs. No shame in the pre-crushed game!
- 1 tablespoon unsalted butter: Melted. And yes, please use real butter. Don’t hurt your soul with margarine, okay?
- 4 oz cream cheese: Make sure it’s full-fat and softened to room temperature. This is crucial, my friends.
- 2-3 tablespoons granulated sugar: Depending on how sweet you like your life.
- 1/2 teaspoon vanilla extract: The good stuff, none of that imitation nonsense.
- 1 small egg yolk: Just the yolk! Saves you from having to figure out what to do with a random egg white.
- A tiny squeeze of lemon juice (optional, but highly recommended): Like 1/4 teaspoon. It brightens everything up and makes it taste super professional.
- Pinch of salt: Balances the sweetness. Trust me on this one.
- Toppings (optional, but encouraged): Fresh berries, chocolate syrup, caramel, whipped cream, sprinkles… the world is your oyster (a delicious, sweet oyster).
Step-by-Step Instructions
Alright, apron on (or not, we’re friends here), let’s get baking! Remember, active voice and good vibes only.
- Get Your Oven Ready: Preheat your oven to 325°F (160°C). Grab a ramekin (about 4-6 oz) or an oven-safe small dish.
- Crust Time: Crush your graham crackers into fine crumbs. Mix them with the melted butter until it looks like wet sand. Press this mixture firmly into the bottom of your ramekin. Bake the crust for 5-7 minutes until it’s lightly golden. Pull it out and let it cool a bit while you make the filling.
- Cream Cheese Magic: In a small bowl, beat the softened cream cheese with the sugar and salt until it’s super smooth and creamy. No lumps allowed!
- Add the Goodies: Stir in the vanilla extract, lemon juice (if using), and then, importantly, the egg yolk. Mix just until combined. Don’t overmix! Overmixing introduces too much air and can cause cracks.
- Assemble Your Masterpiece: Pour the creamy filling over your pre-baked crust in the ramekin. Give it a gentle tap on the counter to release any air bubbles.
- Bake It Baby: Carefully place the ramekin in the preheated oven. Bake for about 20-25 minutes. You’ll know it’s done when the edges are set but the center still has a slight wobble.
- Cool Down: Turn off the oven, crack the door slightly, and let your mini cheesecake chill out in there for about 15-20 minutes. This helps prevent cracking. Then, remove it and let it cool completely on a wire rack.
- The Ultimate Chill: This is arguably the most important step for cheesecake. Once completely cool, cover your mini cheesecake and refrigerate it for at least 2 hours, or even better, overnight. Patience is a virtue here!
- Topping Extravaganza: Once thoroughly chilled, unleash your creativity with toppings! Berries, chocolate, whipped cream – make it yours.
Common Mistakes to Avoid
We all make mistakes, darling, but let’s try to avoid these common cheesecake pitfalls, shall we?
- Cold Cream Cheese: Trying to mix cold cream cheese is like trying to reason with a toddler – it just won’t go smoothly. Always let it soften!
- Overmixing the Batter: I know, it’s fun to beat things. But overmixing incorporates too much air, which expands during baking and then collapses, leading to cracks. Mix just until combined.
- Skipping the Chill Time: I get it, you want to eat it NOW. But seriously, **chilling is non-negotiable**. It allows the cheesecake to firm up, develop flavor, and get that perfect creamy texture. Warm cheesecake is just… sad.
- Not Preheating the Oven: Rookie mistake! A properly preheated oven ensures even baking from the start.
- Opening the Oven Door Too Much: Every time you peek, the temperature drops, messing with your cheesecake’s delicate structure. Be strong, resist the urge!
Alternatives & Substitutions
Feeling adventurous? Or just missing an ingredient? No stress, we’ve got options!
- Crust Control: Don’t have graham crackers? No problem! Use crushed Oreo cookies (cream and all, for a chocolatey base), Biscoff biscuits, or even ginger snaps for a spicy kick. Adjust butter as needed to get that wet sand consistency.
- Flavor Frenzy: Want to switch it up? Add a teaspoon of cocoa powder to the filling for a chocolate cheesecake. Or a tiny bit of lemon zest instead of juice for more zing. You could even swirl in some fruit preserves before baking.
- Egg-free? If you prefer to avoid eggs, you can omit the egg yolk. The texture will be a little softer, more like a no-bake cheesecake, but still delicious!
- Sweetener Swap: You can experiment with brown sugar for a richer, more caramel-like flavor, or even a sugar substitute if you’re watching your intake (though, IMO, a little sugar is part of the fun!).
FAQ (Frequently Asked Questions)
Got questions? I’ve got answers, delivered with a side of sass.
- Can I use margarine instead of butter? Oh, sweet summer child. You *can*. You technically *can* drive your car on square wheels too. But why would you want to? For the best flavor and texture, **stick with real butter**. Your taste buds will thank you, and honestly, so will I.
- What if I don’t have a ramekin? No ramekin, no problem! You can use any small, oven-safe dish or even a large muffin tin liner (just make sure it’s sturdy). The bake time might vary slightly, so keep an eye on it.
- How long does this mini cheesecake last? If you manage not to devour it immediately (good luck!), it’ll keep well covered in the fridge for about 3-4 days. But let’s be real, it won’t last that long.
- Can I make a larger batch? Absolutely! Just multiply the ingredients and use appropriately sized baking dishes. You’ll need to adjust the baking time, likely increasing it.
- I forgot to soften my cream cheese, now what? Don’t panic! You can unwrap it and microwave it on low power (like, 10-15 seconds) until slightly soft, or put it in a bowl in a warm water bath for a few minutes. Just don’t melt it!
- Why did my cheesecake crack? Ah, the age-old question. Usually, it’s either overmixing the batter, baking at too high a temperature, or a drastic temperature change (like pulling it out of the oven too quickly). Next time, try to be more gentle and let it cool slowly!
Final Thoughts
So there you have it, folks! Your new go-to recipe for when you need a little something sweet, but don’t want to commit to a full-blown baking project. This mini cheesecake is the perfect balance of indulgence and ease. You’ve now unlocked the secret to quick dessert gratification and earned yourself some major culinary street cred. Now go impress someone—or yourself—with your new culinary skills. You’ve earned it!


