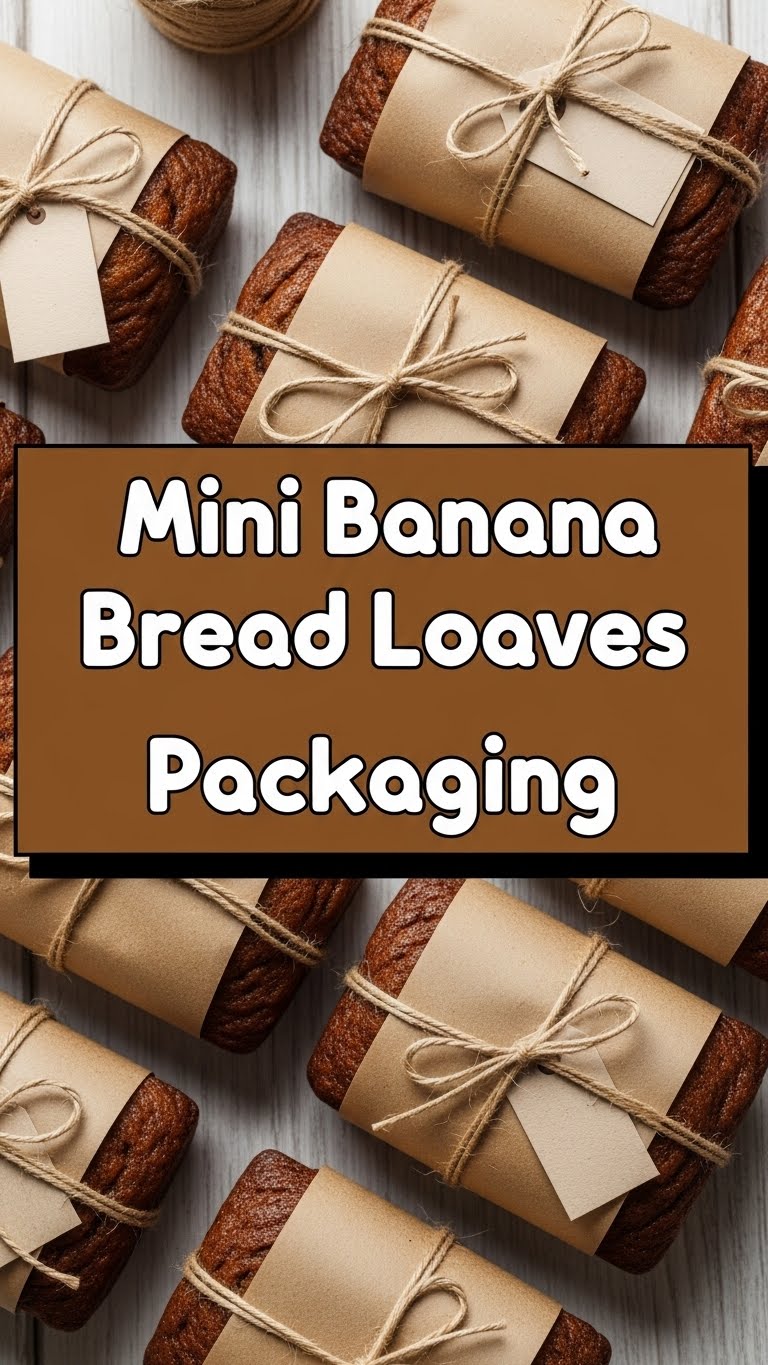
So, you’ve got those suspiciously brown bananas sitting on your counter, looking all sad and mushy, right? And your brain goes, “Banana bread!” But then your *other* brain goes, “Ugh, a whole loaf? That’s too much commitment!” Fear not, my friend, because today we’re diving headfirst into the glorious world of **Mini Banana Bread Loaves**! Think all the cozy comfort of banana bread, but in cute, personal-sized packages perfect for sharing (or, let’s be real, hoarding).
Why This Recipe is Awesome
Okay, let’s get real. Why bother with mini loaves when you could just make a giant one and call it a day? Because, my dear friend, these little guys are **game-changers**. First off, they bake faster – hello instant gratification! Secondly, they’re perfect for portion control (which we’ll ignore completely, because who stops at one?). But most importantly, they’re **basically designed for gifting**. Wrap ’em up in some cute parchment, tie with a little twine, and boom! You’re suddenly Martha Stewart without all the prison time. Plus, it’s pretty much idiot-proof. Seriously, I made these after a long day and didn’t even mess them up. That’s a testament.
Ingredients You’ll Need
Gather your squad, because we’re about to make some magic happen. No fancy stuff here, just your everyday kitchen heroes.
- 2-3 super ripe bananas: The browner, the better! We’re talking practically black. Don’t be scared, that’s where all the flavor lives.
- 1/2 cup (1 stick) unsalted butter: Melted and cooled. Because butter makes everything better, duh.
- 1 large egg: Room temp, if you’re feeling fancy (and want better emulsification, FYI).
- 1 teaspoon vanilla extract: Pure vanilla, none of that imitation nonsense.
- 1 cup all-purpose flour: The backbone of our bread.
- 1/2 cup granulated sugar: Just enough sweetness to make those bananas sing.
- 1 teaspoon baking soda: Our leavening buddy, gives it that lift.
- Pinch of salt: Balances everything out, like a tiny culinary referee.
- Optional add-ins: 1/2 cup chocolate chips, chopped nuts (walnuts or pecans are great), or a sprinkle of cinnamon. Live a little!
Step-by-Step Instructions
Alright, apron up, buttercup! Let’s get baking. This is going to be easier than convincing your dog that the cat isn’t food.
- First things first: **Preheat your oven to 350°F (175°C)**. Grease and flour your mini loaf pans (or use paper liners if you’re feeling extra tidy). This is not a suggestion, it’s a command.
- In a medium bowl, mash those gloriously ripe bananas with a fork until they’re mostly smooth, with a few charming lumps.
- Into the same bowl, pour in your melted and cooled butter, the egg, and vanilla extract. Give it a good whisk until just combined. Don’t overmix, we’re not making soufflé here.
- In a separate, smaller bowl, whisk together the flour, sugar, baking soda, and salt. This ensures everything is evenly distributed. No one likes a lumpy bread with a salty patch!
- Gently add the dry ingredients to the wet ingredients. Mix until *just* combined. A few streaks of flour are totally fine – **overmixing is the enemy of tender banana bread!**
- If you’re using any add-ins (chocolate chips, nuts – you know, the fun stuff), fold them in now.
- Divide the batter evenly among your prepared mini loaf pans. Fill each about two-thirds full.
- Bake for **20-25 minutes**, or until a wooden skewer or toothpick inserted into the center comes out clean. Keep an eye on them, mini loaves bake faster!
- Let them cool in the pans for about 5-10 minutes before gently removing them to a wire rack to cool completely. Or, you know, eat one immediately. We won’t tell.
Common Mistakes to Avoid
Nobody’s perfect, but we can at least try to avoid these rookie errors. Consider this your cheat sheet to banana bread glory.
- Using under-ripe bananas: This is the cardinal sin. Greenish-yellow bananas will give you sad, flavorless bread. Wait for those glorious brown spots, IMO.
- Overmixing the batter: Remember what I said? Overmixing develops the gluten too much, leading to tough, chewy bread. We want tender, fluffy goodness! Mix until just combined, a few lumps are okay.
- Forgetting to grease your pans: You’ll spend half an hour trying to pry your beautiful loaves out, and they’ll probably come out in sad, broken pieces. **Grease and flour, or line ’em up!**
- Opening the oven door constantly: Every time you peek, you let out heat and mess with the baking process. Trust the timer, trust your nose.
Alternatives & Substitutions
Feeling adventurous? Or maybe you just ran out of something? Here are a few ways to tweak this recipe without totally derailing it.
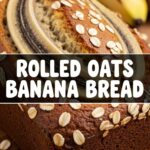
- Flour Power: You can totally swap out a quarter or even half of the all-purpose flour for **whole wheat flour** for a slightly nuttier, healthier twist. Just be aware it might be a little denser.
- Sweet Talk: Instead of granulated sugar, try **light brown sugar** for a deeper, more molasses-y flavor. Maple syrup or honey can also work, but reduce your liquid slightly.
- Butter Begone: Out of butter? **Vegetable oil or melted coconut oil** can be a 1:1 substitute. It’ll make your bread super moist, but you’ll miss that buttery flavor (which is a tragedy, if you ask me).
- Add-In Mania: Go wild! Try a sprinkle of **cinnamon or nutmeg** with the dry ingredients. Stir in shredded coconut, dried cranberries, or a swirl of peanut butter before baking. The world is your oyster… or, well, your banana bread.
FAQ (Frequently Asked Questions)
Got questions? I’ve got answers. Mostly. Maybe.
Q: My bananas aren’t super ripe, can I still use them?
A: Well, technically yes, but why hurt your soul like that? They won’t have that intense sweetness. Pro tip: you can roast slightly under-ripe bananas in their peels at 300°F (150°C) for 15-20 minutes until black for a quick ripen. Magic!
Q: Can I use frozen bananas?
A: Absolutely! Just thaw them completely and drain any excess liquid before mashing. They tend to be even mushier and sweeter once thawed, which is perfect.
Q: How long do these mini loaves last?
A: On the counter, wrapped tightly, about 2-3 days. In the fridge, up to a week. But honestly, they rarely last that long in my house!
Q: Can I freeze them?
A: YES! This is key for make-ahead goodness. Wrap individual mini loaves tightly in plastic wrap, then foil, and freeze for up to 3 months. Thaw on the counter or pop in the microwave for a quick treat.
Q: What kind of mini loaf pans should I use?
A: Metal pans work great, just make sure to grease and flour them well. Silicone pans are also fantastic for easy release, sometimes you don’t even need to grease them, but check your specific brand.
Q: Is it okay to substitute self-rising flour?
A: Not usually, unless you want to mess with the leavening. Self-rising flour already has baking powder and salt. If you use it, you’d need to omit the baking soda and salt from this recipe, and it might not turn out quite the same.
Final Thoughts
And there you have it, folks! Your very own batch of adorable, delicious mini banana bread loaves. Whether you’re making these for a thoughtful gift, a bake sale, or just to satisfy your own banana bread craving (no judgment here!), you’ve totally nailed it. Now go impress someone—or yourself—with your new culinary skills. You’ve earned that warm, squishy, banana-y goodness!

