So you’ve stared into the abyss of your fridge, hoping a gourmet meal would spontaneously appear, only to find… well, not much? And now you’re craving something warm, sweet, and comforting but the thought of spending hours in the kitchen makes you want to crawl back into bed? Been there, done that, bought the T-shirt.
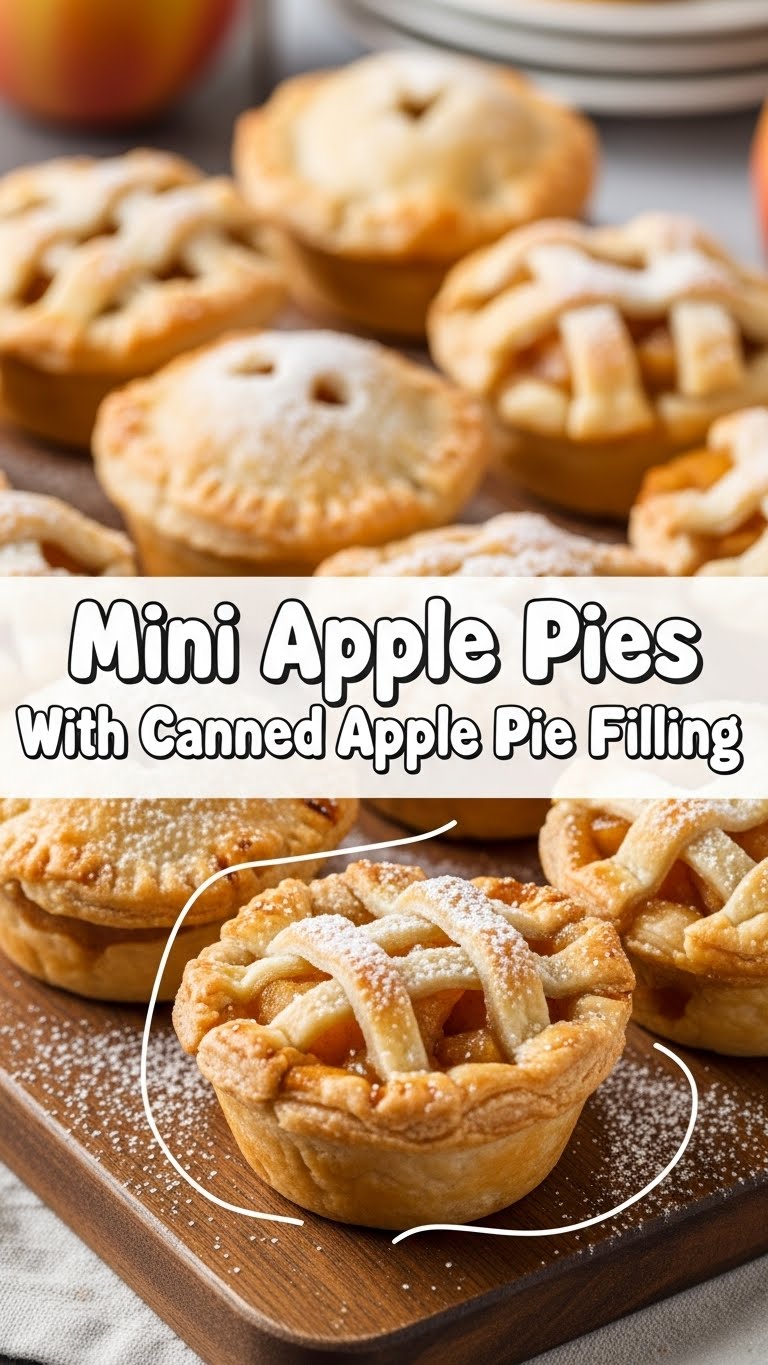
Good news, my friend! I’ve got the ultimate solution for those “I want dessert NOW but my energy levels are at ‘sloth on a sabbatical'” kind of days. We’re talking Mini Apple Pies, and yes, we’re using glorious, no-fuss canned apple pie filling. Because life’s too short for peeling 17 apples when a can opener exists. Let’s get baking (or, more accurately, assembling!).
Why This Recipe is Awesome
Because adulting is hard, but dessert doesn’t have to be. This recipe is your culinary cheat code, a direct pipeline to warm, cozy apple pie goodness without the existential dread of a complicated baking project. Seriously, it’s so ridiculously easy, even your cat could probably do it (if it had opposable thumbs and an an interest in baking, which, let’s be real, it probably doesn’t).
Here’s the lowdown: it’s fast, uses minimal ingredients, makes individual portions (so you don’t have to share, unless you want to be a hero), and tastes like you spent all day slaving over a hot stove. Plus, they’re mini! Everything mini is automatically cuter and more fun to eat, IMO. Prepare for a pat on the back, even if it’s just from yourself.
Ingredients You’ll Need
Get ready for the world’s shortest shopping list. You probably have half this stuff already, you domestic goddess (or god)!
- Pre-made pie crusts: (The kind that roll out like magic carpet rides to yum-town – 2 packs, usually 2 crusts each. If you’re feeling fancy, puff pastry works too, but we’re going for maximum ease here!)
- Canned Apple Pie Filling: (One standard 21 oz can. Your secret weapon. No shame in this game!)
- Butter: (About 2 tablespoons, melted. For that golden, glorious shine.)
- Granulated Sugar: (A tablespoon or two. Optional, but highly recommended for sparkle and extra sweetness.)
- Ground Cinnamon: (A pinch or two. Because apple pie just isn’t apple pie without its best friend, cinnamon.)
- Flour: (Just a little, for dusting your surface. Unless you like your pie crust stuck to the counter, which, fair enough, it’s a choice.)
Step-by-Step Instructions
Alright, apron on (or not, we’re friends here), let’s make some magic happen!
- Preheat Your Oven: Crank that baby up to 375°F (190°C). Give it time to get nice and toasty. Nobody likes a cold oven.
- Prep Your Workstation: Lightly flour a clean surface. Gently unroll one of your pre-made pie crusts. Try not to crinkle it too much; we’re going for smooth sailing.
- Cut Out Circles: Grab a round cookie cutter, a drinking glass, or even the rim of a can – anything that makes a circle about 3-4 inches wide. Cut as many circles as you can from each crust. You’ll probably get 6-8 per crust. Don’t worry about the scraps yet!
- Fill ‘Em Up: Spoon a small dollop (about 1-2 tablespoons) of the apple pie filling into the center of half your pie crust circles. Don’t overfill! Less is more here, trust me.
- Top It Off: Take another pie crust circle and place it over a filled circle. Gently press the edges together to seal them. You can use a fork to crimp the edges for that classic pie look and extra seal security.
- Repeat and Reroll: Gather your pie crust scraps, gently roll them together, and then re-roll them flat. Cut out more circles and continue filling and sealing until you’ve used all your filling and crust (or just run out of patience, your call).
- Vent Your Pies: Using a small knife, make a tiny slit or two on the top of each mini pie. This lets steam escape, preventing them from puffing up like angry little dough balloons.
- Brush and Sprinkle: Place your mini pies on a baking sheet lined with parchment paper. Melt your butter, then lightly brush the tops of each pie. Sprinkle a little sugar and a dash of cinnamon over them. This creates that irresistible golden crust and a hint of extra sweetness.
- Bake to Perfection: Pop that baking sheet into your preheated oven. Bake for 15-20 minutes, or until the crusts are beautifully golden brown and the filling is bubbly. Keep an eye on them!
- Cool (If You Can Wait!): Let them cool on the baking sheet for a few minutes before transferring them to a wire rack. They’ll be molten lava inside, so try not to burn your tongue, no matter how tempting.
Common Mistakes to Avoid
Look, we all make mistakes. It’s part of the human (and baking) experience. Here’s how to sidestep the most common blunders:
- Thinking you don’t need to preheat the oven: Rookie mistake! A cold oven means uneven baking and soggy bottoms. Nobody wants a soggy bottom.
- Overfilling the pies: “More filling equals more deliciousness!” you think. Nope! It just equals a sticky, leaky mess all over your baking sheet. Exercise restraint, grasshopper.
- Not sealing the edges properly: This is how you end up with “deconstructed” mini pies. Press those edges firmly, or give them a good fork crimp.
- Forgetting to vent: Your pies will look like they’re about to explode. Make those little slits!
- Baking without parchment paper: Unless you enjoy scraping baked-on sugar from your pan for an hour, use parchment paper. Seriously, it’s a lifesaver.
Alternatives & Substitutions
Feeling adventurous? Or just realized you’re missing an ingredient? No stress, we can totally wing it!
- Different Fillings: Canned cherry pie filling, peach pie filling, or even a mixed berry concoction would be amazing. Go wild! It’s your pie party.
- Puff Pastry: If you want a flakier, lighter crust, use puff pastry instead of traditional pie crusts. Just make sure to cut it into squares or circles and follow the same steps. It puffs up beautifully!
- Egg Wash Instead of Butter: For an even glossier finish, you can whisk an egg with a teaspoon of water and brush that over the pies before baking. It gives a fantastic golden shine.
- Lattice Top: If you’re feeling fancy, cut thin strips from extra pie crust and weave them into a mini lattice pattern on top. It looks impressive, and honestly, isn’t that hard for small pies.
FAQ (Frequently Asked Questions)
- Can I use margarine instead of butter? Well, technically yes, but why hurt your soul like that? Butter just tastes better and gives a richer color. If you’re out, margarine works, but it’s a compromise.
- My pies are a bit pale, did I mess up? Nah, probably just shy! Just pop them back in for a few more minutes until they’re golden brown and confidently delicious. Every oven is a little different, FYI.
- How do I store these mini masterpieces? Once completely cooled, store them in an airtight container at room temperature for up to 2-3 days. If you want them longer, they’ll be fine in the fridge for up to a week.
- Can I freeze them? You bet! Freeze the unbaked pies on a baking sheet until solid, then transfer to a freezer-safe bag. When ready to bake, just pop them into the oven from frozen, adding about 5-10 minutes to the baking time.
- What if I don’t have a round cutter? A knife and a steady hand (or a somewhat wobbly one, who cares?) can cut squares, triangles, or even abstract shapes. They’ll still taste amazing, promise!
- Do I serve these warm or cold? Both! They’re fantastic warm with a scoop of vanilla ice cream (highly, highly recommended) or just as good chilled for a quick grab-and-go snack.
Final Thoughts
See? I told you it was easy! You just whipped up a batch of delicious, adorable mini apple pies with minimal effort and maximum reward. Now go impress someone—or yourself—with your new culinary skills. You’ve earned it! Maybe make a cup of coffee or tea, put your feet up, and enjoy the fruits (pun intended!) of your very light labor. You’re basically a professional baker now, just without all the stress and early mornings. You’re welcome!


