So you’ve spent way too many hours mining diamonds and now your hunger bar is flashing red, huh? Forget rotten flesh or suspicious stew, it’s time for some REAL fuel that satisfies like nothing else. Ever stared at a block of cocoa beans in Minecraft and thought, “Man, I wish these were actual cookies?” Your wish is my command (ish). We’re making Minecraft Chocolate Chip Cookies – because even pixelated heroes need a sweet treat!
Why This Recipe is Awesome
Okay, buckle up, buttercup, because this isn’t just *any* chocolate chip cookie recipe. This is the one you pull out when you need maximum deliciousness with minimum effort. Seriously, it’s so easy, even a creeper couldn’t mess it up (unless it exploded, obviously). Here’s the lowdown:
- It’s practically **idiot-proof**. Even I, the queen of kitchen chaos, haven’t managed to screw this up.
- It’s **quick to make**. Less time baking, more time building epic castles or getting lost in caves.
- Uses common ingredients you probably already have lurking in your pantry, so no frantic trips to the ‘general store’ (aka your local supermarket) required.
- The result? Cookies so good, you’ll want to trade emeralds for them. And trust me, that’s saying something.
Ingredients You’ll Need
Alright, gather your crafting materials! These are the essentials for your epic cookie quest:
- 1/2 cup (1 stick) Unsalted Butter: Softened, but not melted. Don’t even THINK about using margarine unless you’re trying to punish your taste buds. We’re going for flavor, people!
- 1/2 cup Granulated Sugar: The classic sweet stuff.
- 1/4 cup Packed Light Brown Sugar: This is for chewiness and that deep, molasses-y goodness. The dynamic duo of sweetness!
- 1 Large Egg: Fresh from the chicken coop (or your fridge, whatever works).
- 1 teaspoon Vanilla Extract: A dash of magic. Don’t even think about skipping this – it makes all the difference.
- 1 1/4 cups All-Purpose Flour: The foundation of our cookie empire. Not the kind you use to make concrete!
- 1/2 teaspoon Baking Soda: For that perfect puff and spread. Not baking powder, big difference, trust me.
- 1/4 teaspoon Salt: Just a pinch, to balance all that sweetness and make the chocolate pop.
- 1 cup Chocolate Chips: The undisputed star of the show! Use your favorite kind – semi-sweet, milk, dark, even white chocolate chips if you’re feeling wild.
Step-by-Step Instructions
Let’s get crafting! Follow these steps and you’ll be munching on warm cookies in no time.
- Preheat & Prep: First things first, fire up your oven to 375°F (190°C). Line a baking sheet with parchment paper. **This is crucial for easy cleanup and no-stick cookies.** Don’t skip it!
- Cream the Goods: In a large mixing bowl, beat together the softened butter, granulated sugar, and brown sugar until light and fluffy. This usually takes about 2-3 minutes with an electric mixer, or a solid arm workout if you’re doing it by hand.
- Egg-cellent Addition: Crack in that egg and pour in the vanilla extract. Beat until just combined. Don’t overdo it!
- Dry Mix Magic: In a separate, smaller bowl, whisk together the flour, baking soda, and salt. Make sure it’s all evenly distributed.
- Combine Forces: Gradually add the dry ingredients to the wet ingredients, mixing on low speed (or by hand) until just combined. **Do not overmix!** As soon as you see no more dry streaks of flour, stop.
- Chocolate Chip Avalanche: Fold in your glorious chocolate chips. If you’re like me, you might “accidentally” add a few extra. No one’s judging here.
- Scoop ‘Em Out: Drop rounded tablespoons of dough onto your prepared baking sheet. Leave a little space between them; these cookies like their personal space.
- Bake Time! Pop them into your preheated oven and bake for 9-11 minutes. They should look lightly golden brown around the edges but still a little soft in the center. Remember, they’ll continue to set as they cool.
- Cool Down: Let them cool on the baking sheet for a few minutes before transferring them to a wire rack to cool completely (if you can even wait that long).
Common Mistakes to Avoid
Look, we all make mistakes. But some mistakes are more… cookie-ruining than others. Learn from my past blunders, folks:
- Overmixing the Dough: Seriously, once the flour is *just* combined, **STOP**. You’re making cookies, not brick. Overmixing develops the gluten too much, leading to tough, chewy cookies (and not in a good way).
- Cold Butter: Trying to cream rock-hard butter? Good luck with that. Softened means soft, not melted, and definitely not cold from the fridge. Plan ahead!
- Ignoring Parchment Paper: Don’t want your cookies sticking? Use parchment. Trust me, nobody likes a stuck cookie, especially after all that effort. It’s also better than greasing the pan, which can sometimes make cookies spread too much.
- Overbaking: This is a biggie. They might look a little underdone when you pull them out, but they’ll set as they cool. Overbake them, and you’ve got hockey pucks that belong in a different kind of game.
Alternatives & Substitutions
Feeling adventurous or just missing an ingredient? No sweat! Here are some ways to tweak your cookie game:
- Chocolate Choices: No chocolate chips? Chop up a chocolate bar! Or add M&Ms, sprinkles, even white chocolate chips, butterscotch chips, or walnuts if you’re feeling extra fancy. You do you!
- Butter Bargain: Okay, fine, if you *must* use margarine, it technically works, but the texture and flavor won’t be as rich or satisfying. You’ve been warned, and your soul might shed a tear. IMO, butter is king.
- Gluten-Free Goodness: Easily swap out the all-purpose flour for a 1:1 gluten-free baking blend. Make sure it contains xanthan gum for the best results.
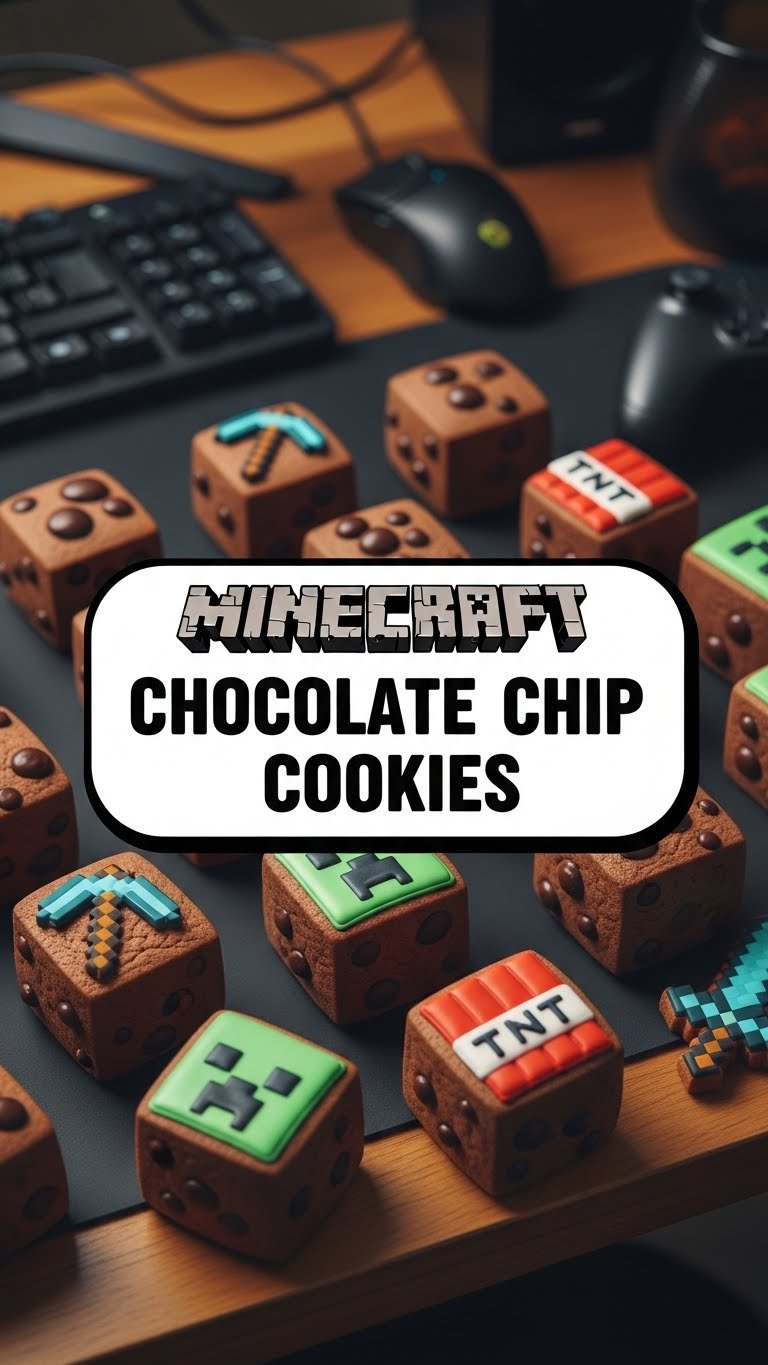
- More ‘Minecrafty’ Vibes: Want to add some pixelated flair? Stir in some green food coloring for “Creeper Cookies” or orange for “Pumpkin Pie Cookies” (kinda!). Or maybe some crushed Oreos for “Block Cookies”? Get creative!
FAQ (Frequently Asked Questions)
Got questions? I’ve got (casual and hopefully helpful) answers!
- Can I chill the dough? Oh heck yes! Chilling the dough actually makes them even better – deeper flavor, less spread, and a chewier texture. Do it for at least 30 minutes, or even overnight if you can wait. It’s worth it!
- My cookies spread too much! What gives? Hmmm, could be a few things! Probably melted butter instead of softened, an oven temperature that’s off (get an oven thermometer!), or you didn’t chill the dough. Or all three!
- Can I use only brown sugar? You can, but they’ll be super chewy and dense. The combo of white and brown sugar gives the best balance of crisp edges and a chewy center. Don’t mess with perfection!
- How long do they last? If they even *make* it past the first hour, about 3-5 days in an airtight container at room temperature. But honestly, good luck making them last that long. My record is about 24 hours before they “disappear.”
- Can I make these vegan? Absolutely! Use a plant-based butter substitute (like Miyoko’s Kitchen or Earth Balance sticks) and a flax egg (1 tablespoon ground flaxseed + 3 tablespoons water, let it sit for 5 minutes). Just make sure your chocolate chips are dairy-free too!
Final Thoughts
Alright, my culinary adventurer! You’ve officially conquered the final boss: the chocolate chip cookie. Go forth and share your delicious bounty, or hoard them all for yourself (no judgment here, we’ve all done it). You’ve earned every single bite after all that hard work (okay, maybe not *that* hard, but still!).
Next time you’re AFK in Minecraft, whip up another batch. Your hunger bar (and your soul) will thank you. Happy baking!


