So you’re craving something tasty but too lazy to spend forever in the kitchen, huh? Same, friend, same. We’ve all been there: staring into the fridge, wishing a gourmet meal would magically appear. Well, I can’t promise magic, but I *can* promise a Mexican Chicken Burrito recipe that’s so ridiculously easy and delicious, you’ll wonder why you ever ordered takeout. Get ready to wrap up some happiness!
Why This Recipe is Awesome
Let’s be real, you’re not trying to win a Michelin star here, you just want good food that doesn’t require a culinary degree (or even a fully stocked pantry, let’s be honest). This recipe is your new best friend because:
- It’s practically **idiot-proof**. Seriously, if I can do it without setting off the smoke alarm, so can you.
- It’s **super customizable**. Got a weird veggie in the back of your fridge? Toss it in! Don’t like beans? Skip ’em! You’re the boss apple sauce.
- **Fast & Furious flavor.** We’re talking maximum taste for minimal effort. Perfect for those “hangry-and-need-food-NOW” moments.
- It doubles as **meal prep magic**. Make a big batch, wrap ’em up, and freeze ’em for future you. Future you will thank present you.
Ingredients You’ll Need
Gather ’round, my fellow kitchen adventurers! Here’s what we need for our burrito masterpiece. Don’t worry, nothing too fancy, just good old reliable goodness.
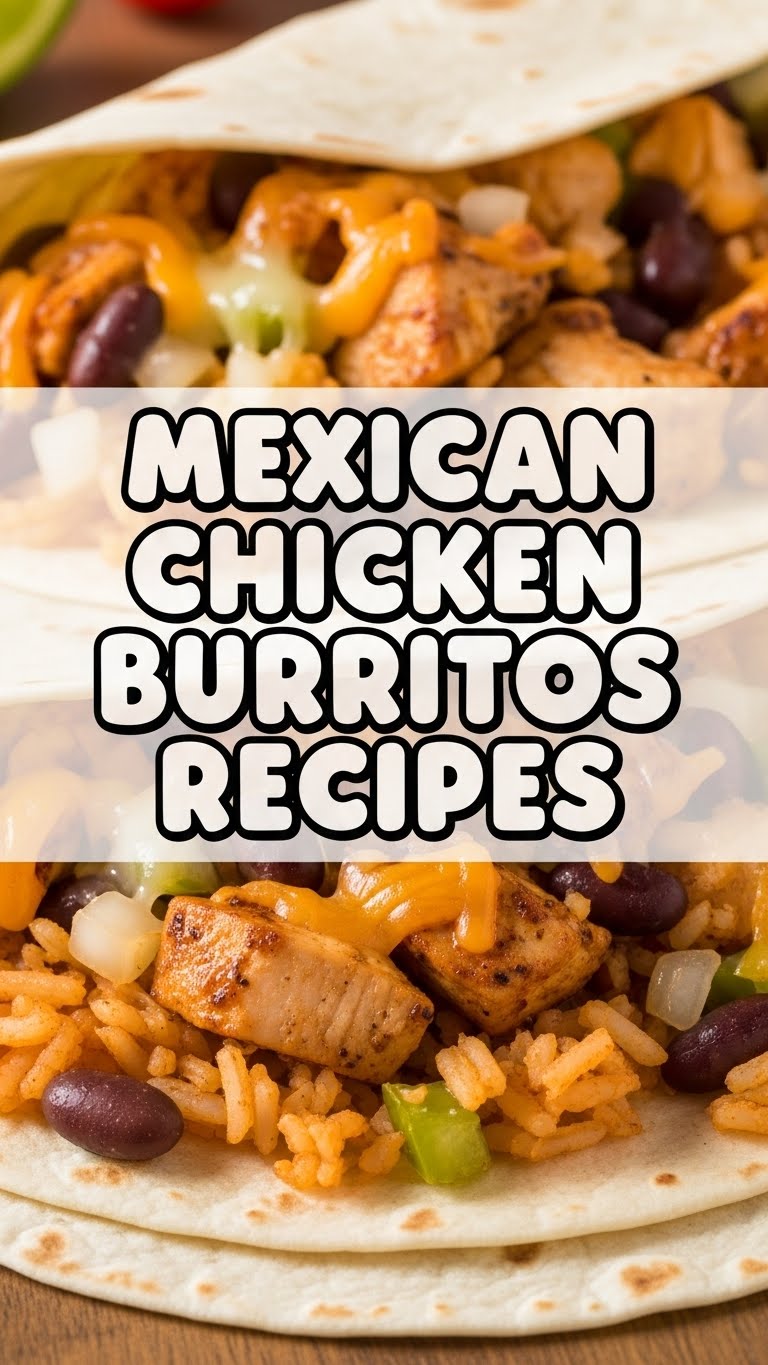
- Chicken Breast or Thighs (1-1.5 lbs): Boneless, skinless. The main event, the star of our show!
- Large Flour Tortillas (6-8 count): These are the edible blankets for all our delicious fillings. Don’t skimp on size, trust me.
- Cooked Rice (2 cups): White, brown, leftover — doesn’t matter. Burritos without rice are just sad, IMO.
- Canned Black Beans (1 can, 15oz): Rinsed and drained. Your fiber buddies!
- Canned Diced Tomatoes with Green Chilies (1 can, 10oz): Drained. For that zesty, slightly spicy kick.
- Shredded Cheese (1-2 cups): Mexican blend, cheddar, Monterey Jack… whatever makes your heart sing (and melt beautifully).
- Olive Oil (1-2 tbsp): For cooking our chicken to golden perfection.
- Spices (your pantry MVPs):
- Chili Powder (1 tbsp)
- Cumin (1 tsp)
- Garlic Powder (1 tsp)
- Onion Powder (1 tsp)
- Salt & Pepper (to taste)
- Optional Toppings (but highly recommended for maximum joy): Sour cream, guacamole, salsa, chopped cilantro, hot sauce. Go wild!
Step-by-Step Instructions
Alright, apron on (or not, we’re not judging), let’s get cooking! These steps are so easy, you could probably do them blindfolded. But please don’t, for safety reasons.
- Prep Your Chicken: Cut your chicken breast or thighs into bite-sized pieces. Toss them in a bowl with the chili powder, cumin, garlic powder, onion powder, salt, and pepper. Make sure every piece is coated like it’s going to a fancy spice ball.
- Cook the Chicken: Heat the olive oil in a large skillet over medium-high heat. Once shimmering, add your seasoned chicken. Cook for about 5-7 minutes, stirring occasionally, until it’s beautifully browned and cooked through. Remove from the skillet and set aside.
- Mix Your Filling: In a large bowl, combine your cooked chicken, cooked rice, rinsed black beans, and drained diced tomatoes with green chilies. Give it a good stir. Now, taste it! Does it need more salt? A little more kick? Adjust as needed – you’re the chef!
- Warm the Tortillas: This is a **crucial step** for flexible, rollable tortillas. Pop them in the microwave for 15-20 seconds (stacked under a damp paper towel) or warm them individually in a dry skillet for 10-15 seconds per side until soft and pliable. Cold tortillas are brittle, and nobody wants a cracked burrito.
- Assemble Your Masterpiece: Lay a warm tortilla flat. Spoon a generous (but not greedy!) amount of your chicken and rice mixture down the center. Sprinkle a good amount of cheese over the top.
- Roll ‘Em Up: Fold the sides of the tortilla inward over the filling. Then, starting from the bottom, tightly roll the tortilla upwards. Tuck everything in as you go. **The tighter, the better** to prevent burrito blowouts.
- Serve and Devour: Repeat with the remaining tortillas. Serve immediately with your favorite toppings like sour cream, guacamole, and salsa. High-fives are optional, but highly encouraged!
Common Mistakes to Avoid
We’ve all been there, my friend. Kitchen blunders are part of the journey. But with a little heads-up, you can avoid these classic burrito faux pas:
- Overfilling Your Tortilla: This is the number one culprit for a messy, exploding burrito. You’re not building a skyscraper; you’re building a delicious edible package. Leave some room, rookie.
- Using Cold Tortillas: Seriously, don’t do it. They’ll rip, tear, and generally make you question all your life choices. **Always warm your tortillas!**
- Under-seasoned Chicken: Bland chicken makes for a bland burrito. Be bold with your spices! Taste and adjust. FYI, blandness is the enemy.
- Not Draining Your Canned Goods: Soggy burritos are a sad sight. Give those beans and tomatoes a good rinse and drain to keep things from getting watery.
- Thinking You Don’t Need Cheese: Is that even a mistake, or just a crime against deliciousness? Just add the cheese.
Alternatives & Substitutions
Feeling adventurous? Or maybe you just ran out of something? No worries, these burritos are super flexible. Think of this as your “choose your own adventure” section:
- Protein Power-Ups: Not feeling chicken? Shredded beef, pork carnitas, ground turkey, or even crispy tofu would be fantastic. For a vegetarian option, load up on extra beans and some sautéed bell peppers and onions.
- Grain Games: Swap out white rice for brown rice, quinoa, or even some cilantro-lime cauliflower rice for a low-carb twist.
- Cheese Whiz: Any good melting cheese works! Pepper Jack for a kick, colby jack for mildness, or even a sprinkle of cotija cheese for an authentic touch.
- Veggie Boost: Stir in some frozen corn, sautéed bell peppers, onions, or zucchini with your chicken. More veggies = more goodness!
- Low-Carb Life: Ditch the tortilla and make a “burrito bowl” or use large lettuce leaves as your wrap.
FAQ (Frequently Asked Questions)
Got questions? I’ve got answers! (Mostly.)
Can I make these burritos ahead of time? Absolutely! Assemble them (without the toppings), wrap them individually in foil or plastic wrap, and store them in the fridge for up to 3 days or freeze for up to 3 months. To reheat, microwave or bake until warm.
What kind of chicken is best for burritos? Boneless, skinless chicken breasts are lean and easy, but thighs will give you a juicier, more flavorful result. Your call!
Do I *have* to use rice? Well, technically no, but why hurt your soul like that? Rice adds bulk, texture, and soaks up all those delicious flavors. If you must skip it, maybe add more beans or veggies.
How do I roll a burrito without making a total mess? Practice, my friend, practice! Key tips: warm tortillas, don’t overfill, and tuck those sides in nice and tight before rolling from the bottom up. You’ll get there!
Can I make this vegetarian or vegan? Yes, absolutely! Skip the chicken, double up on the beans, add some roasted sweet potatoes or sautéed mushrooms. For vegan, just ditch the cheese or use a dairy-free alternative.
My burrito isn’t very spicy, what can I do? You control the heat! Add a pinch of cayenne pepper, a dash of your favorite hot sauce to the filling, or use fire-roasted tomatoes. Jalapeños or serranos are also your friends.
Can I bake or air fry the assembled burritos for a crispy exterior? You betcha! Brush them lightly with oil and bake at 375°F (190°C) for 10-15 minutes, or air fry at 375°F (190°C) for 5-8 minutes, flipping halfway. So good!
Final Thoughts
And there you have it! Your very own, incredibly delicious, and surprisingly easy Mexican Chicken Burritos. You’ve conquered the kitchen, tamed the chicken, and rolled a burrito that would make any food truck proud. Now go impress someone—or yourself—with your new culinary skills. You’ve earned it!
Seriously, pat yourself on the back. Enjoy every glorious bite!


