So you’re craving something ridiculously good, but the thought of hauling out a giant ice cream maker or, *gasp*, actually *churning* something makes you want to lie down? Same, friend, same. Well, grab a mason jar and a spoon, because we’re about to make some no-churn ice cream magic that’s so easy, it feels like cheating!
Why This Recipe is Awesome
Let’s be real: we’re all busy, or at least excellent at pretending to be. This mason jar ice cream recipe is your new best friend because:
- No Ice Cream Machine Needed: Yep, you heard that right. Your arm is the only “machinery” required. Think of it as a bicep workout, but with a delicious reward!
- Minimal Effort, Maximum Deliciousness: It’s practically idiot-proof. Seriously, if I didn’t mess this up, you’re golden. Just a few ingredients, a little shake, and boom – magic!
- Customizable to Your Whims: Feeling fancy? Add berries. Feeling like a kid again? Rainbow sprinkles it is! Your jar, your rules.
- Portion Control (or Lack Thereof): It’s perfectly portioned for one… or two, if you’re feeling generous. Or three, if you’re just sampling. Who are we kidding? It’s all yours.
Ingredients You’ll Need
Get ready for the most shockingly simple ingredient list ever. You’re welcome.
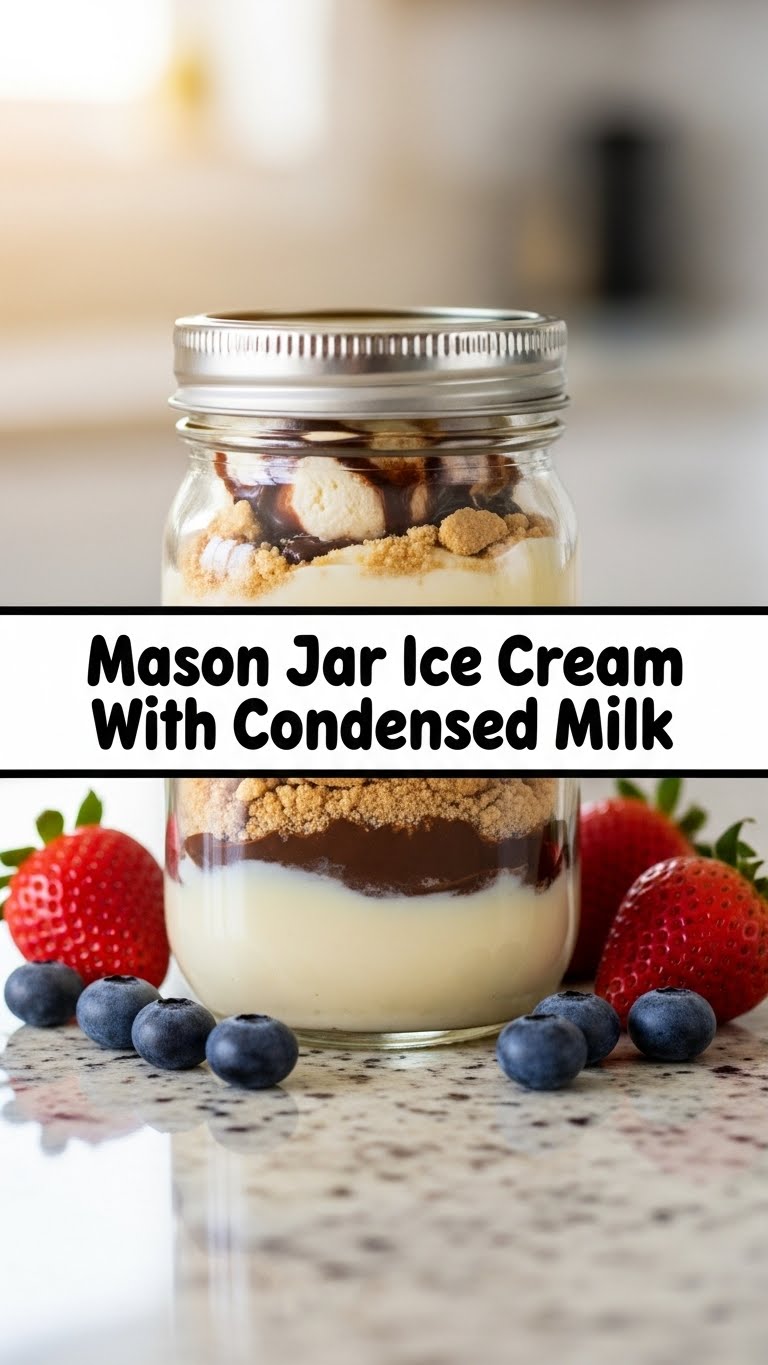
- Heavy Cream (or Whipping Cream): About 1 cup (240ml). This is where the magic happens, giving you that rich, creamy texture. Don’t skimp, don’t substitute with skim milk unless you want a sad, watery surprise.
- Sweetened Condensed Milk: ¼ to ½ cup (60-120ml), depending on how sweet you like your life. This is the MVP, providing sweetness and that glorious no-churn texture. No, regular milk won’t work. Trust me on this.
- Vanilla Extract: ½ teaspoon. Pure vanilla is always best, but if you’ve got imitation, it’ll still do the job. It’s like the little black dress of flavor – always a good idea.
- Mason Jar: A pint-sized (16oz/470ml) jar with a tight-fitting lid. This is your personal ice cream factory!
- Optional Mix-ins: Chocolate chips, crushed cookies, fresh berries, a spoonful of peanut butter, a dash of cinnamon… the world is your oyster (but probably don’t add oysters).
Step-by-Step Instructions
Get Your Jar Ready: Grab your clean mason jar. Make sure it’s dry. We’re not making soup here.
Combine the Good Stuff: Pour the heavy cream, sweetened condensed milk, and vanilla extract into your mason jar. Leave a little headspace at the top – you need room for shaking and expansion, otherwise, you’ll have a creamy explosion on your hands. And while delicious, cleaning up isn’t fun.
Shake It Like a Polaroid Picture: Seal the lid on *tightly*. Now, shake, shake, shake! This isn’t a gentle stir; we’re talking vigorous, full-arm action for about 3-5 minutes. You want the mixture to thicken up and get frothy, almost like a milkshake. Your arm might get tired, but it’s for a good cause!
Add Your Faves (Optional): If you’re adding any mix-ins, now’s the time. Open the jar, stir them in gently, and re-seal. Don’t go crazy, though; leave enough space for the ice cream to freeze properly.
Into the Freezer It Goes: Pop that jar into the freezer. Let it chill out for at least 4-6 hours, or until it’s firm enough to scoop. Overnight is usually best for that perfect scoopable texture. Patience, young grasshopper!
Enjoy Your Masterpiece: Once frozen, pull it out, grab a spoon, and dive in. You just made ice cream with your own two hands (and a jar)! Feel free to pat yourself on the back.
Common Mistakes to Avoid
Because nobody wants a sad ice cream experience, here are a few rookie errors to sidestep:
- Not Shaking Enough: Think of it as a workout. If you stop too soon, your ice cream will be less “creamy dream” and more “slightly thickened liquid.” Keep shaking until it’s noticeably thicker.
- Overfilling the Jar: We discussed this! Cream expands when it freezes. If your jar is filled to the brim, you’re asking for a messy freezer incident. Leave at least an inch of space.
- Using the Wrong Milk: Seriously, don’t use skim milk, 2%, or even half-and-half. It needs that high fat content of heavy cream (or whipping cream) to get that glorious, scoopable texture without churning. This is non-negotiable for success!
- Impatience: Pulling it out of the freezer too soon is like opening Christmas presents on Thanksgiving. It just ruins the magic. Give it the full freeze time.
Alternatives & Substitutions
Feeling adventurous? Here are some ways to jazz up your jar of joy:
- Flavor Extracts: Swap vanilla for almond, peppermint, or even a few drops of orange extract. Just a tiny bit goes a long way, so start small!
- Cocoa Powder: Whisk in a tablespoon or two of unsweetened cocoa powder with the liquids for a chocolate base. Hello, brownie batter ice cream potential!
- Fruit Puree: Blend up some fresh berries (strawberries, raspberries) and swirl a couple of tablespoons into the mixture before freezing. Fresh, fruity, fabulous.
- Coffee Kick: Dissolve a teaspoon of instant espresso powder in a tiny bit of hot water, let it cool, then add it to your cream mixture for a mocha treat. Yum!
- Nut Butters: A tablespoon of peanut butter, almond butter, or Biscoff spread? Yes, please! Just make sure to stir it in really well.
FAQ (Frequently Asked Questions)
Got questions? I’ve got (casual, friendly) answers!
- Q: Can I use a regular container instead of a mason jar?
A: Technically, yes, if it’s freezer-safe and has a tight lid. But where’s the fun in that? Plus, the jar makes shaking easier and looks way cuter. Just sayin’. - Q: How long do I *really* need to shake it? My arm is tired!
A: About 3-5 minutes of vigorous shaking is usually enough to get it frothy and thickened. If it still looks like liquid cream after 5 minutes, give it another minute or two. You’ll feel it resisting a bit more. - Q: My ice cream is rock hard. What gives?
A: Uh oh! A few things could cause this: maybe your freezer is super cold, or you didn’t add enough condensed milk (which helps keep it soft). Let it sit out for 5-10 minutes to soften up before scooping. - Q: Can I make a bigger batch?
A: Absolutely! Just scale up the ingredients and use a bigger container – like a loaf pan covered tightly with plastic wrap. You won’t be shaking it in a jar, though. You’ll need to whisk it in a bowl until thickened, then freeze. - Q: How long does this ice cream last in the freezer?
A: If you can resist eating it all, it’ll last for about 1-2 weeks in an airtight container. Beyond that, it might start getting a bit icy, but honestly, it never lasts that long in my house anyway. - Q: Is this healthy?
A: Are we talking about a dessert made with heavy cream and sweetened condensed milk? Bless your heart. It’s healthy for your soul! Everything in moderation, right? 😉
Final Thoughts
See? I told you it was easy! You just whipped up (literally!) some delicious, homemade ice cream with minimal fuss and zero fancy gadgets. Now go impress someone—or yourself—with your new culinary skills. You’ve earned this creamy, dreamy treat. Enjoy every single spoonful, you magnificent human!


