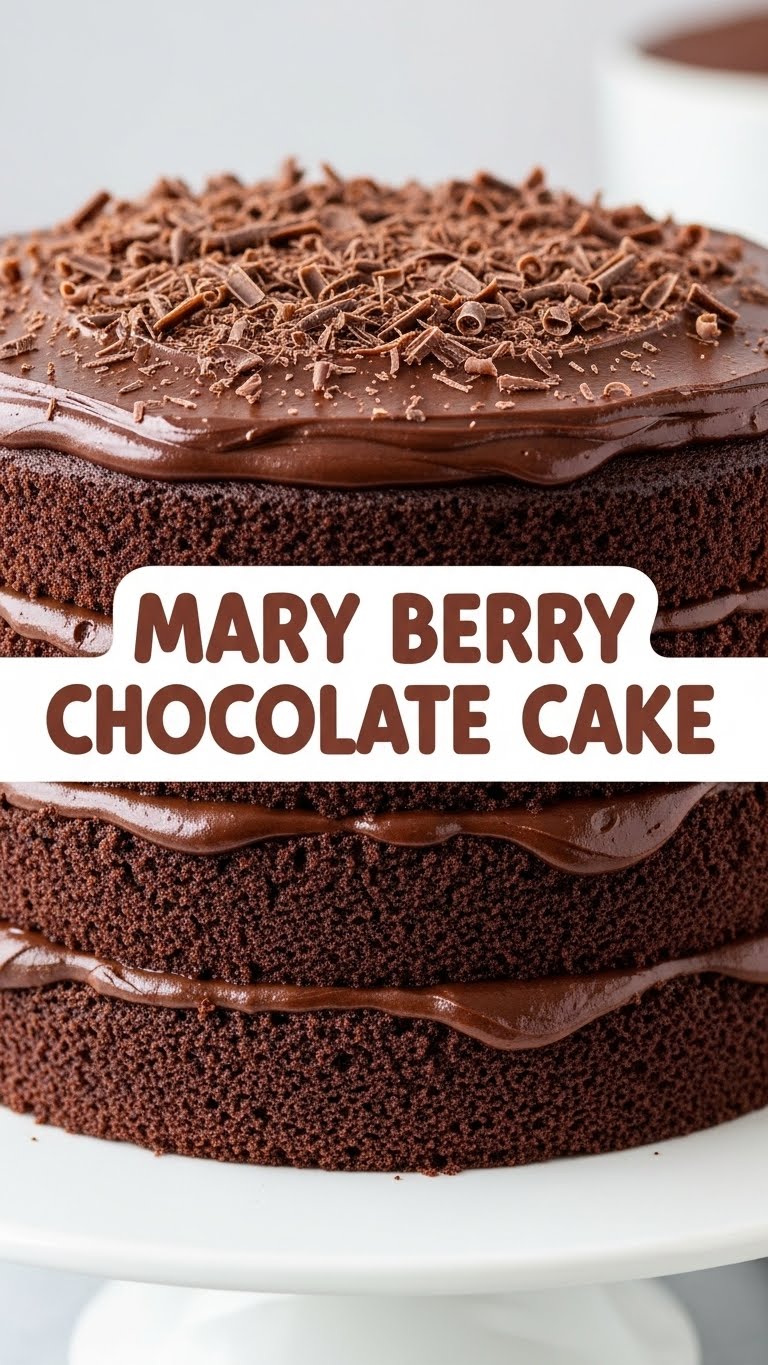
So you’re craving something that screams ‘comfort’ but also ‘effortless genius,’ huh? And chocolate. Definitely chocolate. Good news, buttercup, because Mary Berry’s chocolate cake recipe is about to become your new best friend. We’re talking about a cake that tastes like a warm hug but won’t make you wanna throw your apron at the wall in frustration. Get ready to bake!
Why This Recipe is Awesome
Okay, let’s be real. There are a gazillion chocolate cake recipes out there. So why bother with this one? Because it’s like Mary Berry herself is holding your hand, whispering sweet, sugary nothings into your ear. This recipe is consistently **moist, rich, and utterly chocolatey** without any of the drama or fussy techniques.
Honestly, it’s so **straightforward**, even my goldfish could probably follow it (if it had opposable fins, of course). No weird steps, no endless bowls to wash, just pure, unadulterated chocolate bliss. It’s basically **idiot-proof**, I swear. (And if I can make it without setting off the smoke alarm, you definitely can).
Ingredients You’ll Need
Gather your troops! Here’s what you’ll need to assemble this chocolatey masterpiece:
- 175g Self-Raising Flour: Your basic cake building block. Don’t even think about using plain flour unless you wanna add baking powder yourself – who needs that stress?
- 175g Caster Sugar: Makes it sweet, obvs. The finer the better for that delicate crumb.
- 2 tbsp Cocoa Powder: The source of all that glorious chocolatey goodness. **Good quality makes a massive difference!**
- 1 tsp Baking Powder: Just a smidge for extra lift and fluffiness. Teamwork makes the dream work with that self-raising flour.
- 2 Large Eggs: Happy little binders. Room temperature, please!
- 175g Softened Butter: **Unsalted, always.** Softened, not melted, unless you’re making scrambled cake.
- 4 tbsp Milk: Full-fat, because we’re not calorie counting today, are we? (Wink)
- 1 tsp Vanilla Extract: Adds that ‘something extra’. Don’t skip it!
Step-by-Step Instructions
- Oven Prep & Tin Takedown: First things first, preheat your oven to **160°C (Fan) / 180°C / Gas 4**. Then, grease and line two 20cm sandwich tins. We want easy release, not a stuck-on disaster.
- The Big Dump (aka “All-in-One”): Into a large mixing bowl, chuck in the self-raising flour, caster sugar, cocoa powder, baking powder, softened butter, eggs, milk, and vanilla extract. Yep, all of it. Mary Berry doesn’t mess around with complicated creaming methods here.
- Whisk It Real Good: Using an electric mixer (or if you’re feeling particularly buff, serious arm power), beat everything together until it’s smooth and perfectly combined. **Scrape down the sides** to make sure no dry bits are left lurking in the shadows.
- Divide & Conquer: Split the glorious chocolate batter evenly between your two prepared tins. Try to be precise – no one likes a lopsided cake!
- Bake Your Heart Out: Pop them into your preheated oven for about **20-25 minutes**. They’re done when they spring back when lightly touched in the centre, and a skewer inserted comes out clean.
- Cool Down, Buttercup: Let the cakes cool in their tins for about 5-10 minutes before carefully turning them out onto a wire rack to cool completely. **Patience is a virtue here!** Seriously, don’t try to frost a warm cake unless you’re going for a melted, gooey mess.
- Frosting Fun (Optional but not really): Once completely cool, sandwich your cakes with your favourite chocolate buttercream (or whatever frosting makes your heart sing) and spread some on top. Decorate as wildly or subtly as you like. You’ve earned it!
Common Mistakes to Avoid
We’ve all been there. Here are a few common pitfalls to sidestep on your journey to chocolate cake nirvana:
- Not preheating the oven: A classic rookie blunder. Your cake deserves a warm welcome, not a slow, sad ascent. Get that oven hot!
- Overmixing the batter: We’re making cake, not bread. Mix until just combined, then stop. **Lumps are fine, gluten development is not.** Overmixing can lead to a tough cake.
- Opening the oven door too early: Resist the urge! Your cake needs its space and consistent heat to rise gracefully. Peeking too soon can make it sink.
- Frosting a warm cake: I mean, we just talked about this. Unless you’re going for a ‘deconstructed melted chocolate puddle’ vibe, let it chill out completely first.
- Using cold ingredients: **Room temperature butter and eggs mix better and make for a smoother, more emulsified batter.** Seriously, it’s a game-changer for texture.
Alternatives & Substitutions
Life happens, and sometimes you don’t have exactly what the recipe calls for. No stress!
- No self-raising flour? You can totally use plain flour! Just add 1.5 teaspoons of baking powder and half a teaspoon of bicarbonate of soda (baking soda) per 175g of plain flour.
- No caster sugar? Granulated sugar is perfectly fine, it just might be a *tad* coarser in the final crumb.
- Dairy-free? Use a plant-based milk (like oat or almond) and a good quality vegan butter alternative. It works surprisingly well!
- Want it extra dark and intense? Add a spoonful of instant coffee powder (not brewed coffee) to the batter. Trust me, it enhances the chocolate without making it taste like coffee. It’s a secret weapon, IMO.
FAQ (Frequently Asked Questions)
- Can I make cupcakes instead? Duh! Just adjust the baking time (around 15-20 minutes, depending on your oven) and fill those cases about two-thirds full.
- My cake sank in the middle! What gives? Ah, the dramatic cake. This could be due to opening the oven door too early, too much leavening, or simply an oven temperature issue. Don’t worry, it still tastes good!
- How long does this cake last? Wrapped tightly, about 3-4 days at room temperature. But let’s be honest, if it lasts that long, you’re doing something wrong. Eat it!
- Can I freeze the sponges? Absolutely! Wrap the unfrosted sponges well in cling film and foil. Thaw them completely at room temperature before frosting. Your future self will thank you for the foresight.
- Do I *have* to use good quality cocoa? Well, no, but it’s like listening to music on cheap headphones versus a proper sound system. You *can*, but why would you want to miss out on the good stuff? Better cocoa = richer chocolate flavour.
- What if I only have one cake tin? You can bake it all in one deeper tin, but it will take longer (maybe 40-50 mins) and you’ll have to slice it in half horizontally later, which can be a bit of a faff. Using two tins is easier, FYI.
Final Thoughts
See? I told you it was easy peasy lemon squeezy (but chocolatey). You just whipped up a showstopper with minimal fuss, and you didn’t even break a sweat (or at least, I hope not). This Mary Berry chocolate cake is pure comfort in edible form, perfect for any occasion – or just because it’s Tuesday.
Now go impress someone – or just yourself, because you totally deserve it. You’ve earned that slice (or three!). Happy baking, my friend!


