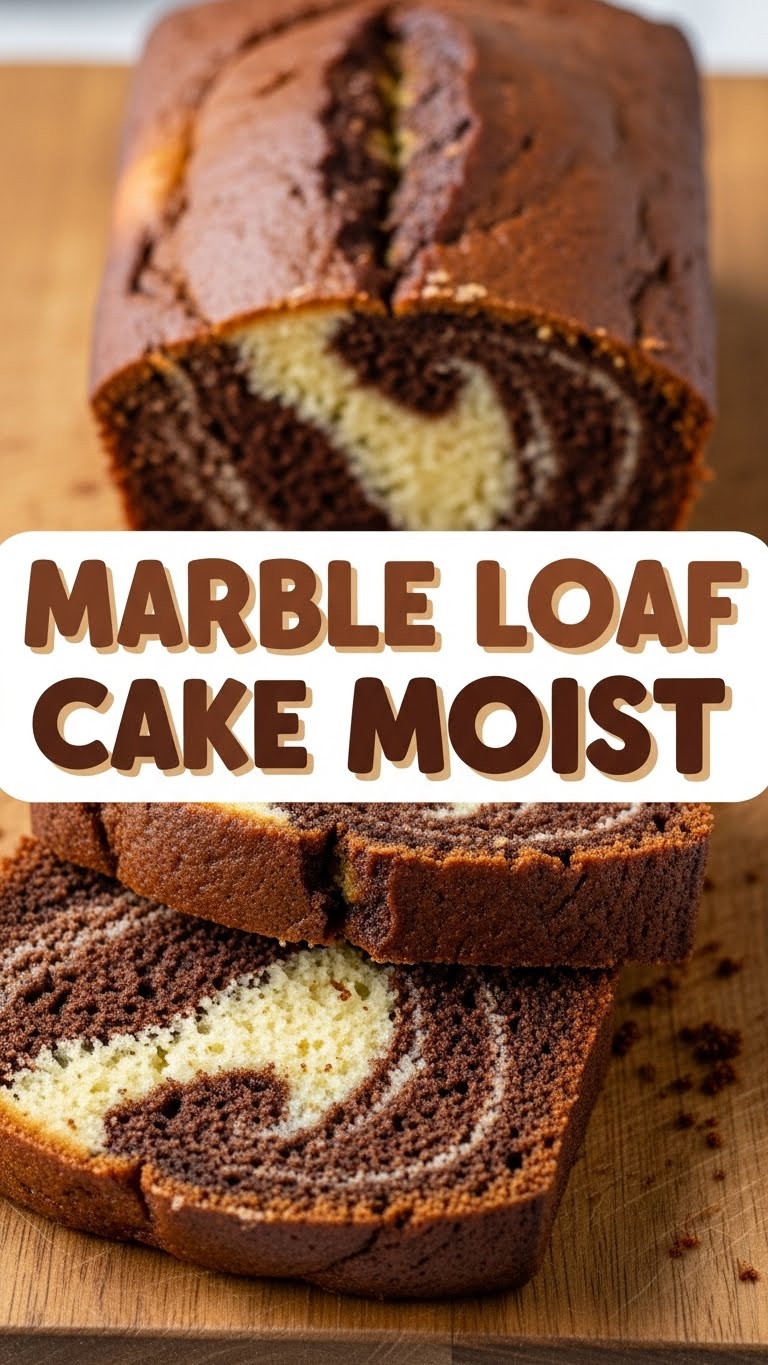
So, you’re looking for that ‘wow’ factor in your baking without, you know, actually *working* for it? Craving something moist, swirly, and totally show-off-worthy but also kinda… low-key? Friend, pull up a chair, because this Marble Loaf Cake is about to become your new best friend. Seriously, it’s so good, you’ll wonder why you ever bothered with single-flavour cakes. #Basic
Why This Recipe is Awesome
Let’s be real, life’s too short for dry cakes and complicated recipes. This marble loaf cake? It’s the Beyoncé of baked goods – flawless, moist, and a total showstopper without even trying too hard. You get two amazing flavors (vanilla and chocolate, duh) in one glorious, swirly package. Plus, it’s practically **idiot-proof**. No fancy techniques, no crazy ingredients. If I can nail it after a particularly long day, you definitely can. It’s also perfect for pretending you’re a sophisticated baker, even if your previous culinary achievement was not burning toast. You’re welcome.
Ingredients You’ll Need
Gather ’round, my budding bakers! Here’s what you’ll need to conjure up this masterpiece. Don’t worry, nothing too exotic, unless you consider butter exotic (which, fair):
- All-Purpose Flour: About 1 ½ cups. The backbone of our cakey dreams. Don’t even think about substituting with almond flour unless you’re feeling adventurous (and prepared for different results).
- Granulated Sugar: 1 cup. For sweetness, obviously. And for making your dentist happy.
- Unsalted Butter: ½ cup (that’s one stick), softened. **Crucial for moisture!** Seriously, cold butter is the enemy here. Let it sit out.
- Large Eggs: 2 of ’em. Room temperature, please! They mix better and make for a fluffier cake.
- Milk: ½ cup. Whole milk is my jam for ultimate richness, but whatever you have will work. Again, room temp if you can swing it.
- Vanilla Extract: 1 ½ teaspoons. Don’t skimp! Good vanilla makes all the difference.
- Baking Powder: 1 ½ teaspoons. Our trusty leavening agent. Makes the cake rise like your hopes on a Friday night.
- Salt: ¼ teaspoon. Just a pinch to balance the sweetness. Don’t skip it, seriously.
- Unsweetened Cocoa Powder: 2 tablespoons. This is for our chocolate swirl. Go for a good quality one, it really shines through.
Step-by-Step Instructions
- Prep Like a Pro: First things first, preheat your oven to **350°F (175°C)**. And for the love of all that is holy, grease and flour a 9×5 inch loaf pan. Or line it with parchment paper for easy lift-out. Seriously, do not skip this.
- Cream It Up: In a large bowl, beat the softened butter and sugar together until it’s light and fluffy. Like, pale yellow and airy. This takes a few minutes, so don’t rush it. This step is key for that fluffy texture.
- Egg-cellent Addition: Add the eggs one at a time, beating well after each addition. Scrape down the sides of the bowl. We want everything incorporated, no lonely butter clumps!
- Dry Mix Magic: In a separate bowl, whisk together your flour, baking powder, and salt. Give it a good mix so everything is evenly distributed.
- Alternating Awesomeness: Now, add the dry ingredients to the wet ingredients in three additions, alternating with the milk, starting and ending with the flour. So, flour, then milk, then flour, then milk, then flour. Mix just until combined after each addition. **Don’t overmix!** Overmixing = tough cake. Nobody wants a tough cake.
- Vanilla Time: Stir in the vanilla extract. Give it a gentle fold.
- Divide and Conquer: Divide your batter roughly in half into two separate bowls.
- Chocolate Transformation: To one half of the batter, gently fold in the unsweetened cocoa powder until just combined. Now you have a vanilla batter and a chocolate batter. Look at you, multi-tasking!
- Swirl Sensation: Spoon alternating dollops of vanilla and chocolate batter into your prepared loaf pan. Don’t be too neat, that’s the beauty of marble! Once all the batter is in, take a knife or skewer and gently swirl it through the batter a few times. Don’t over-swirl, or you’ll just end up with brown batter. We want marble, remember?
- Bake It Baby!: Pop that beautiful loaf pan into your preheated oven and bake for **50-60 minutes**. Or until a wooden skewer inserted into the center comes out clean. If the top starts browning too quickly, you can loosely tent it with foil.
- Cool Down: Let it cool in the pan for about 10-15 minutes before carefully transferring it to a wire rack to cool completely. Patience, young padawan. It’s worth it.
Common Mistakes to Avoid
Let’s prevent some baking disasters, shall we? Learn from my past blunders, you lucky ducks:
- Cold Ingredients: Using cold butter and eggs is a one-way ticket to a dense, sad cake. **Room temperature is your friend!** Trust me on this.
- Overmixing: Once the flour hits the batter, mix just until combined. Overmixing develops gluten, leading to a tough, chewy cake. We’re making cake, not bread!
- Skipping the Pan Prep: Thinking you can just throw batter into an ungreased pan? Rookie mistake. Your cake will laugh at you as it stubbornly clings to the metal forever.
- Over-Swirling: I know, the swirling is fun! But if you go too wild, you’ll lose that beautiful marble effect and just end up with a vaguely beige-brown cake. Less is more here.
- Impatience: Pulling the cake out too early? Undercooked center. Not letting it cool before slicing? Crumbly mess. Give it time, it’ll reward you.
Alternatives & Substitutions
Feeling a little rebellious, or just missing an ingredient? No stress, here are some ideas:
- Butter vs. Oil: You could use a neutral oil (like vegetable or canola) instead of butter for a slightly different texture, perhaps even a bit more moist. But honestly, **butter provides that rich, classic flavor** that’s hard to beat. IMO, stick to butter for the best result!
- Milk Options: Any dairy milk will work fine here. Almond milk, soy milk, oat milk? Yep, they’ll do the trick, though whole milk gives it that extra richness.
- Gluten-Free Flour: If you’re GF, a good 1:1 gluten-free baking blend (the one with xanthan gum!) should work pretty well. Adjust liquids if the batter seems too thick or thin.
- Flavour Swaps: Not feeling chocolate? You could replace the cocoa powder with a tablespoon of espresso powder for a coffee marble, or even a different flavor extract (like almond) for half the batter. Get creative!
- Add-ins: Feeling fancy? Sprinkle some chocolate chips into the chocolate batter, or even some chopped nuts for texture. Just don’t go overboard, we still want it to bake evenly.
FAQ (Frequently Asked Questions)
- Can I use margarine instead of butter? Well, technically yes, but why hurt your soul like that? Butter just tastes better and gives a superior texture. But hey, if margarine is all you have, it’s not the end of the world.
- My cake is dry! What went wrong? Oh no! Most likely culprits: overmixing the batter, too much flour (always spoon and level!), or overbaking. Get an oven thermometer, they’re super helpful!
- How do I store this masterpiece? Keep it covered tightly at room temperature for up to 3-4 days. It actually gets even *better* on day two, as the flavors meld. Or, if you want it to last longer, wrap it well and freeze slices for up to a month. Just thaw at room temp.
- Can I make this into cupcakes? Absolutely! Just fill cupcake liners about two-thirds full and bake for a shorter time, usually 18-25 minutes. Keep an eye on them!
- What’s the best way to get a good swirl? Don’t overthink it! Drop alternating dollops, then use a knife or skewer to make 2-3 gentle S-shapes through the batter. That’s it. Resist the urge to go wild, trust me.
- Why are my ingredients supposed to be room temperature? Great question! Room temperature butter creams better with sugar, incorporating more air for a lighter cake. Room temperature eggs and milk emulsify better into the batter, preventing curdling and giving a smoother, more uniform texture. It’s a small step, but it makes a **huge** difference!
Final Thoughts
Alright, superstar baker! You’ve officially conquered the majestic Marble Loaf Cake. Go ahead, bask in the glory of your moist, swirly creation. Share it, don’t share it – that’s entirely up to you (though I highly recommend sharing if you want friends). But seriously, enjoy every single crumb. Now go impress someone – or just yourself, which is arguably more important – with your new culinary skills. You’ve earned it!


