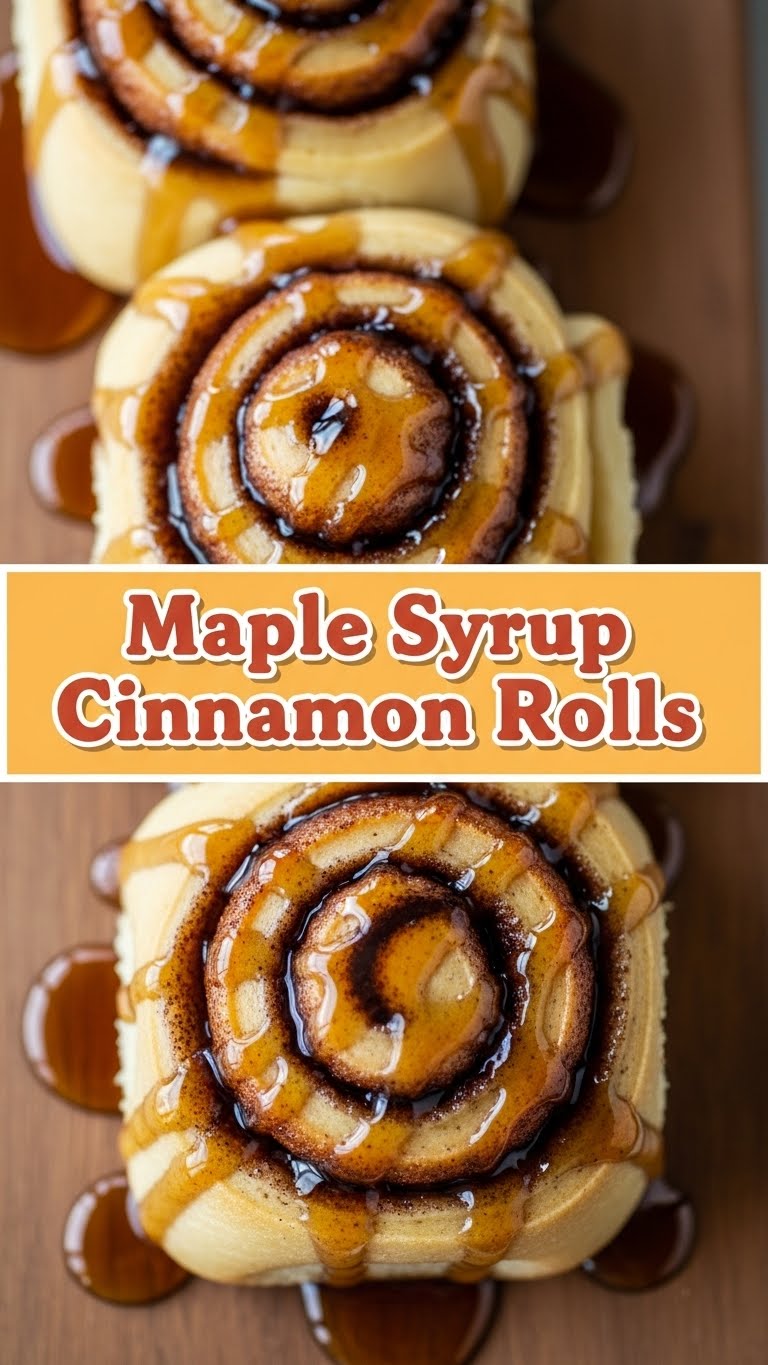
Okay, so listen up. You’ve had a week, right? You deserve something utterly decadent, something that hugs your soul and makes your taste buds sing opera. But also, you’re not trying to win any pastry chef awards tonight, and your patience for complex baking instructions is… limited. Same, friend, same. That’s why we’re diving headfirst into the glorious world of **Maple Syrup Cinnamon Rolls**. Get ready to get sticky, happy, and maybe a little bit proud.
Why This Recipe is Awesome
First off, because it’s not rocket science. Seriously, if I can make these without accidentally setting off the smoke detector (a common occurrence, FYI), then you absolutely can too. This isn’t just *any* cinnamon roll recipe; it’s a hug in carb form, drizzled with the liquid gold that is maple syrup. It’s the kind of treat that makes your house smell like a bakery, tricks people into thinking you’re a culinary genius, and uses actual maple syrup – none of that impostor corn syrup stuff. Plus, it’s pretty hard to mess up unless you actively try to sabotage it. (Don’t do that.)
Ingredients You’ll Need
Gather your troops! We’re not asking for anything too exotic here, just your usual suspects plus a few star players. Think of it as assembling your delicious baking Avengers.
- **For the Dough (the soft, fluffy cloud part):**
- **Milk:** About 1 cup (whole milk is best for richness, but whatever you have will work – don’t stress).
- **Active Dry Yeast:** 2 ¼ teaspoons (one packet usually, the stuff that makes magic happen).
- **Granulated Sugar:** ¼ cup (to wake up that yeast and add some sweetness).
- **Unsalted Butter:** ⅓ cup, melted (because everything’s better with butter, duh).
- **Egg:** 1 large (the binder, the glue, the reason it all holds together beautifully).
- **All-Purpose Flour:** 3 cups, plus more for dusting (the main character, really).
- **Salt:** ½ teaspoon (don’t skip this, it balances everything).
- **For the Filling (the sticky, sweet heart of it all):**
- **Brown Sugar:** ½ cup, packed (dark or light, your choice, but brown is key for that deep flavor).
- **Ground Cinnamon:** 1 tablespoon (yes, a full tablespoon! We’re not shy here).
- **Unsalted Butter:** ¼ cup, softened (spreadable, not melted, for smooth application).
- **For the Glaze (the glorious finishing touch):**
- **Powdered Sugar:** 1 ½ cups (also known as confectioners’ sugar, makes it smooth).
- **Maple Syrup:** ¼ cup (the *real* stuff, please! This is where we shine).
- **Milk:** 2-3 tablespoons (just enough to get that perfect drizzly consistency).
- **Vanilla Extract:** ½ teaspoon (a little extra something-something).
Step-by-Step Instructions
- **Warm the Milk:** Gently warm the milk in a small saucepan or microwave until it’s about 105-115°F (lukewarm, like a baby’s bath). It should be warm enough to activate the yeast, but not so hot it kills it!
- **Activate the Yeast:** Pour the warm milk into a large bowl. Sprinkle in the yeast and a tablespoon of the granulated sugar. Give it a gentle stir, then let it sit for about 5-10 minutes. It should get foamy – that means your yeast is alive and ready to party!
- **Make the Dough:** To the foamy yeast mixture, add the remaining granulated sugar, melted butter, egg, and salt. Stir it all together. Gradually add the flour, one cup at a time, mixing until a shaggy dough forms.
- **Knead It Out:** Turn the dough out onto a lightly floured surface. Knead it for 5-7 minutes until it’s smooth and elastic. It should spring back when you poke it. Don’t overdo it, but give it some love!
- **First Rise:** Lightly grease a clean bowl with a little oil. Place the dough in the bowl, turning it once to coat. Cover the bowl with plastic wrap or a clean kitchen towel. Let it rise in a warm place for 1 to 1 ½ hours, or until it has doubled in size. This is where patience pays off!
- **Prep the Filling:** While your dough is doing its thing, whisk together the brown sugar and cinnamon in a small bowl. Set aside the softened butter.
- **Roll ‘Em Out:** Once the dough has doubled, gently punch it down (satisfying, right?). Turn it out onto a lightly floured surface and roll it into a large rectangle, about 12×18 inches. Aim for an even thickness.
- **Spread the Love:** Spread the softened butter evenly over the entire surface of the dough, leaving about a ½-inch border on one of the long edges. Sprinkle the brown sugar-cinnamon mixture all over the butter.
- **Roll It Up:** Starting from the long edge *opposite* the border you left, tightly roll the dough into a log. Pinch the seam gently to seal it.
- **Slice and Dice:** Using a sharp knife or, even better, unflavored dental floss (seriously, try it!), cut the log into 12 even slices, about 1 ½ inches thick.
- **Second Rise:** Arrange the rolls in a lightly greased 9×13-inch baking dish. Cover with plastic wrap and let them rise again for another 30-45 minutes, or until they look puffy and cozy. Meanwhile, preheat your oven to 375°F (190°C).
- **Bake ‘Em Up:** Pop the rolls into the preheated oven and bake for 20-25 minutes, or until they’re golden brown and smell absolutely irresistible. Keep an eye on them so they don’t get too dark!
- **Whip Up the Glaze:** While the rolls are cooling slightly, whisk together the powdered sugar, maple syrup, milk, and vanilla extract in a medium bowl until smooth. If it’s too thick, add a tiny bit more milk; if too thin, a dash more powdered sugar.
- **Glaze and Devour:** Drizzle or slather that glorious maple glaze all over the warm (but not piping hot) cinnamon rolls. Serve immediately and prepare for compliments!
Common Mistakes to Avoid
Look, we all make mistakes. It’s part of the human (and baking) experience. But some mistakes are just… avoidable. Don’t be that person!
- **Killing the Yeast:** If your milk is too hot, you’ll toast your yeast, and your dough won’t rise. If it’s too cold, it won’t activate. Aim for lukewarm, like a warm bath. Not scorching, not chilly.
- **Over-flouring:** Adding too much flour makes your rolls tough and dry. Start with the suggested amount and only add more if the dough is *really* sticky and unmanageable. Resist the urge to keep adding!
- **Not Kneading Enough (or Too Much):** Under-kneading means your dough won’t develop enough gluten, leading to dense rolls. Over-kneading can make them tough. Aim for smooth and elastic, then stop.
- **Skipping the Rises:** Patience is a virtue, especially with yeasted doughs. Don’t rush the rise times; they need that time to get big, fluffy, and full of flavor. Your rolls will thank you.
- **Forgetting to Preheat the Oven:** Rookie move! A properly preheated oven ensures even baking from the start. Otherwise, your rolls might be unevenly cooked or just not rise properly.
- **Using Fake Maple Syrup:** I mean, seriously? You’re making *maple* cinnamon rolls. This is not the time for corn syrup imposters. Invest in the good stuff; your taste buds deserve it.
Alternatives & Substitutions
Feel free to get creative, my friend! This recipe is pretty forgiving. Here are a few ideas if you want to mix things up:
- **Dairy-Free?** Swap regular milk for a plant-based alternative like almond or oat milk (unsweetened, please!). Use a plant-based butter substitute (like Earth Balance) for both the dough and the filling.
- **Nutty Fun:** Want some crunch? Sprinkle some finely chopped pecans or walnuts over the cinnamon-sugar filling before rolling. It adds a lovely texture and extra flavor.
- **Spice It Up:** A tiny pinch of nutmeg or cardamom in the cinnamon filling can add another layer of warm spice. Just don’t go overboard, we still want cinnamon to be the star.
- **Less Sweet Glaze:** If you prefer your glaze a little less intense, reduce the powdered sugar slightly or add a bit more milk to thin it out. Or, skip the glaze entirely and just dust with powdered sugar – though, honestly, why would you?
- **No Yeast?** Okay, this is a bigger substitution, and you’d need a whole different recipe for “quick” rolls using baking powder. So, for *this* recipe, stick with the yeast. It’s worth it!
FAQ (Frequently Asked Questions)
- **Can I make these ahead of time?** Absolutely! You have a couple of options:
- **Overnight Rise:** After placing the cut rolls in the baking dish for the second rise (Step 11), cover them tightly and pop them in the fridge overnight. In the morning, take them out and let them come to room temperature for about an hour before baking.
- **Baked & Frozen:** Bake them, let them cool, then freeze them (unglazed!) in an airtight container. Thaw and warm in the oven, then glaze.
- **My dough isn’t rising! What did I do wrong?** Uh oh. Most likely, your yeast was either dead (expired, or killed by too-hot milk) or the environment wasn’t warm enough. Double-check your yeast’s expiry date next time, and ensure your milk temperature is spot on!
- **Can I use margarine instead of butter?** Well, technically yes, but why hurt your soul like that? Butter just tastes better, IMO. It’s richer, creamier, and gives these rolls that extra something special. If you’re going for dairy-free, use a good quality plant-based butter alternative.
- **How do I store leftovers?** If there *are* any leftovers (a big “if” in my house!), store them in an airtight container at room temperature for up to 2-3 days. Reheat briefly in the microwave or oven for that fresh-baked feel.
- **Can I add more maple syrup to the filling?** You *could*, but it might make the filling too wet and gooey, causing it to ooze out too much. Better to stick with the recipe for the filling and let the glorious maple glaze do the heavy lifting in that department.
- **What’s the trick to cutting perfect rolls?** Dental floss! Seriously, slide a piece of unflavored dental floss under the log, cross the ends over the top, and pull. It creates super clean cuts without squishing your beautiful dough. Try it!
Final Thoughts
And there you have it, folks! You just made a batch of the most ridiculously delicious, soul-warming Maple Syrup Cinnamon Rolls. Feel proud, you kitchen wizard, you! These aren’t just breakfast; they’re an experience. So go on, grab a warm roll (or three), make a cup of coffee, and revel in your triumph. You earned it. Now go impress someone—or yourself—with your new culinary skills. Happy baking!


