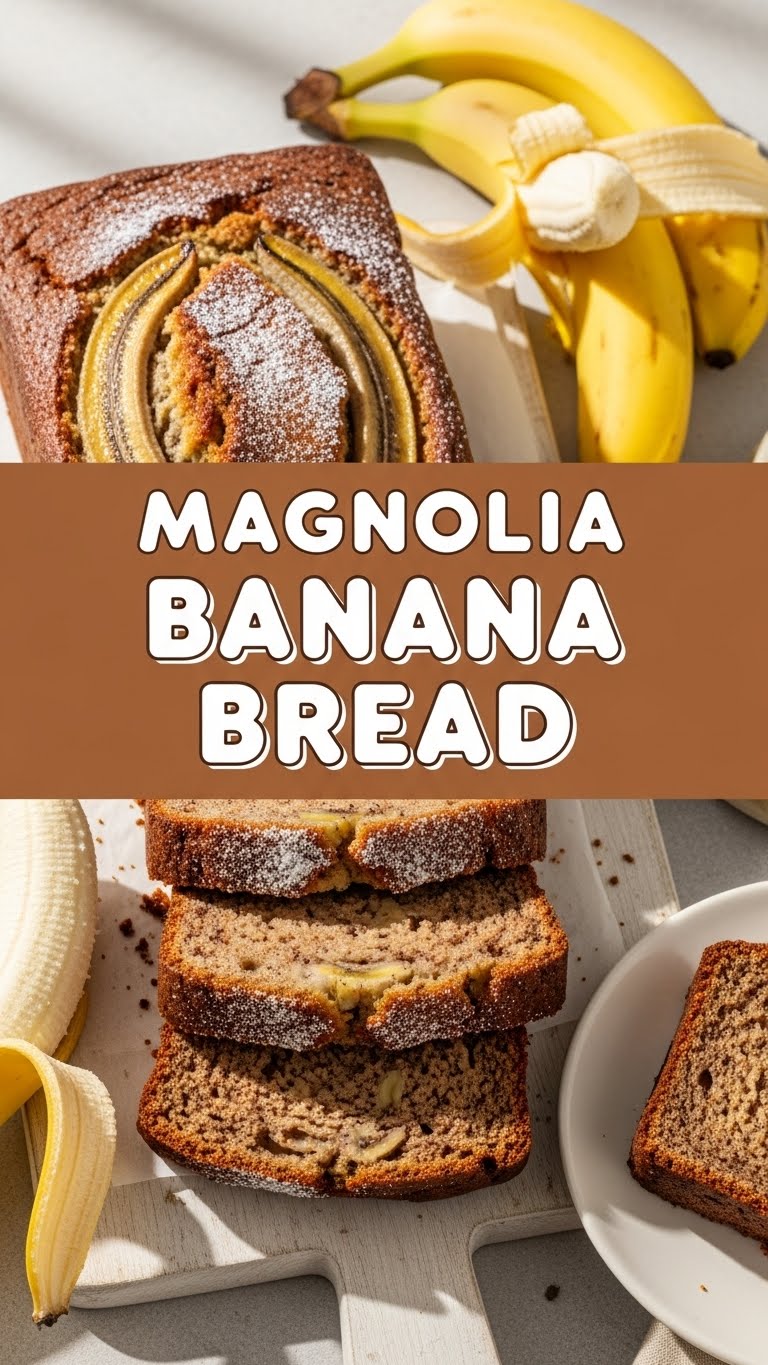
So, you’ve got some spotty, slightly bruised bananas staring at you from the counter, practically judging your life choices, right? Don’t even think about tossing those beautiful brown bois! Instead, let’s transform them into a warm, comforting hug in bread form. We’re diving headfirst into the legendary Magnolia Bakery Banana Bread, but without the pressure of, well, being a professional baker. You totally got this.
Why This Recipe is Awesome
Seriously, this isn’t just *any* banana bread. This is the banana bread. It’s moist, it’s packed with flavor, and it’s practically a no-fail situation. Even if your culinary skills usually peak at boiling water (no judgment!), you’ll nail this. It’s so straightforward, it’s practically idiot-proof. Which, let’s be honest, is a huge win for all of us who’ve set off the smoke alarm trying to make scrambled eggs. Plus, it makes your entire home smell like a warm, sugary dream. You’re welcome.
Ingredients You’ll Need
Gather your troops! Here’s what you’ll need to make this magic happen:
- Ripe Bananas (3-4 medium): The browner, the better! We’re talking “almost-compost” levels of ripeness for maximum sweetness. Don’t be shy.
- All-Purpose Flour (1 ½ cups): The trusty backbone of all things baked and delicious.
- Granulated Sugar (1 cup): Sweetness! Because life’s too short for bland banana bread.
- Egg (1 large): Our glorious binder, ensuring everything sticks together like a happy family.
- Unsalted Butter (½ cup, melted): Adds richness and makes everything better. Melt it and let it cool a bit.
- Baking Soda (1 teaspoon): Our lift-off agent. Skip it at your own risk if you prefer banana bricks over fluffy bread.
- Salt (½ teaspoon): Balances all that sweetness and brings out the flavors. Trust me on this.
- Vanilla Extract (1 teaspoon): The secret weapon for an extra layer of “OMG this is good!”
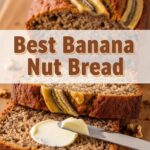
- Optional: Chocolate Chips or Chopped Nuts (½ cup): Because sometimes, you just need a little extra pizzazz in your life (and your bread).
Step-by-Step Instructions
Alright, let’s get our bake on! Follow these super simple steps:
- Preheat & Prep: Get your oven warmed up to 350°F (175°C). Then, grease and flour a 9×5-inch loaf pan. Don’t skip the greasing unless you want to wrestle your bread out later.
- Mash ‘Em Up: In a medium bowl, take those gloriously ripe bananas and mash ’em up with a fork. Feel free to leave some small chunks if you like a bit of texture in your bread!
- Wet Ingredients Whirlwind: Whisk the melted (and slightly cooled) butter, sugar, and egg into the mashed bananas until they’re just combined. Stir in the vanilla extract.
- Dry Ingredients Dance: In a separate bowl, whisk together the flour, baking soda, and salt. Make sure it’s all nicely mixed.
- Combine Forces: Gradually add the dry ingredients to the wet ingredients. Mix just until combined. Seriously, folks, overmixing is the sworn enemy of tender banana bread!
- Add-Ins (Optional Fun): If you’re using chocolate chips or nuts, gently fold them into the batter now.
- Bake Time! Pour the glorious batter into your prepared loaf pan. Pop it into the oven and bake for 50-60 minutes, or until a wooden skewer or toothpick inserted into the center comes out clean.
- Cool Down: Let your masterpiece cool in the pan for about 10 minutes before transferring it to a wire rack. Then, let it cool completely. Or, you know, just slice into it warm because self-control is often overrated when banana bread is involved.
Common Mistakes to Avoid
We’ve all been there, made a few blunders. Here are some to dodge like a pro:
- Using Under-Ripe Bananas: This is a biggie. They won’t mash well, and you’ll miss out on that intense banana flavor and natural sweetness. Patience, my friend, wait for the spots!
- Overmixing the Batter: As mentioned, this is a no-no. It develops the gluten too much, resulting in a tough, chewy bread instead of a soft, tender one. Mix until *just* combined.
- Not Preheating Your Oven: Rookie mistake! Your bread won’t bake evenly, and you might end up with dense spots. Give that oven time to get to temperature.
- Forgetting to Grease the Pan: Unless you fancy a game of “pry the bread out with a spatula,” grease and flour that pan properly.
- Baking for Too Long: A dry loaf is a sad loaf. Start checking around the 45-minute mark; an extra few minutes can make all the difference.
Alternatives & Substitutions
Feeling a little rebellious, or just missing an ingredient? No worries, we’ve got options!
- No Unsalted Butter? Use salted, but just reduce the added salt in the recipe to ¼ teaspoon. Easy peasy.
- Out of White Sugar? Brown sugar works wonderfully and adds a lovely, deeper molasses note. IMO, it makes it even more decadent.
- Want it Healthier-ish? Swap half the all-purpose flour for whole wheat pastry flour. Just don’t go for 100% whole wheat unless you’re aiming for a very dense loaf.
- Vegan Vibes? Replace the egg with a “flax egg” (1 tbsp ground flaxseed + 3 tbsp water, let it sit for 5 mins) and use plant-based butter.
- Extra Add-Ins: Get wild! Walnuts, pecans, shredded coconut, or even a swirl of Nutella before baking. Your kitchen, your rules!
FAQ (Frequently Asked Questions)
- “Can I use less sugar? I’m watching my intake.” Well, technically yes, but it might affect the texture a bit and obviously, it’ll be less sweet. I wouldn’t go below ¾ cup for the best flavor and texture.
- “My bananas aren’t super ripe. Can I still use them?” You *can*, but your bread won’t be as sweet or flavorful. Pro tip: You can ripen them faster by baking them unpeeled on a baking sheet at 300°F (150°C) for 15-30 minutes until they turn black. Magic!
- “How long does it last?” Covered tightly at room temperature for 2-3 days, or in the fridge for up to a week. It also freezes beautifully for up to 3 months! FYI, it often tastes even better the next day.
- “Can I make muffins instead?” Absolutely! Pour the batter into a greased muffin tin (fills about 12) and bake for 20-25 minutes, or until a toothpick comes out clean.
- “Is there a gluten-free option?” Yep! Use a 1:1 gluten-free baking flour blend. Just make sure it contains xanthan gum for the best structure.
Final Thoughts
See? That wasn’t so scary, was it? You just whipped up a legendary loaf of Magnolia-level banana bread without breaking a sweat! Now go impress someone—or yourself—with your new culinary skills. Slice it thick, maybe slather on some extra butter (because why the heck not?), and enjoy every glorious, comforting bite. You’ve earned this carb-tastic reward. Happy baking, my friend!

