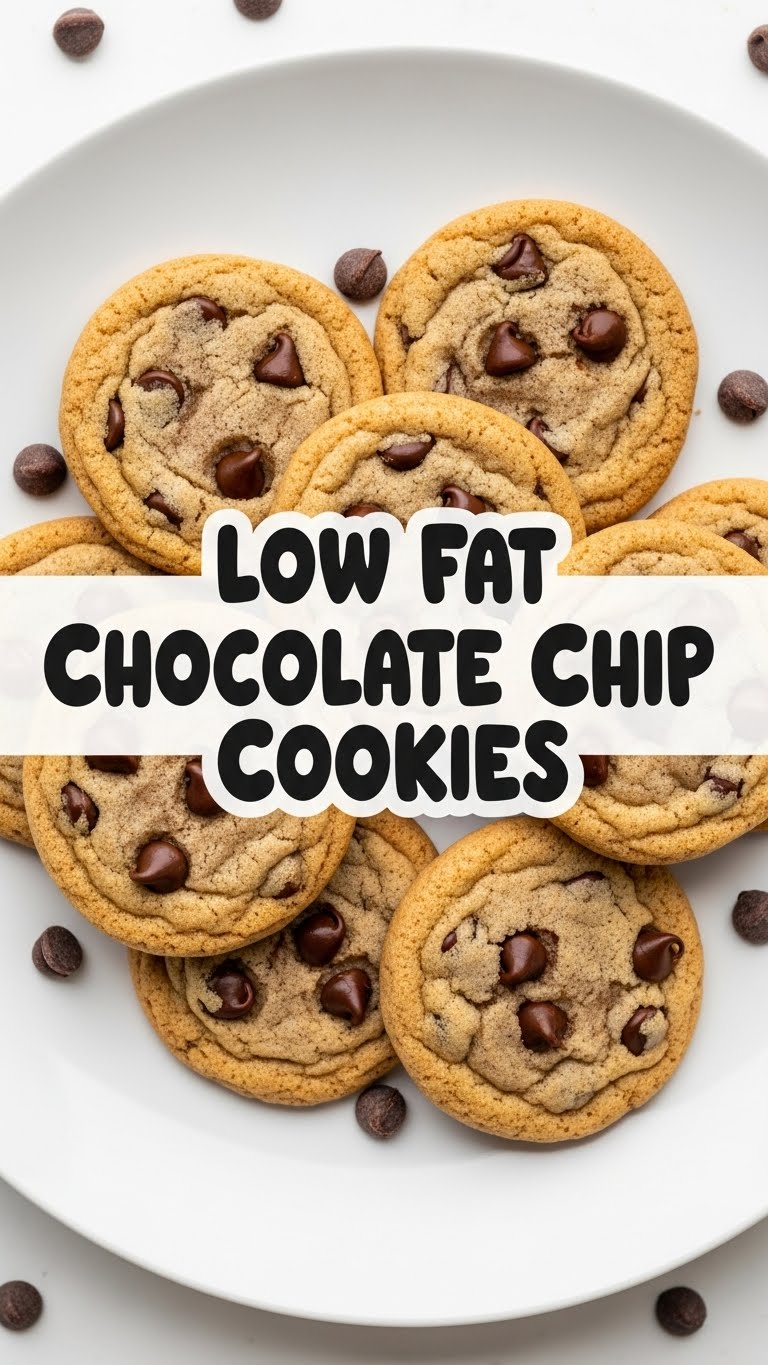
Okay, spill it. You’re scrolling, dreaming of something warm, gooey, chocolatey, but also secretly wishing it wouldn’t immediately register as “dessert overload” on your hips, right? Yeah, me too. We’ve all been there, hovering over the cookie jar, contemplating the sheer joy versus the imminent guilt. But what if I told you there’s a way to have your chocolate chip cookie and eat it too, without immediately needing to repent with a kale smoothie? Stick with me, friend, because we’re about to dive into the magical realm of low-fat chocolate chip cookies that actually taste like… well, *cookies*!
Why This Recipe is Awesome
Listen, I get it. “Low-fat” usually sounds like “low-fun” or “low-flavor.” But not today, buttercup! This recipe is basically a superhero in disguise. It’s for those times when you want to feel a *little* virtuous while still indulging your inner cookie monster. We’re talking chewy, chocolate-packed goodness, just without all the… well, *all the things* that usually make chocolate chip cookies an Olympic event for your waistline. Plus, **it’s ridiculously easy.** Seriously, even if your culinary skills peak at making toast, you’re going to crush this. Consider this your cheat code to guilt-free (or at least *less* guilty) snacking. You’re welcome.
Ingredients You’ll Need
No fancy, obscure stuff here. Most of this is probably already lurking in your pantry. We’re keeping it real.
- **All-Purpose Flour:** About 1 ½ cups. The good old reliable.
- **Baking Soda:** ½ teaspoon. Our little leavening fairy, making things rise.
- **Salt:** ½ teaspoon. Don’t skip it, it brings out all the flavors!
- **Brown Sugar (packed):** ½ cup. For that chewy, caramelized goodness.
- **Granulated Sugar:** ¼ cup. Just enough for a touch of crispness.
- **Reduced-Fat Butter (softened):** 4 tablespoons (that’s half a stick). This is where we start our low-fat wizardry!
- **Unsweetened Applesauce:** ¼ cup. Our secret weapon for moisture and replacing more fat! **Don’t use the chunky kind, unless you like apple lumps in your cookies.**
- **Large Egg:** 1. The binder, the glue, the lifeblood.
- **Vanilla Extract:** 1 teaspoon. Because vanilla makes everything better, duh.
- **Chocolate Chips:** 1 cup. Semi-sweet is classic, but hey, you do you! Milk, dark, white – whatever your chocolate-loving heart desires.
Step-by-Step Instructions
Get ready, chef! This is going to be quicker than deciding what to binge-watch next.
- **Preheat Power:** First things first, get that oven fired up to **375°F (190°C)**. Line a baking sheet with parchment paper. Trust me on the parchment; cleanup is a breeze.
- **Dry Team Assemble:** In a medium bowl, whisk together your flour, baking soda, and salt. Give it a good mix, then set it aside.
- **Wet Wonders Unite:** In a larger bowl, cream together the softened reduced-fat butter, brown sugar, and granulated sugar until it’s light and fluffy. This usually takes a couple of minutes with an electric mixer, or a solid arm workout if you’re going old-school with a spoon.
- **The Low-Fat Magic:** Beat in the unsweetened applesauce, egg, and vanilla extract until everything is nicely combined. It might look a little looser than traditional cookie dough, and that’s totally normal for our low-fat version!
- **Combine Forces:** Gradually add the dry ingredients to the wet ingredients, mixing on low speed (or by hand) until just combined. **Do NOT overmix!** Overmixing leads to tough cookies, and nobody wants a tough cookie.
- **Chocolate Time!** Fold in those glorious chocolate chips. Get them evenly distributed so every bite is a chocolatey dream.
- **Scoop ‘n Drop:** Drop rounded tablespoons of dough onto your prepared baking sheet, leaving a couple of inches between them. They like their personal space.
- **Bake ’em Up:** Pop them in the preheated oven for **9-11 minutes**, or until the edges are golden brown and the centers look set but still a little soft. Remember, every oven is a unique snowflake, so keep an eye on ’em!
- **Cool Down:** Let them cool on the baking sheet for a few minutes before transferring them to a wire rack to cool completely (or, you know, eat a few warm ones. I won’t tell).
Common Mistakes to Avoid
Even though this recipe is super chill, there are a few rookie errors that can turn your cookie dreams into cookie screams. Don’t be that person!
- **Overmixing the Dough:** Seriously, stop once the flour is just incorporated. Think of it like a delicate dance, not a wrestling match. Overmixing develops the gluten too much, giving you hockey pucks instead of soft cookies.
- **Not Preheating the Oven:** Thinking you can just shove them in a cold oven and magically expect perfection? Nope. A properly preheated oven ensures even baking from the get-go.
- **Substituting Random Ingredients Willy-Nilly:** While I give alternatives below, don’t just swap out the applesauce for, say, orange juice, unless you’re aiming for a very… *unique* flavor profile. Stick to the script, at least for your first batch.
- **Baking Too Long:** Those extra couple of minutes might seem harmless, but they can turn your soft, chewy cookies into crunchy, dry discs. **Pull them out when they look *just* done.** They’ll continue to set a bit as they cool.
Alternatives & Substitutions
Feeling a little rebellious? Here are some tweaks you can make without completely derailing your delicious journey:
- **Flour Power:** Want to go a bit healthier? Swap out half of the all-purpose flour for **whole wheat pastry flour**. It’ll add a nuttier flavor and some extra fiber without making them too dense. **IMO**, it’s a great compromise!
- **Sweet Swaps:** If you’re really trying to cut sugar, you could try a granulated sugar substitute, but be aware it might change the texture slightly. Brown sugar is key for chewiness, so I’d recommend keeping that if possible.
- **Chocolate Adventures:** Use mini chocolate chips for more chocolate in every bite, or mix in some white chocolate chips or even chopped nuts (like walnuts or pecans) for added texture and flavor.
- **Spice it Up:** A pinch of cinnamon or a tiny dash of nutmeg can add a wonderful warmth to these cookies, especially in the fall or winter.
- **No Applesauce? No Problem (Maybe):** You *could* try mashed banana or pureed pumpkin as a fat substitute, but those will definitely impart their own flavor. Applesauce is generally the most neutral.
FAQ (Frequently Asked Questions)
Got questions? I’ve got (casual) answers!
- **Can I make the dough ahead of time?** Absolutely! You can chill the dough in the fridge for up to 2-3 days. Chilling often deepens the flavor and can make for a slightly chewier cookie. Just let it sit out for 10-15 minutes before scooping if it’s too firm.
- **My cookies spread too much! What went wrong?** Usually, this means your butter was too soft (or melted!), or your oven wasn’t hot enough. Make sure your butter is softened but still cool to the touch, not melty. Also, double-check that oven temp!
- **Can I use regular butter instead of reduced-fat?** Well, yes, but then they wouldn’t be “low-fat” anymore, would they? If you’re not bothered by the extra fat, go for it – they’ll be even richer, but that defeats the whole purpose of *this* recipe, **FYI**!
- **How do I store these cookies?** Keep them in an airtight container at room temperature for up to 3-4 days. If you’re feeling ambitious, you can even freeze the baked cookies or the dough balls for later!
- **Are these going to taste *exactly* like a full-fat cookie?** Let’s be real, a tiny part of your brain might notice a slight difference in richness. But the vast majority of your taste buds will be too busy celebrating the chewy, chocolatey goodness to complain. They’re seriously delicious in their own right!
Final Thoughts
See? That wasn’t so scary, was it? You just whipped up a batch of delicious, low-fat chocolate chip cookies without breaking a sweat (or the bank, or your healthy eating goals entirely). So go on, treat yourself. Grab a warm cookie, maybe a glass of milk (or another kale smoothie, if you’re really trying to balance it out). You’ve earned this moment of pure, unadulterated, slightly-less-guilty joy. Now go impress someone—or yourself—with your new culinary skills. You rock!


