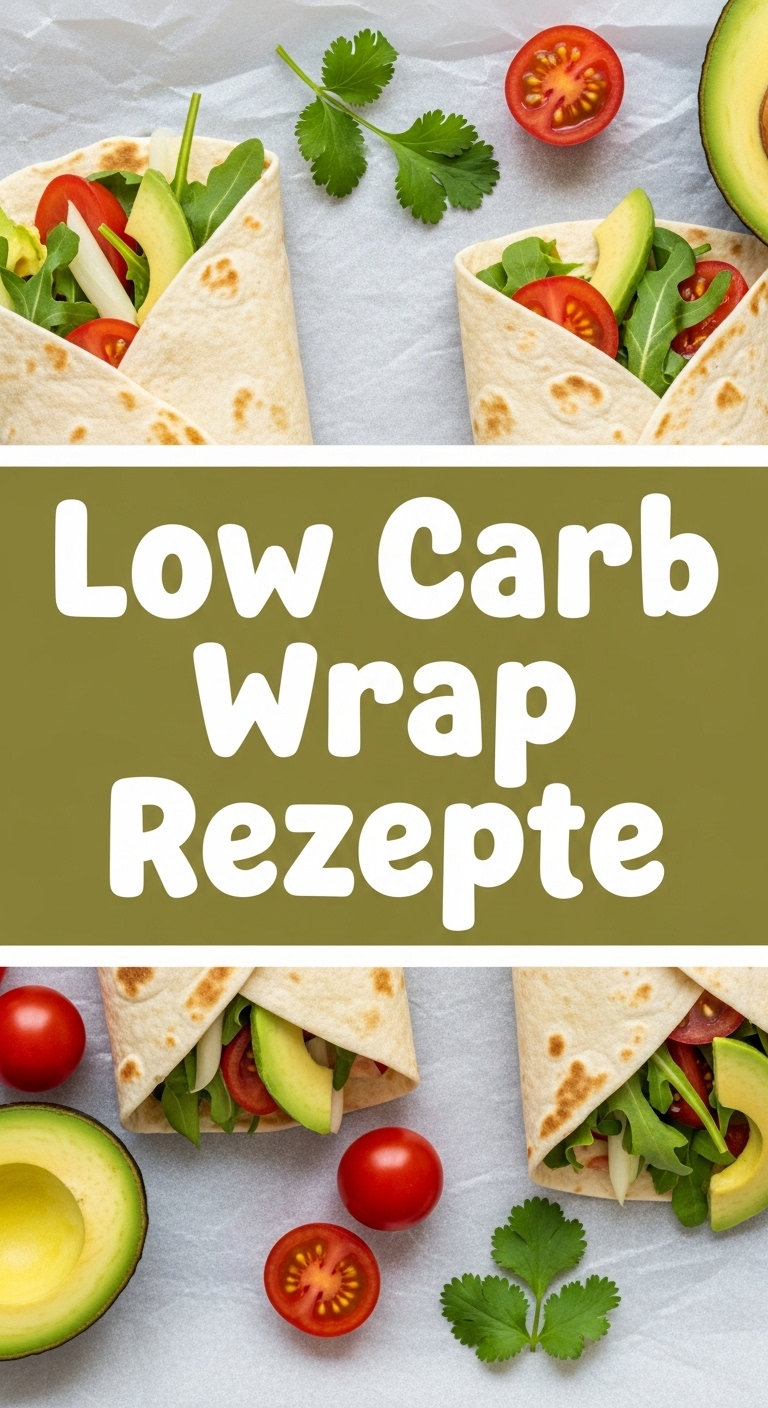
So you’re craving something tasty but too lazy to spend forever in the kitchen, huh? Same, friend, same. And you want it to be *kinda* healthy, but without sacrificing all the joy? Welcome to my world! Today, we’re diving headfirst into the glorious universe of **Low Carb Wraps**. Forget those flimsy, flavorless lettuce cups (unless you’re into that, no judgment!). We’re making actual, bendy, delicious wraps that won’t make you feel like you’re eating a diet plank. Get ready to have your mind (and your taste buds) blown!
Why This Recipe is Awesome
Okay, so why this particular low-carb wrap recipe, you ask? Because, my dear friend, it’s practically magic. Seriously. It’s:
- **Idiot-proof:** Even I, a person who once set off a smoke detector making toast, can nail this. So you definitely can.
- **Super Quick:** We’re talking minimal effort, maximum deliciousness. Perfect for those “hangry now” moments.
- **Guilt-Free (ish):** It’s low-carb, so you can totally tell yourself you’re being a health guru while devouring something utterly delightful. You’re basically winning at life.
- **Versatile AF:** These wraps are your canvas! Fill them with anything your heart desires. Seriously, anything.
- **Budget-Friendly:** No fancy, obscure ingredients required. Just a few kitchen staples you probably already have lurking in your fridge.
Ingredients You’ll Need
Gather ’round, fellow culinary adventurers! Here’s what you’ll need for your low-carb wrap base. For the filling, well, that’s your creative playground, but I’ll give you a quick idea.
For the Wraps (makes about 4-5 wraps)
- **4 oz (113g) Cream Cheese:** Full fat, please! This is where the magic happens. Don’t skimp, don’t go low-fat. Your taste buds will thank you.
- **2 Large Eggs:** The glue that holds our dreams together.
- **1/4 cup Almond Flour (super fine):** Crucial for texture. Don’t sub with regular flour unless you want a gluten-y disaster. Trust me.
- **1/4 tsp Garlic Powder:** Because garlic makes everything better, even wraps.
- **Pinch of Salt:** Just to bring out all those glorious flavors.
- **Optional: 1/4 tsp Psyllium Husk Powder:** For extra flexibility and a less “eggy” taste. If you have it, use it! If not, no biggie.
For a Quick & Delicious Filling Idea (because you asked!)
- Cooked chicken, shredded or diced
- Your favorite crunchy lettuce (romaine, butter lettuce)
- Sliced avocado (because healthy fats are our friends!)
- A dollop of sugar-free ranch dressing or a squeeze of mayo
Step-by-Step Instructions
Alright, apron on (or not, we’re informal here!), let’s get cooking. This is so easy, you might just wonder why you haven’t done it sooner.
- **Preheat Power:** First things first, get your oven ready! Set it to **325°F (160°C)**. While it’s heating, grab a baking sheet and line it with parchment paper. This is key, people, unless you enjoy scrubbing.
- **Melt & Mingle:** In a microwave-safe bowl, zap the cream cheese for about 30-45 seconds until it’s super soft and melty. This makes mixing a breeze.
- **Whisk Away:** Add the eggs to the melted cream cheese. Whisk them vigorously until everything is smooth and creamy. No lumpy bits allowed!
- **Flour Power:** Now, fold in the almond flour, garlic powder, salt, and the optional psyllium husk powder. Mix until just combined. Don’t overmix! We want a smooth, pourable batter, not a tough one.
- **Pour & Spread:** Carefully pour about 1/4 to 1/3 cup of batter onto your prepared parchment paper. Using the back of a spoon or an offset spatula, gently spread it into a thin, even circle, roughly 6-8 inches in diameter. **The thinner, the better for flexibility!**
- **Bake to Perfection:** Pop that baking sheet into the preheated oven. Bake for **10-15 minutes**. You’re looking for the edges to be lightly golden and the center to be set and firm. Keep an eye on them—ovens vary!
- **Cool Down:** Once baked, carefully slide the parchment paper off the hot tray and onto a cooling rack. Let the wraps cool completely. This is crucial for them to firm up and become pliable. Don’t rush this step, IMO.
- **Fill ‘er Up!** Once cool, gently peel the wraps from the parchment paper. They should come right off. Now, load ’em up with your chosen delicious fillings. Fold, roll, and enjoy!
Common Mistakes to Avoid
We’ve all been there, staring at a kitchen disaster. To save you from culinary heartbreak, here are a few rookie mistakes to dodge:
- **Not Spreading Thin Enough:** If your wraps are too thick, they’ll be more like mini-frittatas than bendy wraps. Spread ’em out, baby!
- **Overbaking:** Think of your wraps as delicate beings. Too long in the oven, and they’ll get crispy, dry, and prone to cracking. We want pliable, not brittle.
- **Ignoring the Parchment Paper:** Thinking you can just grease a pan? Haha, good luck with that. Use parchment, or you’ll be scraping.
- **Trying to Peel While Hot:** Patience, young padawan! Hot wraps are fragile. Let them cool fully, and they’ll peel off like a dream.
- **Using Cold Cream Cheese:** Trying to mix cold cream cheese is like trying to convince a cat to take a bath – it’s just not going to go well. Soften it first!
Alternatives & Substitutions
Feeling adventurous? Or maybe you’re out of something? No worries, I got you.
- **Flour Swap:** While almond flour is king here, you *can* experiment with a tiny bit of coconut flour (like 1-2 tablespoons instead of 1/4 cup almond flour), but be warned, it’s super absorbent and the texture will be different – more dense. **Stick to almond flour for your first go!**
- **Cheese Whiz:** Don’t have cream cheese? You could potentially use softened goat cheese or even a blend of mozzarella and egg for a different kind of wrap, but the cream cheese gives that classic bendy texture.
- **Spice it Up:** Feeling plain? Add a pinch of onion powder, Italian seasoning, or a dash of chili flakes to the batter for a flavor kick. **FYI**, smoked paprika is also amazing in these!
- **Filling Frenzy:** Get creative! Leftover taco meat, a fried egg and bacon for breakfast, smoked salmon and cream cheese, hummus and veggies… the world is your oyster!
FAQ (Frequently Asked Questions)
Got questions? I probably already thought of them (or made the mistake myself).
Q: Can I make these ahead of time?
A: Absolutely! Make a batch, let them cool, stack them with parchment paper in between, and store them in an airtight container in the fridge for 3-4 days. Easy peasy meal prep!
Q: Can I freeze them?
A: You bet! Stack them with parchment paper and freeze in an airtight bag or container for up to a month. Thaw in the fridge overnight or gently on the counter before filling.
Q: My wraps are breaking when I roll them, what gives?
A: A couple of culprits here: either they were baked too long (making them dry and brittle), or they weren’t spread thin enough. Make sure they’re pliable and thin!
Q: Can I pan-fry these instead of baking?
A: Technically yes, but the texture will be different – usually a bit more like a crepe. If you do, use a non-stick pan over medium-low heat, cooking until set and lightly golden on both sides.
Q: What if I don’t have psyllium husk powder?
A: No biggie! Your wraps might be slightly more delicate and a tad more “eggy,” but they’ll still be delicious and totally usable. It’s just a little bonus for texture.
Q: Are these good for breakfast?
A: Um, YES! Fill them with scrambled eggs, bacon, cheese, and a dash of hot sauce. You’ll thank me later. Seriously, TBH, breakfast wraps are my fave use for these.
Final Thoughts
So there you have it, your new go-to for healthy-ish, delicious, and incredibly versatile low-carb wraps! No more sad desk lunches or giving up on your favorite wrap combos. You’ve just unlocked a whole new level of culinary freedom. Now go impress someone—or yourself—with your new kitchen wizardry. You’ve earned it!

