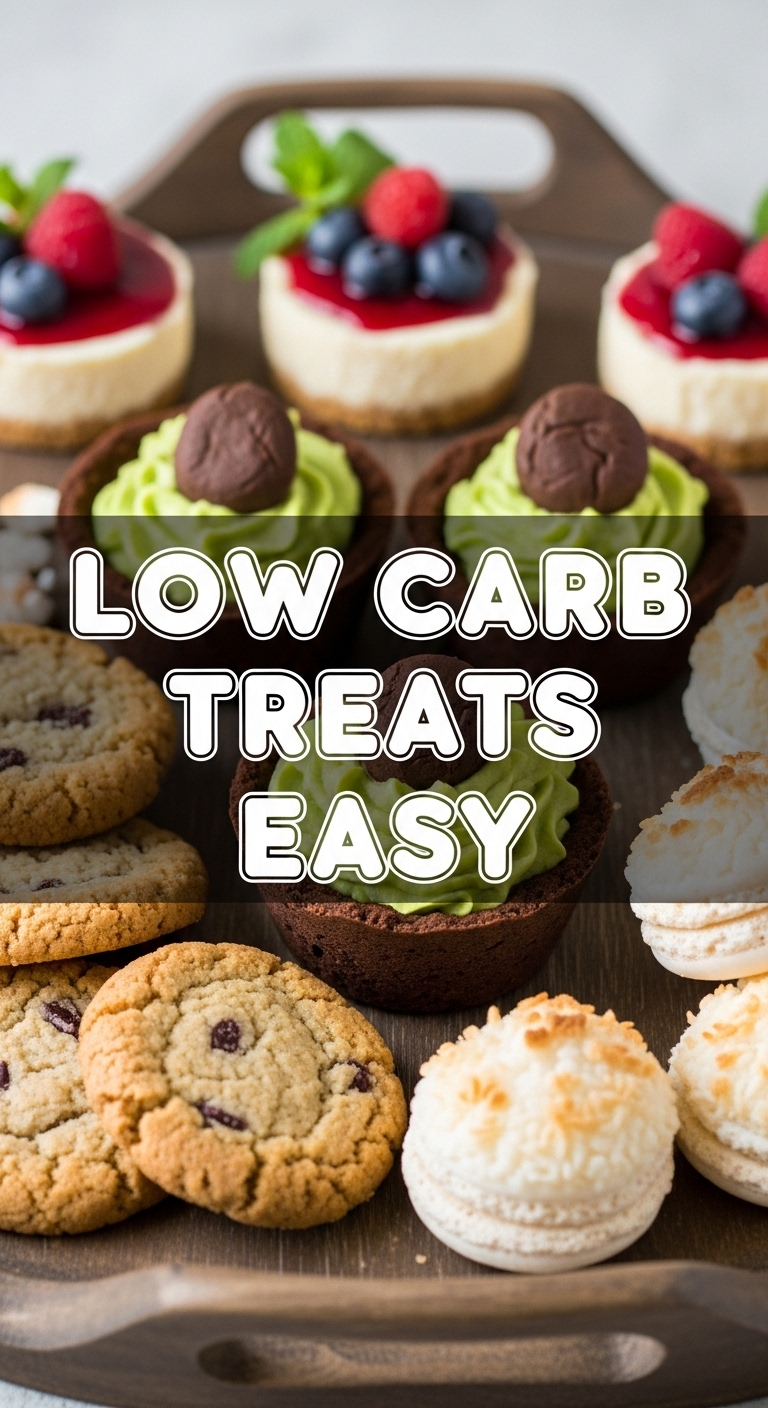
So you’re craving something tasty but too lazy to spend forever in the kitchen, huh? Same, friend, *same*. We’ve all been there: that deep, primal urge for a treat, but the thought of complex baking, measuring a bazillion things, and then, *gasp*, cleaning up? Hard pass. Especially when you’re trying to keep things low-carb and avoid that sugar crash that makes you want to nap under your desk.
Why This Recipe is Awesome
Listen up, because this isn’t just *a* recipe; it’s a game-changer. It’s for those moments when your sweet tooth is screaming but your motivation is whispering sweet nothings about ordering takeout. This isn’t just easy; it’s practically idiot-proof. Seriously, even I didn’t mess it up, and my kitchen skills usually peak at boiling water. This recipe requires no oven, minimal ingredients, and tastes like you spent way more effort than you actually did. Plus, it’s low-carb, so you can totally tell yourself it’s practically health food. Win-win-win!
Ingredients You’ll Need
Get ready for the most shockingly short grocery list ever. You probably have most of this stuff lurking in your pantry already. No obscure, ancient herbs required!
- 1 cup creamy almond butter (or any nut butter you love): Make sure it’s the no-sugar-added kind. We’re being good here, remember? Unless you’re a rebel, then do you.
- 1/2 cup unsweetened cocoa powder: The good stuff! Dark, rich, and ready to party.
- 1/4 cup sugar-free powdered sweetener: Erythritol, monk fruit, xylitol – whatever floats your low-carb boat. The powdered kind mixes better and avoids that gritty texture. Trust me on this one.
- 2-4 tablespoons coconut oil (melted): This is our secret weapon for creaminess and helping everything stick together beautifully.
- Optional: 1/2 teaspoon vanilla extract: Because vanilla makes everything just a little bit better, IMO.
- Optional: Pinch of salt: Seriously, a tiny bit makes the chocolate POP. Don’t skip it if you want that “chef’s kiss” moment.
Step-by-Step Instructions
Alright, time to get down to business. Prepare to be amazed by how quickly you’ll become a dessert wizard.
- Grab a medium-sized mixing bowl. You know, the one that’s not *too* big, not *too* small.
- Dump in the almond butter, cocoa powder, and your chosen sugar-free sweetener. If you’re using vanilla and salt, toss those in now too.
- Pour in 2 tablespoons of the melted coconut oil. Now, get ready to stir. And stir. And stir some more. You want to mix this until it’s a thick, uniform dough.
- If the mixture seems too dry and crumbly to form into balls, add the remaining coconut oil, one tablespoon at a time, mixing thoroughly after each addition. The goal is a consistency that you can easily roll without it falling apart.
- Once you’ve got your perfect dough, grab a tablespoon and scoop out small portions. Roll them into cute little bite-sized balls.
- Place your newly formed bliss bites on a plate or a baking sheet lined with parchment paper.
- Pop ’em in the fridge for at least 30 minutes, or the freezer for 15 minutes, until they’re firm. This is crucial, folks!
- Remove from the fridge/freezer and try not to eat them all in one go. Good luck with that!
Common Mistakes to Avoid
Even though this recipe is practically foolproof, there are a few rookie errors that could derail your journey to low-carb bliss. Learn from my mistakes, so you don’t have to make your own!
- Skipping the chilling step: Seriously, don’t. These treats need their beauty sleep (aka chill time) to firm up properly. If you try to eat them before they’re firm, you’ll have a sad, gooey mess instead of a delightful bite. Patience is a virtue, especially in dessert making.
- Using granulated sweetener: Unless it’s finely powdered, you’ll end up with a gritty texture that feels like sand in your mouth. Nobody wants that. Always opt for powdered sugar-free sweetener for no-bake recipes.
- Adding too much coconut oil at once: It’s tempting to just glug it all in, but too much oil will make your mixture overly sticky and hard to roll. Add it gradually, like a true culinary artist.
- Thinking you can eyeball measurements for the first time: While I advocate for living on the edge, for your *first* batch, try to stick to the measurements. Once you know the texture, then you can go rogue.
Alternatives & Substitutions
Feeling adventurous? Or just realized you’re out of almond butter (the horror!)? No worries, here are some easy swaps and additions to keep things interesting:
- Nut Butter: Peanut butter, cashew butter, sunflower seed butter (for nut-free options) all work great. Just make sure they’re natural and unsweetened. Each will give a slightly different flavor profile, so experiment! I’m partial to almond butter myself, but peanut butter is a classic for a reason.
- Flavor Boosters: Add a tiny pinch of cayenne pepper for a subtle spicy kick (trust me, it’s amazing with chocolate!), some orange zest, or a few drops of peppermint extract for a festive twist.
- Coatings: Roll the finished bites in extra cocoa powder, finely shredded unsweetened coconut, chopped nuts, or even some sugar-free sprinkles for extra pizzazz. FYI, rolling in coconut takes them to a whole new level!
- Sweetener: If you don’t have powdered, you can blitz granulated sugar-free sweetener in a coffee grinder or blender to make your own “powdered” version. Clever, right?
FAQ (Frequently Asked Questions)
Got questions? I’ve got answers. Probably. Let’s see!
- Can I use margarine instead of coconut oil? Well, technically yes, but why hurt your soul like that? Coconut oil provides a specific texture and healthy fats that margarine just can’t quite replicate for this recipe. Stick to the good stuff!
- How long do these low-carb treats last? If you manage not to devour them all immediately, they’ll keep in an airtight container in the fridge for about a week. In the freezer, they’ll be good for a month or two. They’re pretty delightful straight from the freezer too, TBH.
- Are these keto-friendly? Absolutely! With sugar-free ingredients and healthy fats, these are perfect for a keto lifestyle. Just be mindful of your specific macros, especially with the nut butter choice.
- My mixture is too sticky, what did I do wrong? You probably added too much coconut oil or your nut butter was extra runny. Try adding a little more cocoa powder or powdered sweetener to help absorb some of the moisture. Then chill it thoroughly!
- Can I make a big batch for a party? Duh! These are perfect for parties because they’re easy, delicious, and cater to those low-carb friends. Plus, they look super fancy without any actual effort.
- What if I don’t like coconut oil? You can try using a different solid fat like cocoa butter, but melted coconut oil is really the easiest and most common binder here. The taste is quite subtle, especially with all that chocolate and nut butter.
Final Thoughts
So there you have it, your new go-to for those urgent sweet cravings that won’t derail your low-carb efforts. This recipe is proof that delicious, satisfying treats don’t have to be complicated, expensive, or packed with sugar. Now go impress someone—or yourself—with your new culinary skills. You’ve earned it!


