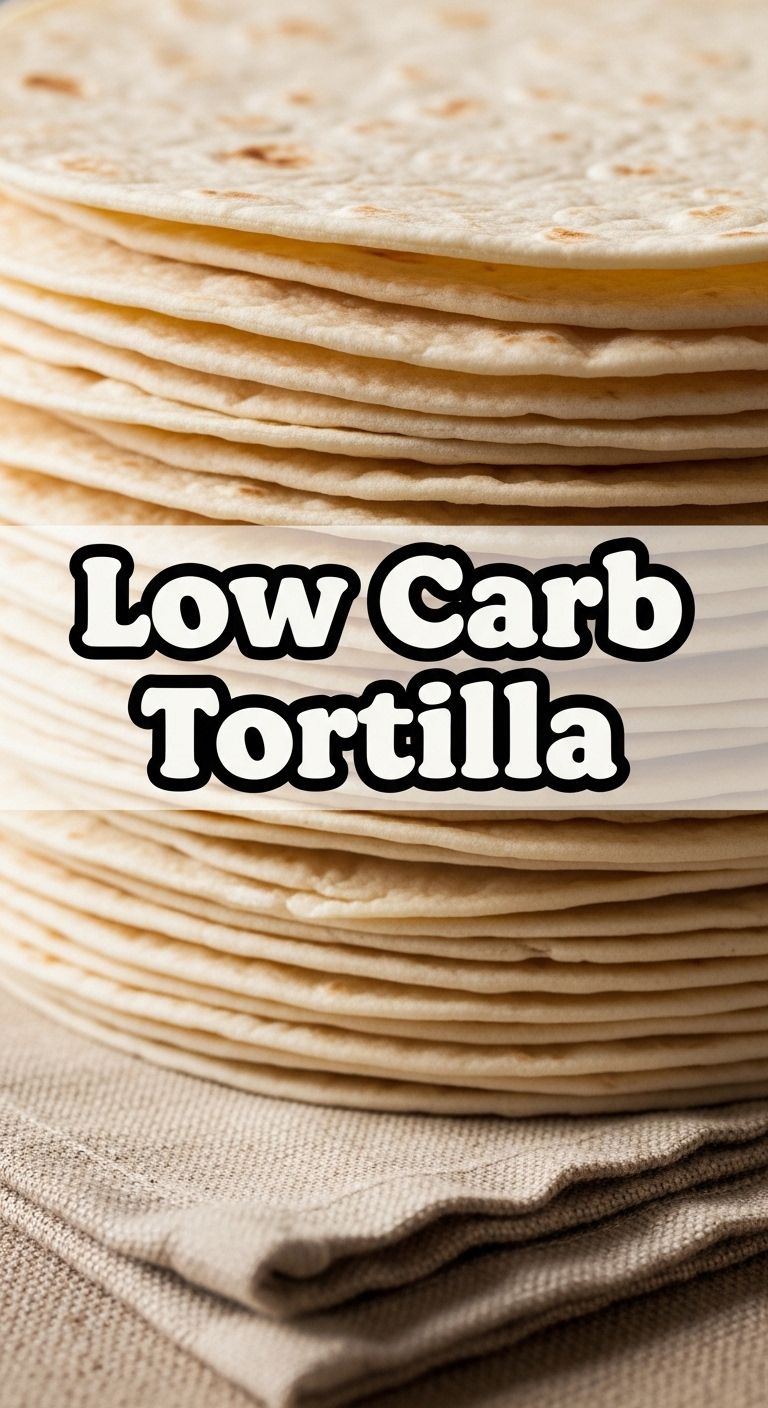
Ever wake up craving a breakfast burrito, or maybe some epic tacos, but your low-carb lifestyle is giving you the side-eye? Yeah, me too. For years, I’d sigh dramatically, then just eat my taco filling with a fork like some kind of sadist. But guess what? I cracked the code, my friend! We’re about to whip up some **low-carb tortillas** that are so good, you’ll forget you’re “dieting.” Seriously, it’s a game-changer. So, roll up your sleeves, because we’re making magic happen!
Why This Recipe is Awesome
Okay, let’s be real. If a recipe isn’t easy, I’m probably not making it. My attention span is shorter than a TikTok video. But this one? It’s practically idiot-proof. Like, I’ve made it on a Tuesday night after a long day, fueled purely by the desperate desire for a quesadilla, and it worked flawlessly. Here’s why you’re going to love it:
- **It’s ridiculously quick:** From mixing bowl to your mouth in less than 20 minutes, including cooking time.
- **Super flexible:** Tacos, wraps, quesadillas, mini pizzas – you name it, these bad boys can hold it.
- **Actually tastes good:** No weird aftertaste or rubbery texture here. These are soft, pliable, and just begging for some fillings.
- **Low-carb warrior approved:** Seriously, your macros will thank you.
Ingredients You’ll Need
Don’t be scared by some of the names; they’re your new best friends in the low-carb world!
- **1 ½ cups Almond Flour (super fine):** Our main star. Don’t grab the coarse stuff; we want smooth operators.
- **2 tablespoons Psyllium Husk Powder:** This is the secret sauce, folks. It’s what gives our tortillas that stretchy, pliable texture. Don’t skip it!
- **1 teaspoon Xanthan Gum:** Just a tiny pinch, like fairy dust, to help with elasticity and prevent tearing. Trust me, it’s worth it.
- **½ teaspoon Salt:** Because bland food is a culinary tragedy.
- **1 cup Boiling Water:** Yes, boiling. This helps activate everything and makes a much better dough.
- **1 tablespoon Avocado Oil (or Olive Oil):** For flexibility and to keep things from sticking. Plus, healthy fats!
Step-by-Step Instructions
Get ready to impress yourself (and maybe your significant other, if they’re lucky enough to share).
- **Mix Your Dry Goods:** In a medium bowl, whisk together the almond flour, psyllium husk powder, xanthan gum, and salt. Make sure there are no lumps. We want a smooth start.
- **Add Wet Wonders:** Carefully pour in the boiling water and the avocado oil. Stir quickly with a spoon or a sturdy spatula until a shaggy dough forms. It’ll be hot, so no diving in with your hands just yet!
- **Get Handsy (Carefully!):** Once it cools down a touch (like, 30 seconds), knead the dough in the bowl for about 1-2 minutes until it comes together into a cohesive ball. It should be soft and slightly sticky, but not a total mess.
- **Let It Chillax:** Cover the bowl with a clean kitchen towel or plastic wrap and let the dough rest for **10 minutes**. This is crucial! It lets the psyllium husk do its magic and hydrate properly.
- **Divide and Conquer:** After resting, divide the dough into 8 equal pieces. Roll each piece into a small ball.
- **Roll ‘Em Out:** Place one dough ball between two pieces of parchment paper (this prevents sticking like a charm!). Using a rolling pin (or a tortilla press, if you’re fancy), roll each ball out into a thin, approximately 6-inch circle. **Aim for thinness, not thickness!**
- **Heat It Up:** Preheat a non-stick skillet or cast-iron pan over medium-high heat. No oil needed in the pan!
- **Cook to Perfection:** Carefully peel one tortilla from the parchment paper and place it on the hot pan. Cook for about 1-2 minutes per side, or until lightly golden brown spots appear and it puffs up a bit.
- **Stack and Serve:** Transfer cooked tortillas to a plate and cover them with a clean kitchen towel to keep them warm and soft while you cook the rest. Now, go forth and fill them with all your favorite low-carb deliciousness!
Common Mistakes to Avoid
We’ve all been there. Learn from my oopsies so you don’t make your own!
- **Skipping the Psyllium Husk or Xanthan Gum:** This isn’t a suggestion; it’s a command! These are your structure squad. Without them, your tortillas will be crumbly and sad. Don’t do it to yourself.
- **Not Using Boiling Water:** Cold water makes for a stiff, unworkable dough. We need that boiling water to help everything bind properly.
- **Forgetting the Rest Time:** This is like skipping leg day; you’ll regret it. The 10-minute rest allows the psyllium to fully absorb the liquid, making your dough pliable and easy to roll.
- **Rolling Them Too Thick:** We want flexible wrappers, not tiny Frisbees! Aim for a tortilla that’s thin enough to bend without cracking.
- **Overcooking:** A crispy tortilla is a broken tortilla (unless you’re making chips, which is a different recipe). Cook just until light spots appear and it’s pliable.
Alternatives & Substitutions
Got dietary restrictions or just feeling experimental? I got you.
- **Almond Flour Alternatives:** You *could* try a very fine-ground sunflower seed flour for a nut-free option, but the texture might be slightly different. Coconut flour is too absorbent for a straight 1:1 swap in this recipe, FYI. It would require significant liquid adjustments.
- **Psyllium Husk:** Honestly, there’s no great direct substitute for psyllium in this recipe for that particular stretch and bind. If you can’t use it, this might not be the recipe for you.
- **Oil:** Any neutral oil like grapeseed or light olive oil works just fine if you don’t have avocado oil.
- **Flavor Boosts:** Feel free to mix in a tiny pinch of garlic powder, onion powder, or even a dash of cumin to the dry ingredients for a savory kick! IMO, a little garlic makes everything better.
FAQ (Frequently Asked Questions)
Let’s tackle those burning questions before you even ask them!
- **”My dough is too sticky/too dry! What do I do?”** If it’s too sticky, dust your hands with a tiny bit more almond flour. If it’s too dry and crumbly, add a *teaspoon* of hot water at a time and knead until it comes together. Don’t overdo it!
- **”Can I make a big batch and store them?”** Absolutely! Once cooked and cooled completely, store them in an airtight container in the fridge for up to 3-5 days. Reheat gently in a warm pan or microwave.
- **”Do they taste exactly like regular flour tortillas?”** Let’s manage expectations: they’re not identical twins. But they’re a *fantastic* low-carb alternative that really hits the spot. You won’t feel like you’re missing out, promise!
- **”Can I freeze these?”** **FYI, yes!** Cooked and cooled tortillas can be frozen. Place parchment paper between each tortilla, then store them in a freezer-safe bag for up to 2-3 months. Thaw in the fridge or reheat gently from frozen.
- **”I don’t have a tortilla press! Am I doomed?”** Nope, not at all! A good old rolling pin (or even a wine bottle in a pinch) between two pieces of parchment paper works perfectly. Just aim for even thinness.
- **”Why are my tortillas stiff when they cool?”** Sometimes if they’re slightly overcooked, they can become a bit stiff. Make sure you’re not cooking them too long. A quick reheat in a warm, dry pan usually brings back their pliability!
Final Thoughts
So there you have it, folks! Your new secret weapon in the low-carb kitchen. These tortillas are a total game-changer, opening up a world of delicious possibilities without derailing your healthy eating goals. Whether you’re making epic breakfast burritos, speedy quesadillas, or just wrapping up some leftovers, these will be your new go-to. Go forth and conquer those cravings, you culinary wizard, you! Now go impress someone—or yourself—with your new culinary skills. You’ve earned it!


