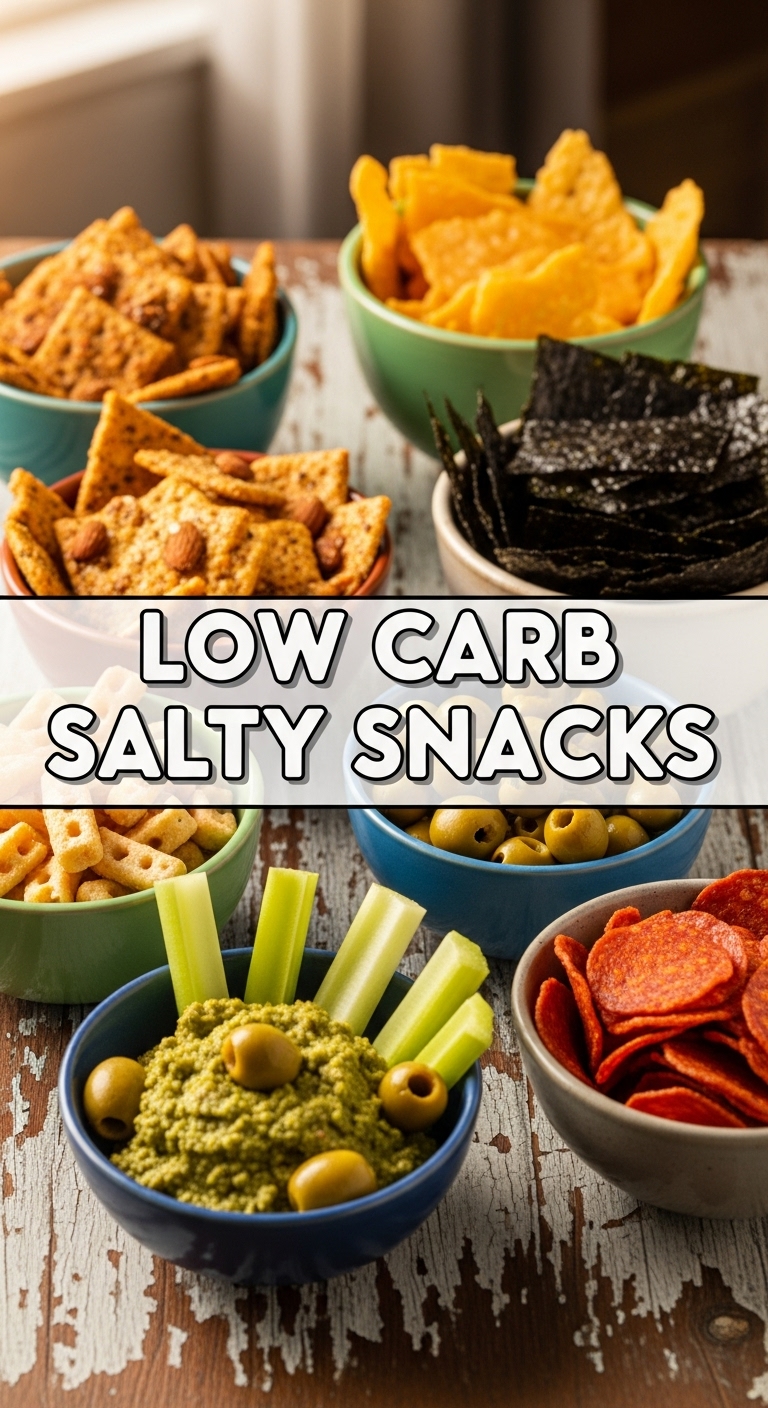
So you’re craving something tasty but too lazy to spend forever in the kitchen, huh? Same. And if you’re like me, “low-carb” often translates to “I miss crunch and salt SO MUCH.” Well, buckle up, buttercup, because we’re about to make some ridiculously easy, super satisfying, and aggressively salty snacks that will banish those sad, bland celery stick memories forever. You’re welcome in advance.
Why This Recipe is Awesome
Okay, let’s be real. This isn’t just a recipe; it’s a life hack. Why is it awesome? Because it’s practically idiot-proof – even I didn’t mess it up, and my track record with delicate snacks is… spotty. Seriously, it requires minimal ingredients, minimal effort, and delivers maximum flavor. Plus, it’s low-carb, gluten-free, and generally guilt-free. You can whip these up faster than you can decide what to watch on Netflix. And they are SO much better than those overpriced, often disappointing store-bought versions. Think crispy, cheesy, salty perfection.
These little wonders are your new go-to. Period.
Ingredients You’ll Need
Get ready for a shocker – you probably have most of these already!
- 1 cup finely shredded or grated Parmesan cheese: Don’t skimp here, get the good stuff if you can. The pre-shredded stuff works, but block Parmesan grated fresh is always superior, IMO.
- ½ teaspoon garlic powder: Because everything is better with garlic. Duh.
- ¼ teaspoon onion powder: Garlic’s best friend.
- Pinch of cayenne pepper (optional, but highly recommended): Just a little kick to wake up your taste buds.
- A sprinkle of fresh black pepper: Adds a nice aromatic finish.
- Optional: Everything Bagel Seasoning: If you want to elevate these from “awesome” to “OMG, where have you been all my life?!”
Step-by-Step Instructions
Alright, let’s get cooking! Or, you know, “assembling and baking” because it’s that easy.
- Preheat Your Oven: Crank that baby up to 375°F (190°C). Don’t skip this, your crisps will thank you.
- Prep Your Pan: Line a baking sheet with parchment paper. This is non-negotiable unless you enjoy chiseling burnt cheese off your pan. Trust me on this.
- Mix Your Flavors: In a small bowl, combine your Parmesan cheese with the garlic powder, onion powder, cayenne (if using), and black pepper. Stir it all up so the flavors are evenly distributed. If you’re using Everything Bagel Seasoning, you can mix it in now or sprinkle it on top of each crisp later.
- Form Your Crisps: Spoon small mounds (about 1 tablespoon each) of the seasoned cheese onto the parchment-lined baking sheet. Leave a good 2 inches between each mound – they will spread! Flatten them slightly with the back of the spoon into thin circles.
- Bake ‘Em Up: Pop the baking sheet into your preheated oven. Bake for 5-7 minutes, or until the cheese is beautifully golden brown and bubbly around the edges. Keep an eye on them; ovens vary, and we’re looking for crispy, not charcoal!
- Cool and Conquer: Remove the baking sheet from the oven. Let the crisps cool on the sheet for about 2-3 minutes. They’ll be soft at first but will crisp up as they cool. Once slightly firm, transfer them to a wire rack to cool completely. This ensures maximum crunch!
Common Mistakes to Avoid
Nobody’s perfect, but we can avoid these rookie errors together!
- Forgetting to Preheat the Oven: This isn’t a suggestion, it’s a command. Cold oven = sad, greasy crisps.
- Skipping the Parchment Paper: You’ve been warned. Seriously, don’t. Your future self scrubbing a sticky pan will hate your past self.
- Overcrowding the Pan: Give those cheese babies some space to spread out and get crispy. Cramming them in leads to soggy, connected cheese blobs.
- Not Watching Them Closely: These go from perfectly golden to burnt in a blink. Stay vigilant!
- Eating Them Before They’re Cool: Patience, young padawan! They need to cool to achieve maximum crispiness. Resist the urge, it’ll be worth it.
Alternatives & Substitutions
Feeling adventurous? Let’s spice things up!
While Parmesan is truly the king for these, you can absolutely experiment with other hard cheeses. Asiago, sharp cheddar, or even a blend of Italian cheeses can work wonders. Just make sure they’re hard, grating cheeses, not super soft ones, or you’ll have a puddle, not a crisp.
Want different flavors? Try swapping out the seasonings! A pinch of Italian herbs, a dash of smoked paprika, or even some chili lime seasoning could be fantastic. Or, add a tiny sprinkle of sesame seeds or poppy seeds before baking for extra texture. Get creative! FYI, a little finely crumbled cooked bacon on top before baking? Game-changer.
FAQ (Frequently Asked Questions)
- Can I use pre-shredded cheese? Well, technically yes, but why hurt your soul like that? Kidding! (Mostly). Pre-shredded often has anti-caking agents that can slightly alter the texture, but it will still work in a pinch. Freshly grated just melts and crisps better.
- My crisps aren’t crispy, what happened? Most likely, they either weren’t baked long enough or weren’t thin enough when you formed them. They need to get good and golden, almost amber, for ultimate crunch.
- How do I store these magical things? Once completely cooled, store them in an airtight container at room temperature. They’ll stay crispy for about 3-5 days. If they get a little soft, a quick 1-2 minute pop back in a hot oven (or even a dry pan) can revive their crispness!
- Can I make these in the microwave? You absolutely can! Place small mounds on parchment paper on a microwave-safe plate. Microwave on high for 60-90 seconds, watching *very* closely. They cook much faster and can burn instantly. They might not get quite as uniformly golden, but it’s great for a single-serving craving.
- Can I add other toppings? Oh, heck yes! Before baking, you could sprinkle on some crushed red pepper flakes, dried rosemary, or even a tiny bit of crumbled feta for an extra salty kick. The world is your cheesy crisp oyster!
Final Thoughts
So there you have it, friend! A super simple, ridiculously tasty, low-carb salty snack that will make you feel like a culinary genius without actually having to put in much effort. These Parmesan crisps are perfect for snacking on their own, dipping into salsa or guacamole, or even crumbling over a salad for some extra crunch.
Now go impress someone—or yourself—with your new culinary skills. You’ve earned it!


