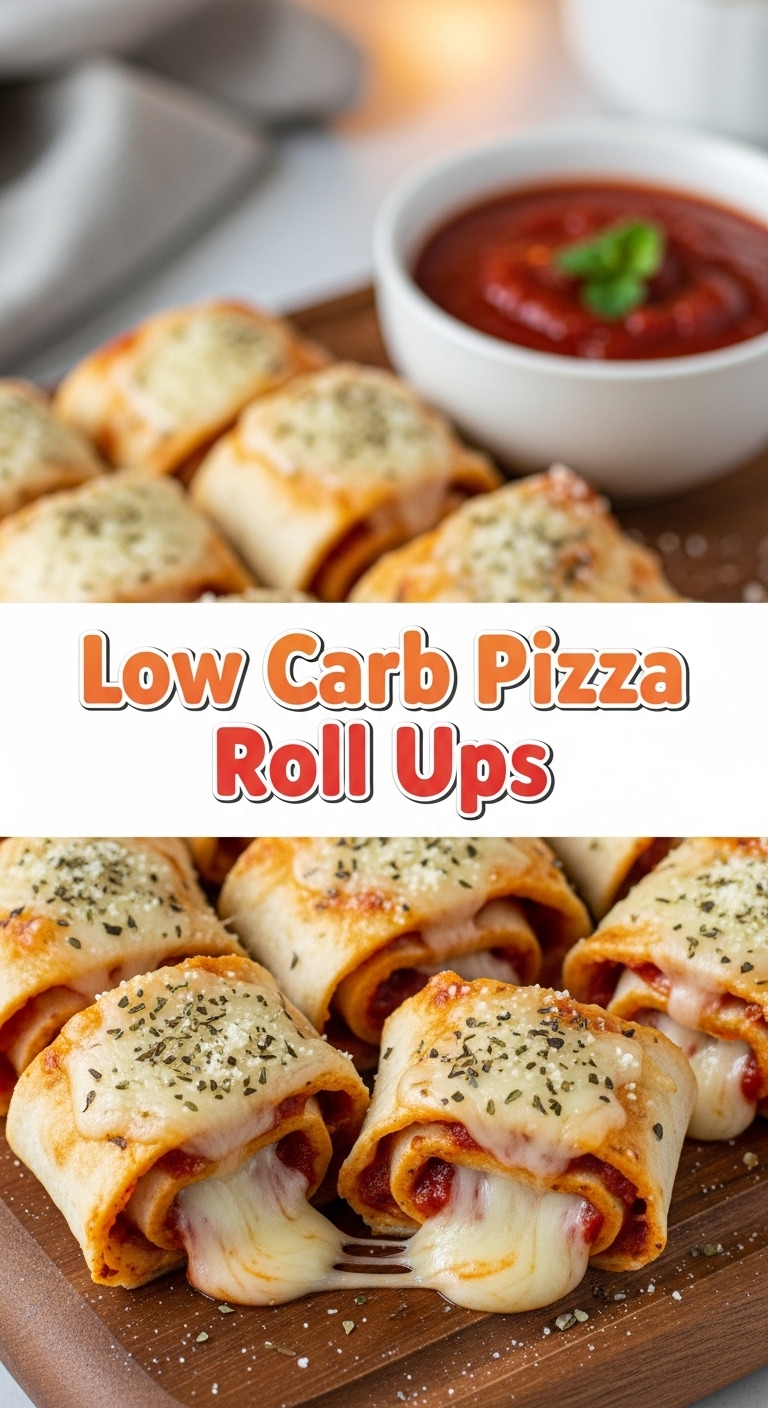
So, you’re craving something cheesy, pizza-y, but also kinda… low-carb-ish? And you’re *really* not in the mood to make dough from scratch or spend forever in the kitchen? My friend, you’ve come to the absolute right place. Get ready to have your mind (and your taste buds) blown by these ridiculously simple Low Carb Pizza Roll Ups!
Why This Recipe is Awesome
Let’s be real, who has time for complicated recipes these days? Not me, and probably not you. This gem of a recipe is basically a superhero in disguise:
- It’s like a tiny pizza party in your mouth, but without the guilt or the infamous carb coma.
- Seriously, it’s so easy, even my cat could probably supervise. (Don’t let him, though, he’ll just try to eat the pepperoni.)
- They come together **faster than you can say “extra cheese”** (well, almost). Perfect for a quick snack, an appetizer, or when you just need a cheesy pick-me-up.
- **Minimal cleanup.** Because let’s face it, doing dishes is the absolute worst part of cooking, right?
Ingredients You’ll Need
Gather ’round, pantry warriors! Here’s your arsenal for deliciousness:
- Low Carb Tortillas (6-8 count): Your secret weapon against carb-ophobia. Look for ones with around 3-6g net carbs. Mission Carb Balance are usually a safe bet.
- Pizza Sauce (1/2 cup): Keep it simple. Don’t go for anything too chunky, or it might get messy.
- Shredded Mozzarella Cheese (1.5 cups): The more, the merrier. Seriously, don’t skimp on the good stuff.
- Your Favorite Pizza Toppings (1/2 – 1 cup): Think mini pepperoni, cooked crumbled sausage, diced bell peppers, olives, mushrooms, or even some spinach. Just make sure everything is pre-cooked if needed and chopped small!
- Olive Oil Spray: Just a light spritz for that perfect golden glow.
- Optional: Italian Seasoning & Garlic Powder (1/2 tsp each): Because flavor, duh.
Step-by-Step Instructions
- **Preheat your oven to 400°F (200°C).** Seriously, don’t forget this step, unless you like cold, sad pizza-ish things. Line a baking sheet with parchment paper.
- Lay out your tortillas on a clean surface. Get ready to transform them into cheesy masterpieces.
- Spread a thin layer of pizza sauce evenly over each tortilla. **Don’t go overboard**, we’re not making soup here.
- Sprinkle a generous amount of mozzarella cheese over the sauce. This is where the magic happens, folks.
- Add your chosen toppings. Remember, less is more for rolling ease. Distribute them evenly.
- If you’re using them, a light dusting of Italian seasoning and garlic powder can really elevate the game.
- Starting from one side, tightly roll up each tortilla. Imagine you’re rolling a tiny, delicious burrito. Keep it snug!
- Using a sharp knife, carefully slice each rolled tortilla into 1-inch thick rounds. A dull knife will just smoosh your beautiful creation, and nobody wants that.
- Arrange the roll-ups cut-side-up on your prepared baking sheet. Make sure to **leave a little space between each one** so they can get crispy all around.
- Lightly spray the tops of the roll-ups with olive oil. This helps them get that perfect golden crust.
- Bake for 8-12 minutes, or until the cheese is bubbly and melted, and the edges are beautifully golden brown.
- Let them cool for a couple of minutes (they’ll be lava-hot inside!), then devour immediately. Dipping in extra pizza sauce is highly encouraged!
Common Mistakes to Avoid
Even though this recipe is practically idiot-proof, a few pitfalls exist. Learn from my past (occasionally burnt) mistakes:
- Overfilling your tortillas: You’re not building a towering inferno, just a roll-up. Keep the fillings modest, folks, or they’ll burst out like tiny, cheesy volcanoes.
- **Not slicing clean:** A dull knife is your enemy. Invest in a sharp one, or at least sharpen the one you have, to avoid squished, sad-looking rolls.
- **Forgetting to preheat the oven:** Impatience leads to soggy rolls and uneven cooking. **Always preheat!** It’s non-negotiable for crispy goodness.
- Baking too long: We want golden and bubbly, not charcoal briquettes. Keep an eye on them, especially during the last few minutes.
Alternatives & Substitutions
Feeling creative? This recipe is super flexible!
- Tortillas: Any low-carb wrap will work here. Just check the carb count. Lettuce wraps? Maybe not for rolling, but hey, brave souls can try!
- Cheese: Provolone, cheddar, a spicy blend! Go wild. Smoked gouda would be epic, just saying.
- Toppings: The world is your oyster! Cooked bacon bits, thinly sliced ham, jalapeños for a kick, sun-dried tomatoes… just remember to chop ’em small.
- Sauce: Feeling adventurous? Try a thin layer of pesto or even a low-carb Alfredo sauce for a different vibe.
FAQ (Frequently Asked Questions)
Got questions? I’ve got (casual) answers!
- Can I make these ahead of time? Absolutely! Assemble them up to the slicing part, then cover and refrigerate for up to 24 hours. Slice and bake when you’re ready to eat.
- How do I store leftovers? If you have any (big “if”!), store them in an airtight container in the fridge for 2-3 days.
- Are they good cold? IMO, they’re best warm and gooey, but if you’re desperate or in a hurry, they’re still edible. Reheating in an air fryer or oven makes them crispy again.
- What kind of low-carb tortillas should I buy? Look for brands like Mission Carb Balance, La Tortilla Factory, or Mama Lupe’s. Check the nutrition label for net carbs (total carbs minus fiber).
- Can I air fry them? Heck yes! Air fry at 350°F (175°C) for about 5-7 minutes, flipping halfway, until golden and crispy. Keep an eye on them!
- What if I don’t have olive oil spray? A light brush of olive oil works just fine. Or, you can skip it, but they might be a little less crispy.
Final Thoughts
See? Told you it was easy. Now you’ve got yourself a batch of these glorious little low-carb gems without breaking a sweat or blowing your carb budget. They’re perfect for literally any occasion that calls for cheesy, pizza-inspired goodness.
Now go impress someone—or yourself—with your new culinary skills. You’ve earned it!


