So you’re craving something tasty but too lazy to spend forever in the kitchen, huh? Same. And secretly wishing it was low-carb so you don’t instantly regret it? Girlfriend, I got you. Get ready for some serious yum without the sugar crash. We’re about to whip up some Low Carb Peanut Butter Cups that are so easy, they practically make themselves. Okay, maybe not *that* easy, but close enough for a Monday evening!
Why This Recipe is Awesome
Let’s be real, who needs complicated recipes when your sweet tooth is screaming? This bad boy is the holy grail of low-carb treats for a few glorious reasons. First, **it’s idiot-proof** – even I didn’t mess it up, and my kitchen skills are… *evolving*. Second, minimal ingredients, maximum satisfaction. Third, no baking! That’s right, we’re talking zero oven time, which means less sweat and more snack. Plus, these little wonders are perfect for stashing in the fridge for those “OMG, I need chocolate NOW” emergencies. They hit that sweet spot without sending your blood sugar on a roller coaster. You’re welcome.
Ingredients You’ll Need
Gather ’round, my fellow lazy chefs. Here’s what you’ll need for your low-carb peanut butter cup empire:
- **1 cup Sugar-Free Chocolate Chips:** Your low-carb BFF. Choose a good quality one that melts smoothly.
- **1/2 cup Natural Peanut Butter:** The good stuff, ideally no added sugar or oils. Unless you like surprise sugar, then go nuts, I guess? Just check the label!
- **2-3 tablespoons Powdered Erythritol (or similar low-carb sweetener):** For that sweet kick without the carb drama. Adjust to your personal sweetness preference – you’re the boss!
- **2 tablespoons Coconut Oil:** This is our magic binder and smoother. It helps everything melt beautifully and firm up perfectly.
- **1/2 teaspoon Vanilla Extract (optional but highly recommended):** A little razzle-dazzle for extra flavor.
- **Pinch of Sea Salt (optional, but seriously, don’t skip it!):** To make all those flavors pop and cut through the richness.
- **Mini Muffin Liners or Silicone Molds:** Your tiny edible cradles.
Step-by-Step Instructions
Alright, apron on (or not, we’re informal here), let’s get this party started!
- **Prep Your Playground:** Line a mini muffin tin with 12 paper liners or get your silicone molds ready. This is important, trust me.
- **Melt the Chocolate Magic:** In a microwave-safe bowl, combine your sugar-free chocolate chips and 1 tablespoon of coconut oil. Microwave in 30-second intervals, stirring well after each, until smooth and fully melted. **Pro tip: Don’t overheat it!** Burnt chocolate is a sad, sad sight.
- **Chocolate Base Layer:** Spoon about a teaspoon of the melted chocolate into the bottom of each liner. Tap the tray gently on the counter to level it out. Pop the tray into the freezer for 5-10 minutes to let it set. This prevents a melty mess later.
- **Whip Up the Filling:** While your base is chilling, grab another bowl. Mix together the natural peanut butter, powdered erythritol, the remaining 1 tablespoon of coconut oil, vanilla extract (if using), and that crucial pinch of sea salt. Stir until it’s smooth and creamy. If it’s a bit too stiff, a quick 10-second zap in the microwave can help.
- **Peanut Butter Power-Up:** Take your chilled chocolate bases out of the freezer. Drop about a teaspoon (or a little more, I won’t judge) of the peanut butter filling onto each chocolate base. Gently flatten it out a bit with the back of the spoon.
- **Top It Off:** Spoon the remaining melted chocolate over the peanut butter filling, making sure to cover it completely. Give the tray another gentle tap to ensure an even top.
- **Final Chill Out:** Send your glorious creations back to the freezer for at least 15-20 minutes, or until they’re completely firm.
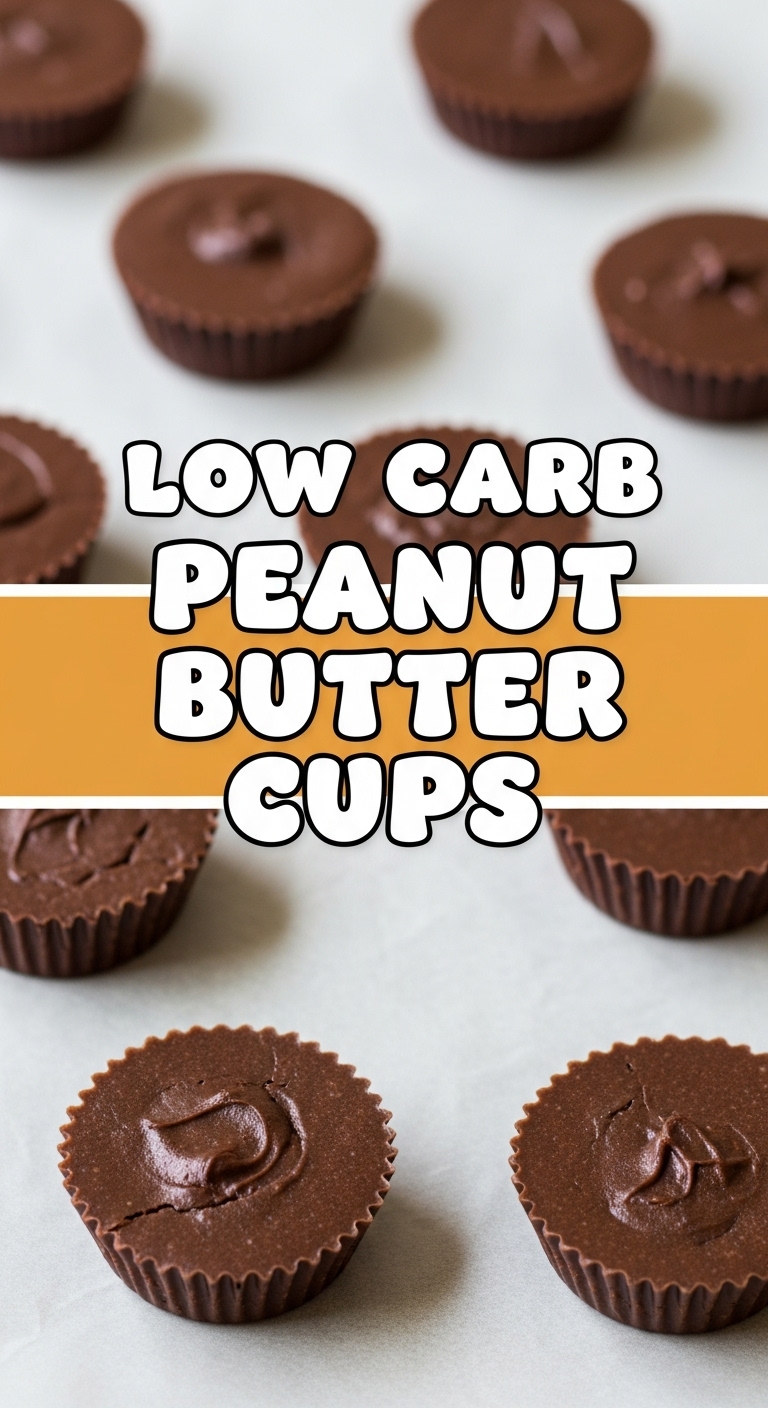
- **Indulge:** Once firm, peel off the liners and enjoy your masterpiece! Store any leftovers in an airtight container in the fridge or freezer.
Common Mistakes to Avoid
Look, we all make ’em. But you, my friend, are about to be armed with knowledge.
- **Overheating the Chocolate:** This is a classic. Chocolate goes from melty dream to crumbly nightmare in seconds. **Low and slow, always.** If it seizes up, you usually can’t save it. Learn from my past mistakes!
- **Skipping the Freeze Between Layers:** Impatience is a virtue… sometimes. Not here. If you don’t let that first chocolate layer set, your peanut butter filling will just sink in and you’ll get a blob, not a cup. Patience, grasshopper!
- **Using Super Runny Peanut Butter:** Some natural PBs are practically soup. If yours is too thin, your filling will try to escape. Go for a thicker, stir-style natural peanut butter, or add a tiny bit more sweetener/coconut oil to firm it up.
- **Forgetting the Salt:** It’s small but mighty, truly enhances the flavor and cuts the sweetness. Don’t underestimate it!
Alternatives & Substitutions
Feeling fancy, or just out of one ingredient? No worries, we can totally improvise.
- **Sweetener Swap:** Any powdered low-carb sweetener works wonders here – allulose, monk fruit, stevia blend. Just adjust the quantity to taste, as sweetness levels vary.
- **Nut Butter Bonanza:** Not a PB fan? Almond butter, cashew butter, or even sunflower seed butter (for nut-free folks!) can totally step in. Just ensure they’re unsweetened and natural.
- **Coconut Oil Alternatives:** If you’re out, a little cocoa butter can add extra richness to the chocolate layer, or even a smidgen of unsalted butter (if you’re okay with dairy).
- **Chocolate Choices:** No sugar-free chips? A chopped-up sugar-free chocolate bar works just fine.
- **Jazz It Up:** Sprinkle a little flaky sea salt on top before the final chill for a gourmet touch. Or, add a tiny bit of chopped low-carb nuts into the peanut butter filling for extra crunch.
FAQ (Frequently Asked Questions)
Got questions? I’ve got (casual) answers!
- **Can I use regular peanut butter?** Well, technically yes, but then it’s not *low-carb*, is it? Read those labels, friend – sugar hides everywhere! If you’re okay with the carbs, go for it, but be warned, it’ll be sweeter.
- **My chocolate seized! What happened?** Oh no! This usually means it got too hot or a tiny bit of water snuck into your bowl. Chocolate is finicky. Start over, take it slow, and make sure everything is bone dry.
- **How long do these last?** In the fridge, they’re good for about a week. In the freezer, they’ll last a month. If they even last that long, **LOL.** Mine usually disappear within 2-3 days, TBH.
- **Do I have to use mini liners?** Nope! Regular muffin liners work if you want bigger cups. Or, if you’re feeling extra rebellious, just plop spoonfuls onto parchment paper for ‘chocolate puddles with PB centers.’ Still delicious.
- **Why is my peanut butter filling runny?** Could be your brand of natural peanut butter is extra oily, or it’s a very warm day. Try chilling the mixed filling for 10-15 minutes before scooping, or add a tiny bit more powdered sweetener to help firm it up.
- **Can I make this dairy-free?** Absolutely! Just ensure your sugar-free chocolate chips are dairy-free. Most natural PBs are inherently dairy-free, so you’re good there!
Final Thoughts
Boom! You just made magic happen with minimal effort. Seriously, give yourself a pat on the back. These Low Carb Peanut Butter Cups are dangerously good and will totally curb those pesky sugar cravings without derailing your low-carb goals. They’re proof that healthy eating doesn’t have to be boring or complicated. Now go impress someone—or yourself—with your new culinary skills. You’ve earned it! Time to treat yo’ self, guilt-free!


