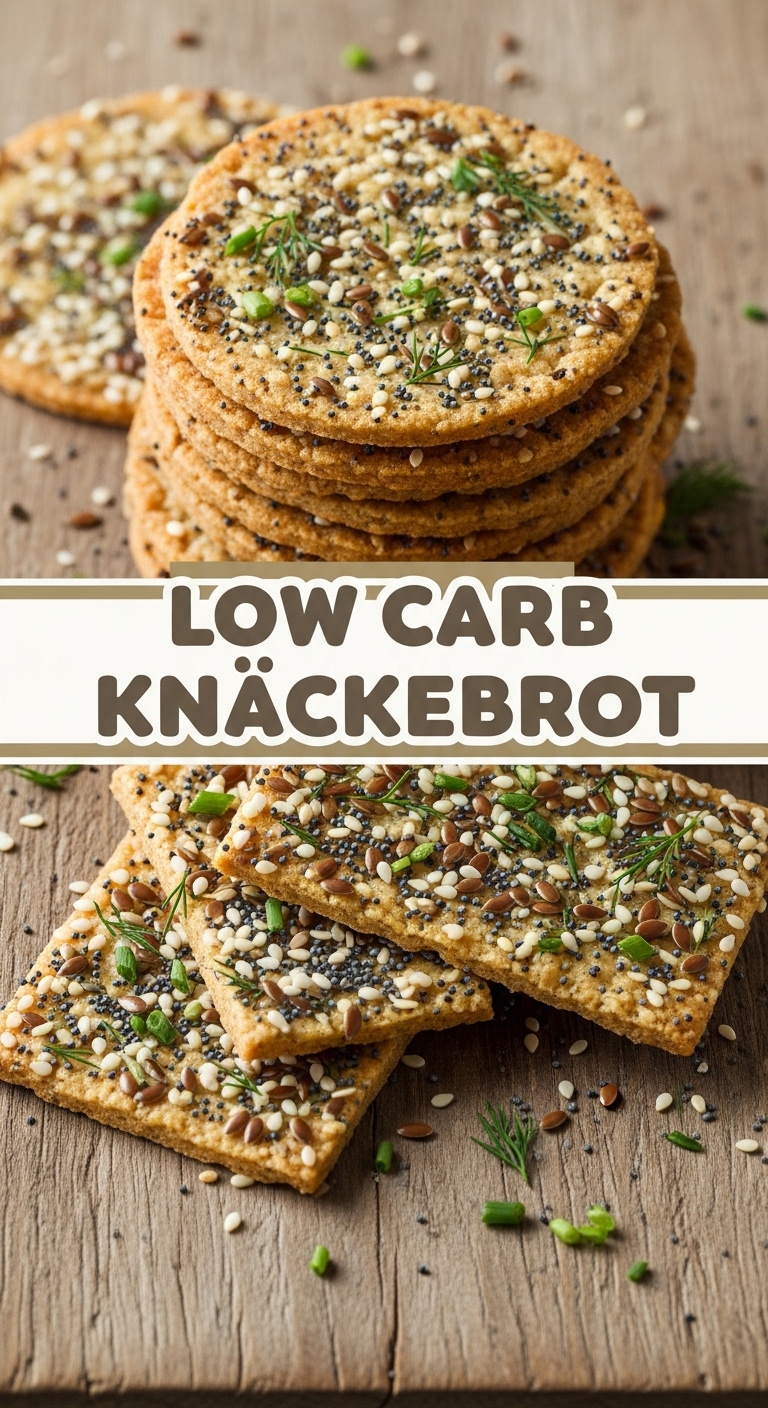
So, you’re looking for that satisfying crunch, something that pairs perfectly with cheese, avocado, or just, you know, existing? But also, you’re trying to keep things low-carb and avoid anything that tastes like cardboard? My friend, you’ve stumbled into the right corner of the internet. We’re making **Low Carb Knäckebröd** – and no, you don’t need a Swedish grandmother to pull this off. Just a willingness to get a little seedy. 😉
Why This Recipe is Awesome
Okay, let’s be real. Most “healthy” crackers taste like regret. Not these bad boys! This knäckebröd is not only ridiculously easy to make (I’m talking “even I didn’t mess it up” easy), but it’s also packed with good-for-you seeds, utterly delicious, and super versatile. It’s crunchy, savory, and keeps you full without any of that annoying blood sugar rollercoaster. Plus, you get to tell people you made your own knäckebröd, which instantly elevates your kitchen cred. It’s practically idiot-proof, and honestly, a game-changer for anyone doing the low-carb dance.
Ingredients You’ll Need
Gather ’round, my fellow kitchen adventurers! Here’s your simple shopping list:
- **Seeds, glorious seeds!** (Totaling about 1.5 cups / 3.5 dl): This is where the magic happens. A mix works best for texture and flavor. Think:
- **Sunflower seeds:** The sturdy base.
- **Pumpkin seeds:** For a little extra chew.
- **Sesame seeds:** Adds a nutty crunch.
- **Flax seeds (whole or ground):** A binder and a nutrient powerhouse.
- *Pro tip:* Feel free to throw in some chia seeds or hemp hearts too for extra oomph!
- **Psyllium husk (whole):** About 2 tablespoons. This is your binding BFF. Do NOT skip this unless you want a very tasty pile of loose seeds.
- **Water:** Around 1 cup (2.5 dl). The universal solvent, also good for hydration (of your seeds!).
- **Olive oil (or neutral oil):** 2 tablespoons. For that subtle richness and to help things crisp up.
- **Salt:** About 1 teaspoon. Because flavor, duh. And maybe a pinch more for sprinkling on top if you’re feeling fancy.
Step-by-Step Instructions
Get ready for some serious satisfaction. These steps are so easy, you can probably do them with one eye closed (don’t recommend, but you *could*).
- **Preheat & Prep:** First things first, get that oven cranked up to **150°C (300°F)**. Grab a large baking sheet and line it with parchment paper. This isn’t optional, unless you enjoy an intense scraping workout later.
- **Mix the Dry Stuff:** In a roomy bowl, toss together all your glorious seeds, the psyllium husk, and salt. Give it a good whisk or stir to ensure everything is nicely distributed.
- **Add the Wet:** Now, pour in the water and olive oil. Stir, stir, stir until everything is nicely combined and starts to look like a thick, lumpy porridge. Let this mixture sit for about **5-10 minutes**. The psyllium needs its moment to shine and absorb all that liquid, forming a gel that holds everything together.
- **Spread it Out:** Spoon the thickened mixture onto your lined baking sheet. Place another piece of parchment paper on top and use a rolling pin to roll it out super thin and evenly. Like, *really* thin. We’re going for crispy, not chewy, knäckebröd here. Aim for about 2-3 mm thickness.
- **Score & Bake:** Carefully remove the top parchment paper. Now, using a knife or pizza cutter, gently score the dough into your desired cracker shapes *before* baking. Squares, rectangles, triangles, abstract art – you do you. This makes breaking them apart much easier later. Pop it into your preheated oven and bake for about **45-60 minutes**. You want them golden brown and feeling dry to the touch.
- **Cool & Crisp:** This is a crucial step for maximum crunch! Once the baking time is up, turn off the oven but **leave the knäckebröd inside with the door ajar** for another 15-30 minutes. This helps any remaining moisture evaporate, making them extra crispy. Let them cool completely on a wire rack before breaking them into pieces.
Common Mistakes to Avoid
Learn from my past culinary misadventures, dear friend. Don’t make these blunders!
- **Not rolling it thin enough:** You’re making a delicious doorstop, not crisp knäckebröd. Embrace the thinness! If it’s too thick, it’ll be chewy, not snappy.
- **Skipping the psyllium husk:** Oh, honey. You’ll end up with a very tasty pile of loose seeds. Great for bird feeders, less so for a cracker you can actually hold. It’s the glue!
- **Patience, young grasshopper:** Pulling them out of the oven too early is a crime against crispiness. Don’t rush the baking or the cooling process. They need that extra time to get truly crunchy.
- **Forgetting to score:** Trust me, trying to break perfectly baked knäckebröd without scoring is like trying to solve a Rubik’s cube blindfolded. You’ll end up with oddly shaped, hard-to-break pieces.
Alternatives & Substitutions
Feeling creative? Good! Here are some ways to switch things up:
- **Seed Mix Mania:** Go wild with your seed choices! Chia, hemp hearts, nigella seeds, caraway seeds – whatever floats your seedy boat. Just keep the overall *volume* of seeds similar to maintain the texture.
- **Oil Swap:** Not an olive oil fan? You can use melted coconut oil (it might add a slight coconut flavor, FYI), avocado oil, or even a tiny bit of melted butter if you’re feeling fancy and not strictly vegan.
- **Spice It Up:** Want to add some pizzazz? Stir in a pinch of garlic powder, onion powder, smoked paprika, dried oregano, or even a tiny dash of chili flakes to your dry mix before adding the wet ingredients. Hello, gourmet crackers!
- **Nutty Knäckebröd (Careful with Carbs!):** While this recipe is naturally nut-free, if you’re okay with a few more carbs, you could add a tablespoon or two of finely chopped nuts like almonds or walnuts to the seed mix for a different flavor profile.
FAQ (Frequently Asked Questions)
Got questions? I’ve got answers (and maybe a joke or two).
- **”My knäckebröd isn’t crispy! What went wrong?”** Did you roll it thin enough? Did you bake it long enough? Did you let it cool in the oven with the door ajar? Usually, it’s one of those suspects. Back to the oven, detective!
- **”How do I store this crunchy goodness?”** In an airtight container at room temperature. It’ll stay fresh and wonderfully crunchy for a couple of weeks, IF it lasts that long (it usually doesn’t in my house).
- **”Can I make this nut-free?”** Absolutely! This recipe is already naturally nut-free, making it perfect for those with allergies. High five!
- **”Is this recipe keto-friendly?”** You bet your sweet low-carb butt it is! All seeds, all good.
- **”Can I add cheese to this?”** Oh, you visionary! Yes, sprinkle some grated hard cheese (like Parmesan or cheddar) on top before baking for a cheesy twist. Don’t say I never gave you anything.
- **”What should I eat with this?”** The possibilities are endless! Cream cheese, avocado mash, smoked salmon, ham, a fried egg, or just straight out of the container like a delicious chip.
Final Thoughts
So there you have it, folks! Your new go-to for guilt-free crunchiness that actually tastes amazing. Seriously, this stuff is a game-changer for snack attacks, cheese boards, or just upgrading your breakfast. Now go forth and conquer those cravings, or just impress your friends with your sudden ability to bake something that looks (and tastes) incredibly fancy. You’ve totally earned it!


