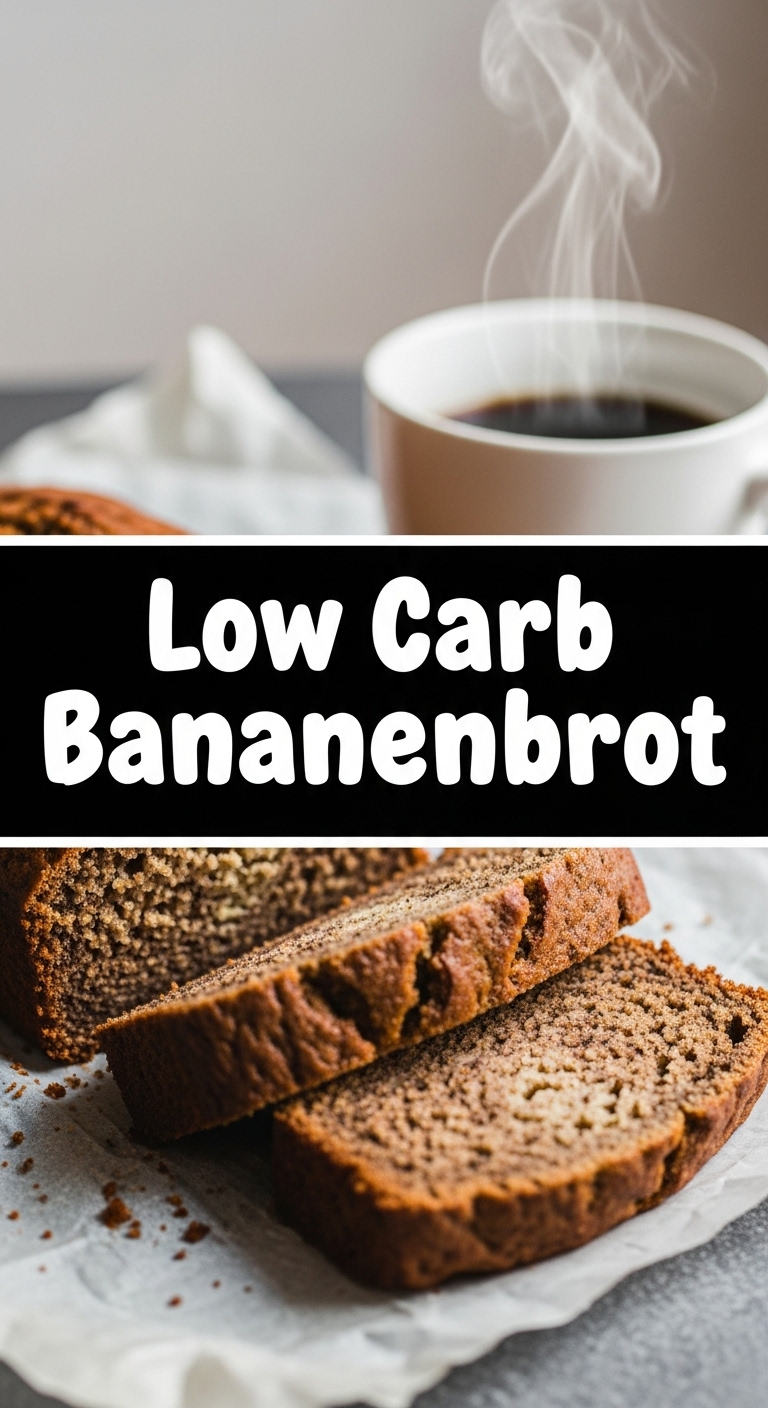
So, you’re craving something warm, comforting, and just a little bit sweet, but your brain is screaming, “No, not the carbs!” And let’s be real, who has the energy for a baking marathon these days? *High five*, my friend. I feel you. That’s why we’re diving headfirst into the glorious world of **Low Carb Bananenbrot** (because adding ‘Brot’ just makes it sound extra fancy and delicious, right?). Get ready for a recipe that’s as chill as you are on a Sunday morning.
Why This Recipe is Awesome
Okay, let’s talk about why this isn’t just *another* low-carb recipe. This is *the* low-carb recipe that actually delivers on its promises. First off, it’s genuinely easy. Like, “I can whip this up while half-watching Netflix” easy. No culinary wizardry required, just a few bowls and a spoon. Seriously, it’s so idiot-proof, even I didn’t mess it up (and that’s saying something). You get all that moist, banana-y goodness without the sugar crash or the carb guilt. Plus, it tastes legit good, not just “good for low-carb.” It’s the kind of bread that makes you want to snuggle up with a cup of coffee and pretend you’re in a fancy German bakery. Except, you made it. You’re basically a baking superstar now.
Ingredients You’ll Need
Gather your troops, baking buddy! Here’s what you’ll need to conjure up this magic. Don’t fret, most of these are likely already lurking in your low-carb pantry.
- 3 Ripe Bananas: And I mean *ripe*. Like, the kind that have more brown spots than yellow. This is where the flavor magic happens. Shhh, it’s our little secret how many carbs these add, totally worth it for the taste!
- 1 ½ Cups Almond Flour: The OG low-carb flour. Fine-ground, please. Don’t even *think* about using regular flour unless you want a totally different (and carb-loaded) bread.
- ¼ Cup Coconut Flour: Our trusty sidekick. It’s super absorbent and helps with that perfect texture. No soggy bread on our watch!
- 4 Large Eggs: The binding agents, keeping everything together. No need to explain eggs, right? They’re eggs.
- ½ Cup Sweetener of Choice: Erythritol, xylitol (be careful if you have pets!), or a monk fruit blend. Adjust to your sweet tooth. I usually go for something like Swerve or Lakanto.
- ½ Cup Melted Butter or Coconut Oil: Healthy fats for moisture and that rich flavor. Don’t skimp here, folks.
- 1 Teaspoon Baking Powder: For lift! We want fluffy, not flat.
- ½ Teaspoon Baking Soda: More lift! And it reacts with the acidity in the bananas. Science!
- 1 Teaspoon Vanilla Extract: Because everything’s better with vanilla. Period.
- ½ Teaspoon Ground Cinnamon (Optional): Adds a cozy, warm vibe. Highly recommended, IMO.
- Pinch of Salt: Balances out the sweetness.
- Optional Mix-ins: ¼ cup chopped walnuts, pecans, or sugar-free chocolate chips. Live a little!
Step-by-Step Instructions
Alright, let’s get our bake on! These steps are so simple, you’ll wonder why you ever bought store-bought. (Spoiler: you won’t anymore.)
- Preheat & Prep: First things first, crank up your oven to 350°F (175°C). Grab a loaf pan (9×5 inch is ideal) and line it with parchment paper or grease it really well. Nobody likes sticking bread.
- Mash Those Bananas: In a medium bowl, mash your ripe bananas with a fork. You want some lumps, but mostly smooth. It’s rustic, darling.
- Wet Ingredients Unite: In a separate, larger bowl, whisk together the melted butter (or coconut oil), eggs, sweetener, and vanilla extract until well combined and smooth.
- Add the Bananas: Pour your mashed bananas into the wet ingredient mixture. Stir gently until just incorporated. Don’t overmix, we’re not making meringue here!
- Dry Ingredients Party: In yet another bowl (yes, we’re using a few, but it’s worth it!), whisk together the almond flour, coconut flour, baking powder, baking soda, cinnamon (if using), and salt. Make sure there are no lumps.
- Combine & Conquer: Gradually add the dry ingredients to the wet ingredients. Mix until *just* combined. Overmixing will lead to a tough bread, so stop as soon as you see no dry streaks. If you’re adding nuts or chocolate chips, fold them in now.
- Into the Pan: Pour the batter into your prepared loaf pan. Smooth out the top with a spatula. If you’re feeling fancy, sprinkle a few extra nuts or chocolate chips on top.
- Bake It Up: Pop it into the preheated oven and bake for 45-60 minutes. Baking times can vary, so keep an eye on it! It’s done when a toothpick inserted into the center comes out clean.
- Cool Down: Once baked, let it cool in the pan for about 10-15 minutes before transferring it to a wire rack to cool completely. This is crucial! It helps the bread set and prevents it from crumbling.
- Slice & Devour: Once fully cooled, slice it up and enjoy your masterpiece! You earned it.
Common Mistakes to Avoid
Even though this recipe is practically fail-proof, there are a few banana bread blunders that even the best of us (ahem, me) have made. Learn from my mistakes, young padawan!
- Using Under-ripe Bananas: Your bread will be bland and sad, like a Monday morning. Wait for those beautiful brown spots! They mean flavor.
- Not Measuring Flour Correctly: Low-carb flours are divas. Too much almond flour makes it dense; too much coconut flour makes it super dry. Always use precise measurements, preferably by weight if you’re really serious.
- Overmixing the Batter: This is a quick bread, not a soufflé. Overmixing develops gluten (even in low-carb flours to some extent) and leads to a tough, chewy texture. Mix until just combined, then back away slowly.
- Cutting Too Early: Patience is a virtue, especially when it comes to baked goods. It might smell heavenly, but cutting it when it’s still warm means it could crumble or be gummy. Let it cool completely!
- Forgetting to Preheat the Oven: Rookie mistake. A cold oven means uneven baking and a longer bake time, which can dry out your bread. Give that oven some love and let it warm up.
Alternatives & Substitutions
Feeling a little rebellious? Want to put your own spin on it? Here are some ideas for simple swaps that won’t totally derail your Bananenbrot dreams.
- Sweetener Swap: Not a fan of erythritol? Feel free to use allulose, xylitol (again, keep away from pets!), or a stevia blend. Just remember that sweetness levels vary, so taste your wet batter mixture (before adding eggs, obviously) and adjust.
- Fat Options: Melted butter or coconut oil are my go-tos, but avocado oil or even a light olive oil can work in a pinch. I’m partial to butter, IMO, for that rich, classic flavor.
- Nutty Additions: Walnuts are classic, but pecans, almonds, or even sugar-free white chocolate chips could be fun. Shredded unsweetened coconut also adds a lovely texture and subtle flavor.
- Spice It Up: A touch of nutmeg or a dash of cardamom can elevate the flavor profile. Or, go wild with some pumpkin spice mix for an autumnal twist any time of year.
- No Coconut Flour? This one’s tricky. Coconut flour is super absorbent and doesn’t have a direct 1:1 replacement with almond flour. If you *really* can’t use it, you’d need to significantly increase almond flour and potentially add more liquid/eggs, which practically makes it a different recipe. Best to stick to the combo for this one.
FAQ (Frequently Asked Questions)
Got questions? I’ve got (casual) answers!
- Can I skip the bananas for an even lower carb count? Well, then it wouldn’t be *Bananenbrot*, silly! The bananas are the star of the show. While they do add carbs, we use just enough for that iconic banana flavor without going overboard. It’s a treat, not an everyday staple for strict keto folks.
- My bread is too dry! What did I do wrong? Odds are, you either overbaked it or used too much coconut flour (it’s a moisture sponge!). Ovens vary, so keep an eye on your bake time and pull it out as soon as a toothpick comes clean.
- Can I make muffins instead of a loaf? Absolutely! Pour the batter into a greased muffin tin. Reduce the baking time to about 20-25 minutes, or until golden brown and a toothpick comes out clean. They’re basically tiny Bananenbrot parties!
- How long does this low-carb Bananenbrot keep? In an airtight container on the counter for 2-3 days, or in the fridge for up to a week. It also freezes beautifully for a month or two. Just wrap slices individually. If it lasts that long, that is.
- Is this actually ‘keto’? It’s more ‘low-carb friendly’ than strict keto. Bananas contain natural sugars, so while we’re using them sparingly, this recipe isn’t zero-carb. Enjoy it in moderation if you’re tracking strict macros. **FYI**, always check your specific sweetener’s carb count too!
- Can I use a different nut flour, like hazelnut? Hazelnut flour could work, but it would definitely change the flavor profile and potentially the texture. For the classic “Bananenbrot” vibe, stick with almond flour.
- Why do I need both almond and coconut flour? They work together like a dream team! Almond flour provides structure and a neutral base, while coconut flour adds absorbency (crucial for baked goods with mashed fruit) and a subtle sweetness. It’s about achieving that perfect texture.
Final Thoughts
And there you have it, folks! Your very own, utterly delicious, and surprisingly easy Low Carb Bananenbrot. You’ve navigated the tricky waters of low-carb baking and emerged victorious, smelling of cinnamon and sweet success. So go ahead, slice yourself a generous piece (or two, I’m not judging), and savor every guilt-free bite. Now go impress someone—or yourself—with your new culinary skills. You’ve earned it!


