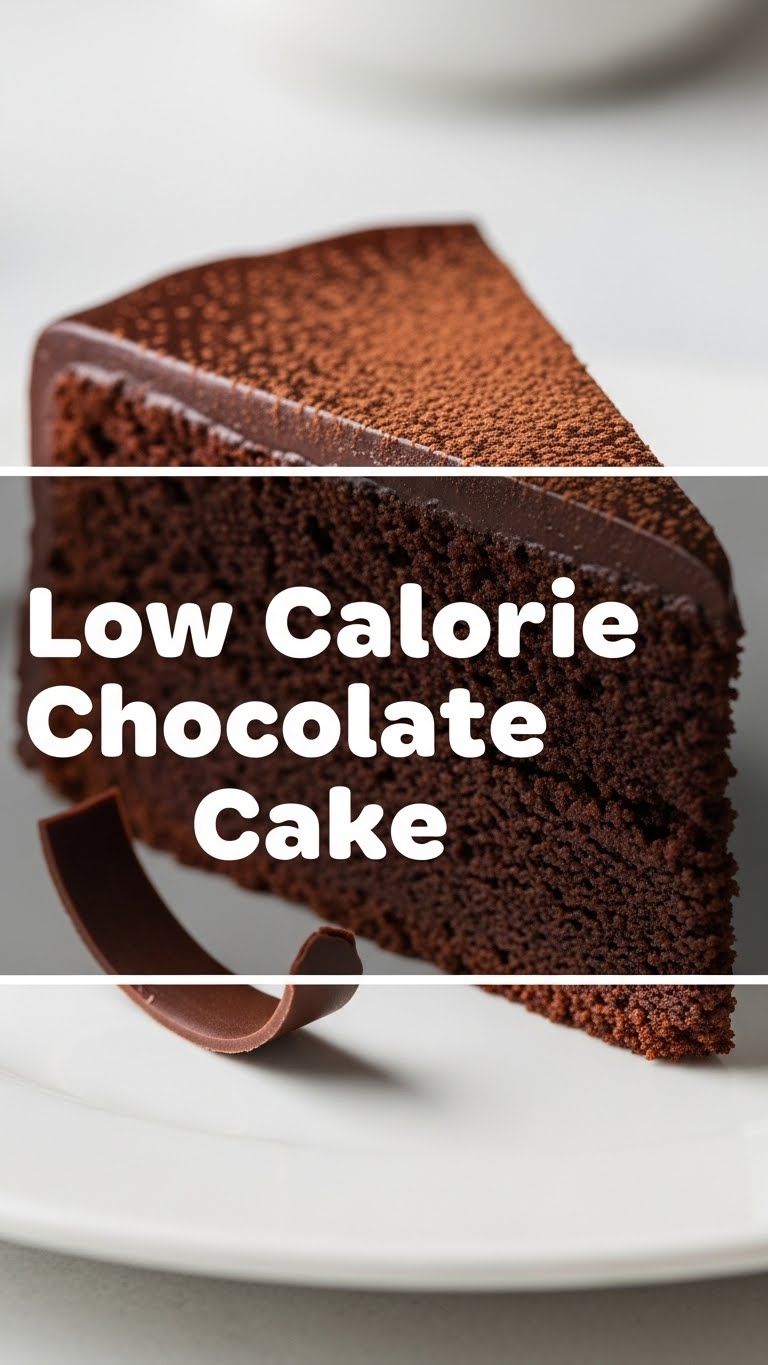
So you’re craving something warm, chocolatey, and utterly delicious but secretly panicking about your waistband? Been there, bought the bigger jeans. But what if I told you we could defy the laws of snack physics and whip up a **low-calorie chocolate cake** that actually tastes like… you know, *cake*? Not some cardboard wannabe.
Yeah, I know, it sounds like a mythical creature, right up there with a unicorn riding a scooter. But trust me on this one. We’re about to embark on a culinary adventure that will satisfy your chocolate monster without making you feel like you need to run a marathon immediately after. Get ready to have your mind (and taste buds) gently blown.
Why This Recipe is Awesome
Look, I’m not going to lie and say this cake will win any Michelin stars. But it *will* win your heart (and possibly save you from a late-night drive-thru run). This isn’t just a recipe; it’s a **game-changer**. Here’s why you’re going to love it:
- It’s practically **idiot-proof**. Even I, Queen of “Oops, I forgot an ingredient,” can pull this off.
- **Seriously low on calories.** We’re talking guilt-free indulgence, my friend.
- It tastes genuinely good. Like, “I can’t believe this is healthy-ish” good.
- **Quick and easy.** No fancy equipment, no hours spent in the kitchen. Perfect for those “I need chocolate NOW” emergencies.
- It’s versatile. Want to make it vegan? Done. Gluten-free? You got it. (More on that later, don’t rush me!)
Ingredients You’ll Need
Gather your troops, folks! Most of these are probably chilling in your pantry already. No obscure, ancient grains required.
- **All-Purpose Flour:** 1 cup. The OG, the classic, the foundation of our chocolate dreams.
- **Unsweetened Cocoa Powder:** ½ cup. Go dark, go rich! This is where the chocolate magic happens, without the added sugar.
- **Granulated Sugar Substitute:** ¾ cup. Think erythritol, stevia blend, monk fruit – whatever makes your taste buds happy without the calorie hit.
- **Baking Soda:** 1 teaspoon. Our little leavening hero, making sure our cake isn’t a brick.
- **Salt:** ¼ teaspoon. Just a pinch to make all those chocolatey flavors pop! Don’t skip it, seriously.
- **Unsweetened Almond Milk (or Skim Milk):** 1 cup. Your liquid companion. Almond milk is a personal fave for keeping things light.
- **Vegetable Oil (or Applesauce):** ¼ cup. For that lovely moisture. If you’re feeling extra virtuous, use unsweetened applesauce for half or all of it.
- **Vanilla Extract:** 1 teaspoon. Because vanilla and chocolate are soulmates, and who are we to separate them?
- **White Vinegar:** 1 teaspoon. Sounds weird, tastes wonderful. It reacts with the baking soda to give us extra fluffiness. Trust the process!
Step-by-Step Instructions
Alright, apron on (or not, I don’t judge). Let’s get baking! This is going to be easier than deciding what to binge-watch next.
- **Preheat Power:** First things first, get that oven going to **350°F (175°C)**. While it’s warming up, lightly grease and flour an 8×8 inch (20×20 cm) baking pan. Trust me, nobody wants a stuck cake.
- **Dry Mix Magic:** In a large bowl, whisk together your flour, cocoa powder, sugar substitute, baking soda, and salt. Make sure there are no lumpy bits. You want smooth sailing, baby!
- **Wet Ingredients Waltz:** In a separate medium bowl, combine the almond milk, oil (or applesauce), vanilla extract, and vinegar. Give it a good whisk until everything is friendly.
- **Combine & Conquer:** Pour the wet ingredients into the dry ingredients. Mix with a spatula or spoon until just combined. **Do NOT overmix!** A few lumps are totally okay – it means a tender cake. Overmixing means tough cake, and we’re not about that life.
- **Pour & Bake:** Pour your beautiful batter into the prepared pan. Smooth out the top. Pop it into your preheated oven and bake for **25-30 minutes**.
- **The Toothpick Test:** Your cake is ready when a toothpick inserted into the center comes out clean. If it’s still gooey, give it a few more minutes.
- **Cool Down:** Once baked, let the cake cool in the pan for about 10-15 minutes before transferring it to a wire rack to cool completely. Patience is a virtue, especially when chocolate cake is involved.
Common Mistakes to Avoid
We all make mistakes, it’s part of the human (and baking) experience. But let’s try to avoid these rookie errors, shall we?
- **Skipping the Preheat:** Seriously? **Always preheat your oven.** A cold oven is a sad oven, and it makes for sad, unevenly baked cake.
- **Overmixing the Batter:** This is the quickest way to turn a fluffy cake into a dense doorstop. Mix until *just* combined. When you see no more dry flour streaks, stop. Done.
- **Forgetting to Grease/Flour:** Unless you enjoy chiseling cake out of a pan, don’t skip this. A little butter or oil and a dusting of flour are your best friends.
- **Opening the Oven Door Too Soon:** Resist the urge to peek during the first 20 minutes! Let that cake rise in peace.
- **Substituting Wowsers:** Don’t go rogue on major ingredients (like baking soda for baking powder) unless you know what you’re doing. Stick to the recipe, at least for your first go!
Alternatives & Substitutions
Feeling adventurous? Or just realized you’re out of almond milk? No sweat! Here are some easy swaps:
- **Milk Me:** Instead of unsweetened almond milk, feel free to use skim milk, oat milk, or soy milk. Just try to stick to unsweetened varieties to keep the calorie count low.
- **Sweetener Swap:** Any granulated sugar substitute (erythritol, stevia, monk fruit, xylitol) will work. Pick your poison!
- **Flour Power:** Want to go whole grain? Use whole wheat pastry flour for a slightly healthier twist. For gluten-free, use a 1:1 gluten-free baking blend (ensure it contains xanthan gum).
- **Moisture Magic:** If you don’t have vegetable oil, any neutral-flavored oil like canola or grapeseed will do. Or, as mentioned, unsweetened applesauce is a fantastic low-cal swap for all or part of the oil.
- **Toppings, anyone?** A dusting of unsweetened cocoa powder, a dollop of fat-free whipped cream, or a drizzle of sugar-free chocolate syrup makes it extra fancy. Go wild!
FAQ (Frequently Asked Questions)
Got questions? I’ve got (casual and hopefully helpful) answers!
- **Can I use regular sugar instead of sugar substitute?** Well, you *can*, but then it won’t be a low-calorie cake anymore, will it? If calories aren’t a concern, go for it!
- **How do I store this masterpiece?** Keep it covered tightly at room temperature for up to 3 days, or in the fridge for up to 5 days. Though, let’s be real, it probably won’t last that long.
- **Can I make this into cupcakes?** Absolutely! Divide the batter into 12 cupcake liners and bake for about 18-22 minutes, or until a toothpick comes out clean. Cupcakes are always a good idea, IMO.
- **My cake is dry, what went wrong?** Usually, this means you either overbaked it or overmixed it. Remember: **Don’t overmix, don’t overbake!** Keep an eye on that oven and that toothpick.
- **Can I add chocolate chips?** You’re speaking my language! Yes, but be mindful that regular chocolate chips will add calories. Look for sugar-free chocolate chips if you want to keep it low-cal.
- **What if I don’t have vinegar?** The vinegar helps activate the baking soda for a lift. You can swap it for lemon juice, or if you don’t have either, the cake might be a tad less fluffy but still delicious.
Final Thoughts
There you have it, folks! A low-calorie chocolate cake that’s not only easy to make but also genuinely satisfying. No more staring longingly at dessert menus, feeling deprived. Now you can whip up your own little slice of chocolate heaven, guilt-free.
So go on, impress your significant other, your kids, your cat, or just yourself! You’ve earned this delicious win. Happy baking, my friend!

