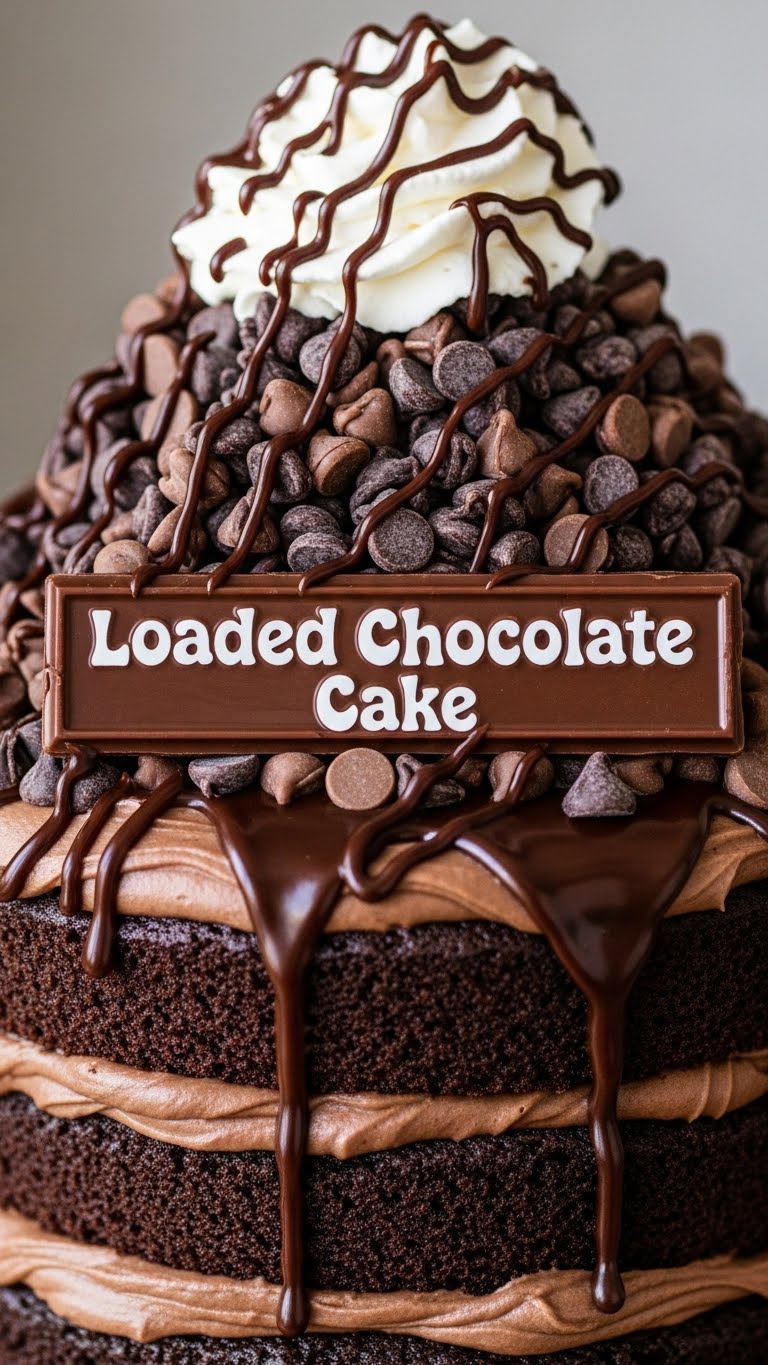
Ever stare into the fridge, sigh dramatically, and wonder why all the amazing desserts happen to other people? Well, friend, today we’re changing that. No more dessert envy! We’re diving headfirst into a chocolate dream that’s so easy, you’ll wonder why you ever bought a store-bought cake again. Get ready for the Loaded Chocolate Cake – it’s a game-changer!
Why This Recipe is Awesome
Because life’s too short for boring cake, right? This isn’t just *chocolate* cake; it’s *loaded* chocolate cake. We’re talking maximum indulgence with minimum fuss. It’s so straightforward, even my cat could probably supervise (if she wasn’t so busy judging my life choices). Plus, it tastes like a hug from a chocolate angel. Who doesn’t need that?
Seriously, it’s pretty **idiot-proof**. I even managed it without setting off the smoke detector, which, for me, is a major win. No fancy equipment, no confusing steps, just pure, unadulterated chocolate bliss. Get ready for compliments, because this one’s a crowd-pleaser!
Ingredients You’ll Need
Gather your troops, fellow dessert warrior! Here’s what you’ll need for this epic adventure:
- All-Purpose Flour: 1 ½ cups. The foundational stuff. Don’t cheap out, unless you like crumbly sadness.
- Granulated Sugar: 1 ½ cups. For sweetness, obvs. Don’t tell your dentist.
- Unsweetened Cocoa Powder: ¾ cup. The darker, the better, my friend. We want chocolate, not a hint of chocolate.
- Baking Soda: 1 ½ teaspoons. Our little lift-off agent, so your cake isn’t a brick.
- Baking Powder: 1 teaspoon. More lift! We’re ambitious here.
- Salt: 1 teaspoon. Just a pinch! Makes everything else taste *more*.
- Large Eggs: 2. Binders of gloriousness. Room temp, if you’re feeling fancy.
- Whole Milk: 1 cup. Any kind works, but whole milk makes it extra lush.
- Vegetable Oil (or similar neutral oil): ½ cup. Secret weapon for moisture.
- Vanilla Extract: 2 teaspoons. Because vanilla makes chocolate sing!
- Hot Water (or hot coffee): 1 cup. Trust me on this one. It deepens the chocolate flavor like crazy.
For the “Loaded” part (go wild!):
- Chocolate Chips: ½ cup or more (milk, dark, white – mix ’em up!).
- Chopped Candy Bars: Your favorites! Snickers, Reese’s, Kit Kat… the world is your oyster.
- Sprinkles: Rainbow, chocolate, whatever brings you joy.
- Chocolate Ganache or Frosting: Store-bought or homemade, for peak loading potential.
Step-by-Step Instructions
- Preheat & Prep: Preheat your oven to 350°F (175°C). **Don’t skip this, seriously.** Grease and flour two 8 or 9-inch round cake pans. You want this cake to come out smoothly!
- Dry Mix Magic: In a large bowl, whisk together all your dry ingredients: flour, sugar, cocoa powder, baking soda, baking powder, and salt. Make friends with them.
- Wet Mix Wonder: In another medium bowl, combine the wet ingredients: eggs, milk, vegetable oil, and vanilla extract. Give them a good whisking until well blended.
- Combine Forces: Pour the wet mixture into the dry ingredients. Mix with a whisk or spatula until *just* combined. **Don’t overmix, or your cake will be tough.** Lumps are okay; tough cake is not.
- The Hot Secret: Carefully stir in the hot water or coffee. The batter will be thin, and that’s exactly okay! It’s supposed to be. This is where the magic really happens for that moist texture and deep chocolate flavor.
- Pan It Up: Divide the batter evenly between your two prepared cake pans. Give them a gentle tap on the counter to release any air bubbles.
- Bake Time Bliss: Pop them into the preheated oven. Bake for 30-35 minutes, or until a wooden skewer or toothpick inserted into the center comes out clean. **Check early!** Ovens vary, so don’t just set it and forget it.
- Cool Down: Let the cakes cool in their pans for about 10-15 minutes. Then, carefully invert them onto a wire rack to cool completely. Patience, grasshopper. You want them totally cool before frosting!
- Load ‘Em Up: Once completely cool, frost your cakes with your favorite chocolate frosting or ganache. Then, and this is the best part, load ’em up with all your chosen toppings! Chocolate chips, crushed candy bars, sprinkles… go wild! This is your masterpiece!
Common Mistakes to Avoid
- Forgetting to Preheat: Thinking you don’t need to preheat the oven? Rookie move. Your cake will thank you for the even heat.
- Overmixing: Seriously, stop when it’s just combined. A few lumps of flour are better than a dense, rubbery cake.
- Poking Too Much: Opening the oven door every five minutes to “check” on your cake. Let it bake in peace! You’ll lose all that precious heat and might make it sink.
- Warm Frosting: Not letting the cake cool completely before frosting. Unless you like frosting soup and crumbling cake layers, step away from the warm cake!
- Skimping on the “Loaded”: This is *Loaded* Chocolate Cake, not ‘Slightly-Sprinkled’ Chocolate Cake. Don’t be shy with the toppings!
Alternatives & Substitutions
Got dietary needs or just feeling experimental? No sweat!
- Dairy-free? Use your favorite plant-based milk (almond, soy, oat) and any neutral oil. Easy peasy lemon squeezy.
- No Eggs? A flax egg (1 tbsp ground flaxseed + 3 tbsp water, let sit 5 mins) can sometimes work per egg, but the texture might be slightly denser. Or try ¼ cup applesauce per egg.
- No Coffee? Hot water is perfectly fine. The coffee just magically enhances the chocolate, it doesn’t make the cake taste like coffee, so don’t stress if you don’t have it.
- Toppings Galore: This is your playground! Caramel drizzle, crushed pretzels for a salty crunch, mini marshmallows, peanut butter cups, chopped nuts… **The world is your chocolate oyster!**
FAQ (Frequently Asked Questions)
- Can I use a stand mixer? Absolutely! Just don’t overmix the batter once the wet and dry ingredients are combined. A hand mixer or whisk works great too.
- My cake sunk in the middle, what happened? Oh, the horror! It probably wasn’t fully baked, or you opened the oven door too early. Sometimes it can happen at super high altitudes too. No worries, it’s still delicious, just maybe less visually perfect.
- How long does this cake last? If you manage not to devour it immediately, it’ll be good for 3-4 days at room temp (covered), or up to a week in the fridge. **Spoiler alert: it won’t last that long.** IMO.
- Can I make cupcakes instead? Heck yes! Reduce baking time to 18-22 minutes. Keep a close eye on them, as they bake faster.
- Is it *really* that easy? Yes, my friend. Yes, it is. The hardest part is truly waiting for it to cool.
- Can I use margarine instead of butter in the frosting? Well, technically yes, but why hurt your soul like that? Butter just tastes better. For the cake itself, this recipe uses oil for moisture, so no butter swap needed there!
Final Thoughts
There you have it, future dessert wizard! A recipe that’s sure to impress, delight, and maybe even silence the harshest critics (your in-laws, perhaps?). Seriously, you just made an epic Loaded Chocolate Cake. Go on, pat yourself on the back, grab a slice (or two), and enjoy every single glorious bite. You’ve earned this chocolatey bliss! Now go impress someone—or yourself—with your new culinary skills. You’ve earned it!


