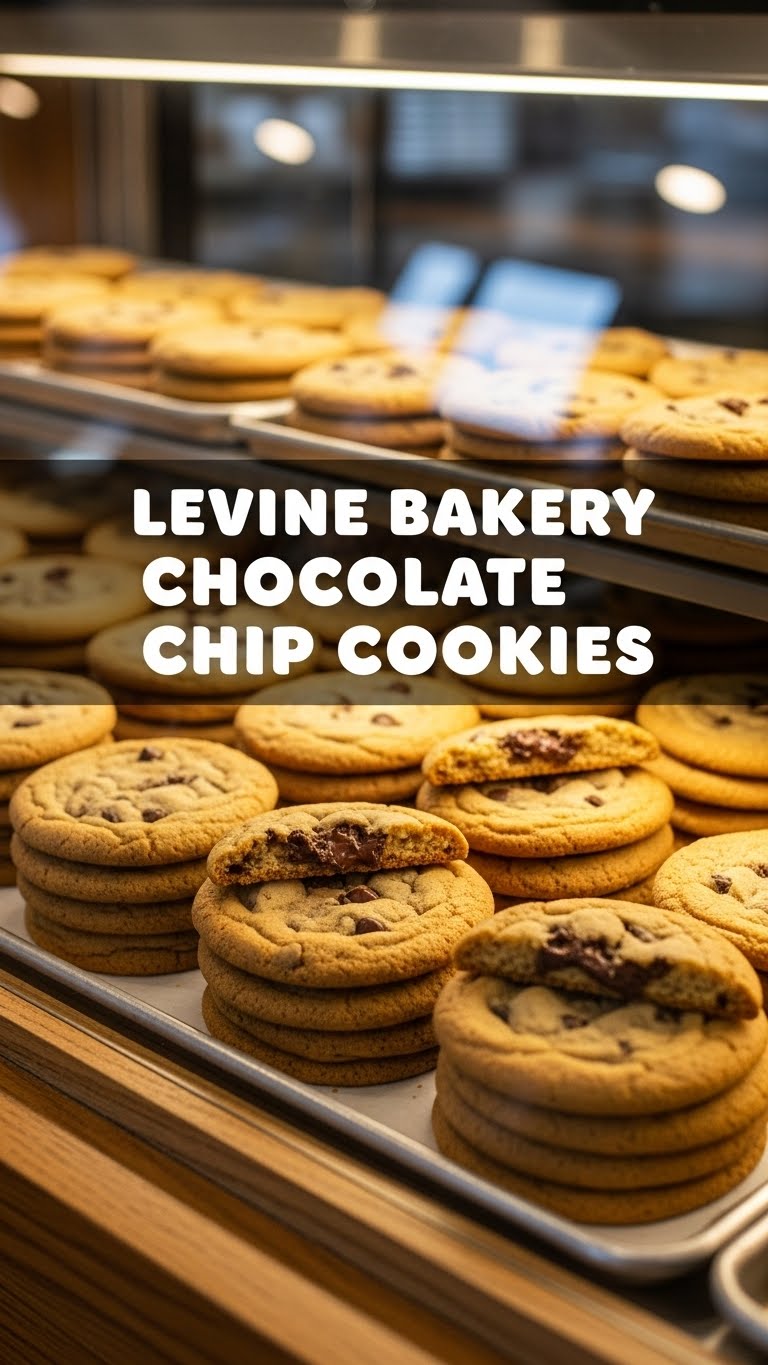
So you’re craving something tasty but too lazy to spend forever in the kitchen, huh? Same. What if I told you there’s a chocolate chip cookie recipe out there that’s so ridiculously good, so perfectly chewy-gooey-crispy, it tastes like it just walked off the counter of a fancy bakery, but it’s totally achievable in your own kitchen? Yeah, I’m talking about the kind of cookie that makes people say, “Wait, you made these?!” Get ready, because we’re diving into our *homage* to the legendary Levine Bakery Chocolate Chip Cookies. Trust me, your taste buds are about to send you a thank-you card.
Why This Recipe is Awesome
Okay, let’s get real. This isn’t just *another* chocolate chip cookie recipe. This is THE ONE. Why? Because it delivers on all fronts. It’s got that glorious, crinkly top, a perfectly chewy center, and just the right amount of melty chocolate goodness. Plus, it’s pretty much **idiot-proof**. Seriously, if I can pull it off without setting off the smoke alarm (mostly), you totally can too. It uses ingredients you probably already have lying around, and the results? Pure bakery magic without the bakery price tag. You’ll impress your friends, family, significant other, or just yourself (which is arguably the most important, IMO).
Ingredients You’ll Need
Gather ’round, my fellow kitchen adventurers! Here’s what you’ll need to conjure up these bad boys. Don’t worry, nothing too exotic here.
- 1 cup (2 sticks) unsalted butter, softened. The good stuff, not that “spread” your aunt brings to potlucks.
- ¾ cup granulated sugar. Sweetness. Duh.
- 1 ½ cups packed light brown sugar. This is your secret weapon for chewiness and that deep, caramelly flavor. Don’t even *think* about skimping!
- 2 large eggs. Room temperature, if you’re feeling fancy. If not, whatever, they’ll still work.
- 2 teaspoons vanilla extract. The soul of the cookie. Don’t buy the cheap stuff, your cookies deserve better.
- 2 ¼ cups all-purpose flour. The foundation, the backbone, the glue.
- 1 teaspoon baking soda. For that perfect lift and spread.
- ¾ teaspoon salt. CRUCIAL. Don’t skip it, seriously. It balances the sweetness and makes all the flavors pop.
- 2 cups (about 12 oz) chocolate chips. A mix is best! Think 1 cup semi-sweet and 1 cup dark chocolate chips (or even chopped chocolate bars for extra melty pockets). Go wild!
Step-by-Step Instructions
Alright, apron on, game face ready! Let’s bake some happiness.
- Preheat your oven and prep your sheets. Get that oven fired up to **375°F (190°C)**. Line two baking sheets with parchment paper. This isn’t just for easy cleanup; it helps with even baking too!
- Cream the butter and sugars. In a large mixing bowl (or your stand mixer), beat the softened butter, granulated sugar, and brown sugar together until light and fluffy. This usually takes about 2-3 minutes. Scrape down the sides of the bowl to make sure everything gets incorporated.
- Add the eggs and vanilla. Crack in those two eggs, one at a time, beating well after each addition. Then, stir in the vanilla extract. The mixture should look smooth and luscious.
- Whisk the dry ingredients. In a separate medium bowl, whisk together the flour, baking soda, and salt. Give it a good whisk to make sure everything is evenly distributed. This prevents pockets of just salt or just baking soda – yuck!
- Combine wet and dry. Gradually add the dry ingredients to the wet ingredients, mixing on low speed until *just* combined. **Do not overmix!** Overmixing develops gluten, which leads to tough cookies, and nobody wants a tough cookie.
- Fold in the chocolate chips. Now for the good stuff! Add your glorious chocolate chips to the dough. Use a spatula or wooden spoon to gently fold them in until they’re evenly distributed throughout the dough.
- Scoop that dough! Use a large cookie scoop (about 2-3 tablespoons per cookie) or your hands to form balls of dough. Place them about 2 inches apart on your prepared baking sheets. For that true bakery vibe, feel free to strategically place a few extra chocolate chips on top of each dough ball.
- Bake ’em up! Pop the baking sheets into your preheated oven. Bake for **10-12 minutes**, or until the edges are golden brown but the centers still look slightly soft and gooey. Trust your gut here!
- Cool (briefly). Let the cookies cool on the baking sheets for about 5 minutes before transferring them to a wire rack to cool completely. This helps them set up and prevents them from falling apart.
Common Mistakes to Avoid
We’ve all been there, staring at a tray of less-than-perfect cookies. Learn from my (and others’) mistakes, so you don’t have to!
- Overmixing the dough: I said it once, I’ll say it again: **DO NOT OVERMIX!** It’s the number one culprit for tough, cakey cookies. Mix until just combined, then stop.
- Skipping the salt: Seriously, don’t. Without it, your cookies will taste flat and overly sweet. Salt is the flavor MVP.
- Ignoring oven temperature: Thinking you don’t need to preheat the oven? Rookie mistake. A cold oven will mess with the spread and texture. Get it to temperature!
- Not chilling the dough (if you have time): While this recipe works without chilling, a 30-minute chill (or even overnight) will yield thicker, chewier cookies with more developed flavor. If you’re patient, it’s worth it.
- Overbaking: Pull those cookies out when they still look a little underdone in the center. They’ll continue to bake on the hot sheet pan, resulting in that perfect chewy texture.
Alternatives & Substitutions
Feeling adventurous? Here are a few ways to tweak this recipe without totally breaking it (but remember, the original is pretty perfect, just sayin’).
- Chocolate Varieties: Feel free to swap out the chocolate chips for chopped chocolate bars (they melt so beautifully!). Or mix in some white chocolate, peanut butter chips, or even some mini M&Ms for a colorful twist.
- Nuts for Crunch: Add about a half-cup of chopped walnuts or pecans along with your chocolate chips for an extra layer of texture. Just toast them lightly beforehand for maximum flavor.
- Flour Power: If you’re feeling a *tiny* bit health-conscious, you could substitute a small portion (say, ¼ cup) of the all-purpose flour with whole wheat pastry flour. But for the true bakery experience, stick with good old AP.
- Butter Swaps: Can you use margarine? Well, technically yes, but why hurt your soul like that? It won’t give you the same richness or texture. Coconut oil *can* be used for a dairy-free option, but it will impart a subtle coconut flavor and change the texture slightly.
- Brown Sugar Only: For an even chewier, more deeply flavored cookie, you could go with all brown sugar (2 ¼ cups total), omitting the granulated sugar entirely. It’s a different vibe, but a delicious one!
FAQ (Frequently Asked Questions)
Got questions? I’ve got (casual) answers!
- Can I use cold butter straight from the fridge? Look, you *can*, but your arm (or your mixer) will hate you, and it won’t cream as nicely with the sugars. Room temperature butter is your friend for light, fluffy dough.
- My cookies spread too much! What went wrong? Ah, the dreaded pancake cookie! Usually, it means your butter was too soft, your oven wasn’t hot enough, or your dough needed a chill session. Maybe all three?
- Do I *really* need to chill the dough? For these cookies, it’s not strictly necessary, but a quick 30-minute chill helps the flavors meld and prevents excessive spreading, leading to a thicker, chewier cookie. **FYI**, longer chills (up to 24 hours) enhance the flavor even more.
- How long do these cookies last? In my house? About 20 minutes. Realistically, stored in an airtight container at room temperature, they’re best for 3-5 days. But good luck making them last that long!
- Can I freeze the cookie dough? Absolutely! Scoop the dough onto a parchment-lined sheet, freeze until solid, then transfer the frozen dough balls to a freezer-safe bag. Bake from frozen, adding an extra 2-4 minutes to the baking time. Fresh-baked cookies on demand? Yes, please!
- What’s the best type of chocolate to use? A good quality chocolate makes all the difference. IMO, a mix of bittersweet and semi-sweet chocolate chips (or chopped bars!) gives you the best flavor complexity and melty pools.
Final Thoughts
There you have it, folks! Your very own ticket to cookie nirvana. This recipe isn’t just about baking; it’s about the joy of creating something truly delicious, something that brings smiles (and maybe a few crumbs) to everyone’s face. So go forth and conquer! Your kitchen is now a bakery. You’ve got this, and you’ve earned that warm, gooey cookie (or three). Enjoy every single bite!

