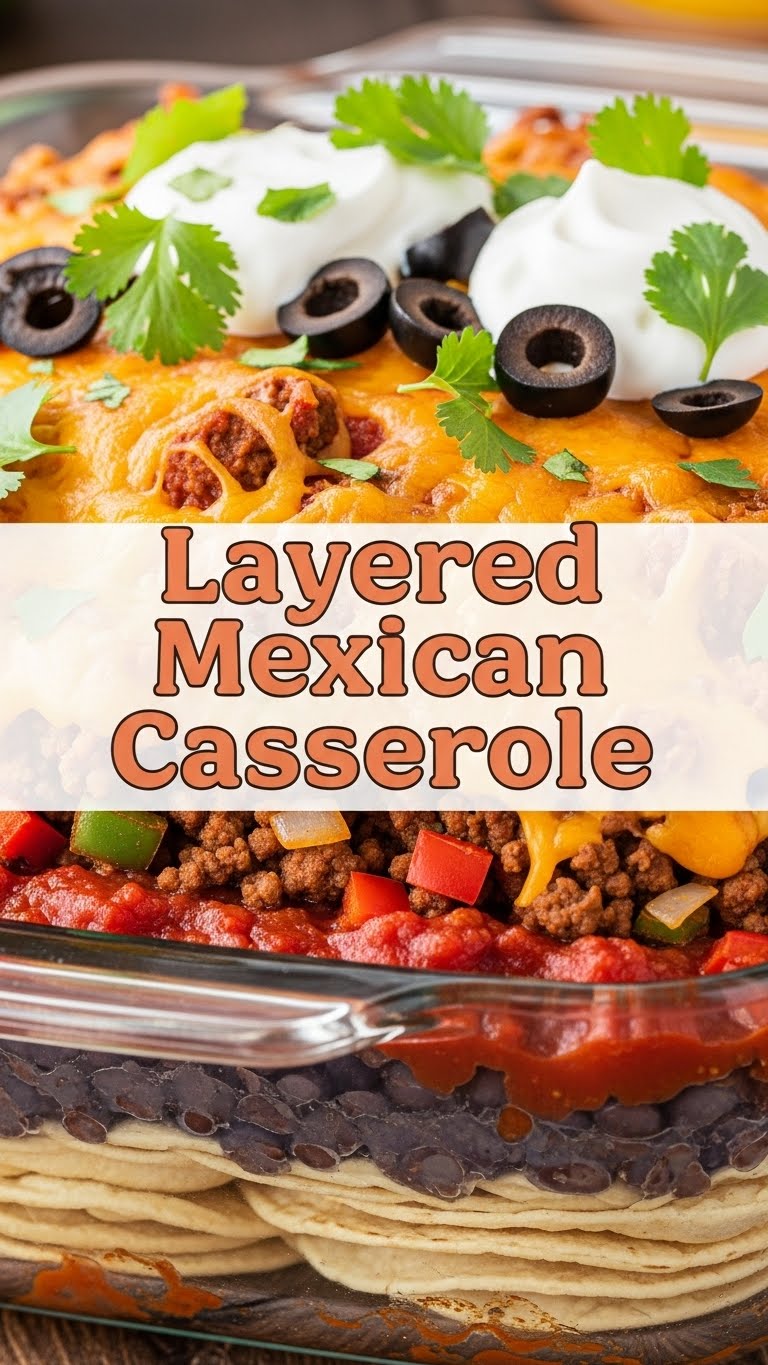
So, you’re eyeing that empty fridge, dreaming of something epic for dinner, but the thought of actually cooking feels like scaling Everest? Been there, bought the T-shirt. Good news, my friend: I’ve got a recipe that’s about to make your taste buds do a happy dance without turning your kitchen into a war zone. Presenting: The Layered Mexican Casserole!
Why This Recipe is Awesome
Okay, first things first. This isn’t just any casserole. This is the casserole. Why? Because it’s delicious, obviously. But more importantly, it’s pretty much idiot-proof. Seriously, if I can pull this off without setting off the smoke detector, you can too. It’s comfort food, it’s weeknight easy, and it feeds a crowd (or just you for several glorious days). Plus, it layers, which makes you feel fancy without any actual fancy effort. Win-win-win.
Ingredients You’ll Need
- Ground beef (or turkey, if you’re feeling lean and mean) – about a pound. Get the good stuff.
- Taco seasoning packet – your secret weapon for flavor. Or make your own if you’re feeling ambitious (I’m usually not, TBH).
- Can of diced tomatoes with green chilies (Rotel, you’re a lifesaver). Drain it, unless you like soggy.
- Can of black beans, rinsed and drained (nobody wants bean juice in their casserole).
- Can of corn, drained (see above, no soggy business).
- Flour tortillas – medium-sized, the ones that fit in your pan-ish. About 8-10.
- Shredded Mexican blend cheese – because cheese is life. A generous amount, like 2 cups.
- Sour cream – for layering and topping. Adds that creamy dreamy goodness. About 1 cup.
- Salsa – your favorite, for a little kick and moisture. About 1/2 cup, plus more for serving.
- Optional toppings: cilantro, avocado, jalapeños, more sour cream, hot sauce (live your best life!).
Step-by-Step Instructions
- Preheat & Brown: Get your oven to 375°F (190°C). Brown that ground beef in a large skillet over medium-high heat. Drain any excess grease because nobody wants a greasy casserole.
- Season & Simmer: Stir in the taco seasoning and about 1/4 cup of water. Let it simmer for a few minutes, stirring occasionally, until most of the liquid is absorbed.
- Mix in Veggies: Add the drained diced tomatoes with green chilies, black beans, and corn to the beef mixture. Give it a good stir.
- First Layer: Grab a 9×13 inch baking dish. Spread about 1/3 of the beef mixture on the bottom. Top it with a layer of tortillas (you might need to tear some to fit, it’s okay, embrace the chaos).
- Creamy Layer: Dollop about half of the sour cream over the tortillas, spreading it gently. Then sprinkle about 1/3 of the shredded cheese over that.
- Repeat the Magic: Repeat the layering process: beef mixture, tortillas, remaining sour cream, cheese.
- Final Layer: For the grand finale, add the remaining beef mixture, then top with the last of the tortillas. Spread the salsa over these top tortillas, and then crown it all with the rest of that beautiful cheese.
- Bake It Up: Pop that masterpiece into your preheated oven. Bake for 25-30 minutes, or until the cheese is bubbly and gloriously melted, and the edges are slightly golden.
- Rest & Serve: Let it rest for 5-10 minutes after it comes out of the oven. This helps it set a bit and prevents it from falling apart when you cut into it. Serve with your favorite toppings!
Common Mistakes to Avoid
- Not draining the meat: Seriously, don’t skip this. Greasy casserole is a sad casserole.
- Over-stuffing the pan: Know your limits. If your dish is overflowing before baking, you’re in for a bubbly, cheesy oven mess.
- Skipping the rest period: Impatience is a virtue sometimes, but not here. Let it chill for a few minutes; it makes for cleaner slices.
- Forgetting the cheese: Blasphemy! Don’t skimp on the cheese. More cheese is always the answer.
Alternatives & Substitutions
- Meat: Not a beef person? Ground chicken, turkey, or even a vegetarian ground substitute works perfectly. Or go bean-heavy for a meatless version!
- Tortillas: Corn tortillas can be used, but they tend to absorb more liquid and can get a bit mushy if not handled right. Flour tortillas are my go-to for structural integrity.
- Sour Cream: Greek yogurt is a fantastic, healthier swap for sour cream. Same tang, fewer calories. Win!
- Veggies: Get wild! Add bell peppers, onions (sautéed with the meat), or even a can of diced green chilies for extra zing. FYI, a can of green enchilada sauce is also a great addition for more flavor.
- Spicy Factor: Want more heat? Add some chopped fresh jalapeños, a dash of cayenne pepper, or a spicier salsa.
FAQ (Frequently Asked Questions)
- Can I make this ahead of time? Absolutely! Assemble the whole thing (minus baking), cover it tightly, and refrigerate for up to 24 hours. Just add 10-15 minutes to the baking time if baking from cold.
- What if I don’t have a 9×13 dish? A slightly smaller or larger dish will work, but you might need to adjust baking time or layer thickness. Just make sure everything fits without overflowing.
- Can I freeze leftovers? You bet! Store individual portions in airtight containers. Thaw overnight in the fridge and reheat in the microwave or oven. It’s a lifesaver for busy weekdays!
- My casserole is a bit watery. What went wrong? Did you drain your canned goods and meat properly? That’s usually the culprit! Next time, ensure everything is well-drained.
- Is this actually healthy? Define “healthy.” It’s packed with protein and some veggies, so it’s got that going for it. But let’s be real, it’s comfort food. Enjoy it! Moderation, my friend.
Final Thoughts
And there you have it, folks! Your very own Layered Mexican Casserole. It’s warm, it’s cheesy, it’s flavorful, and it totally makes you look like a culinary genius with minimal effort. Go forth, conquer your hunger, and perhaps even impress a date or your very grateful family. Or just eat it all yourself while binging your favorite show. No judgment here! You’ve earned it!


