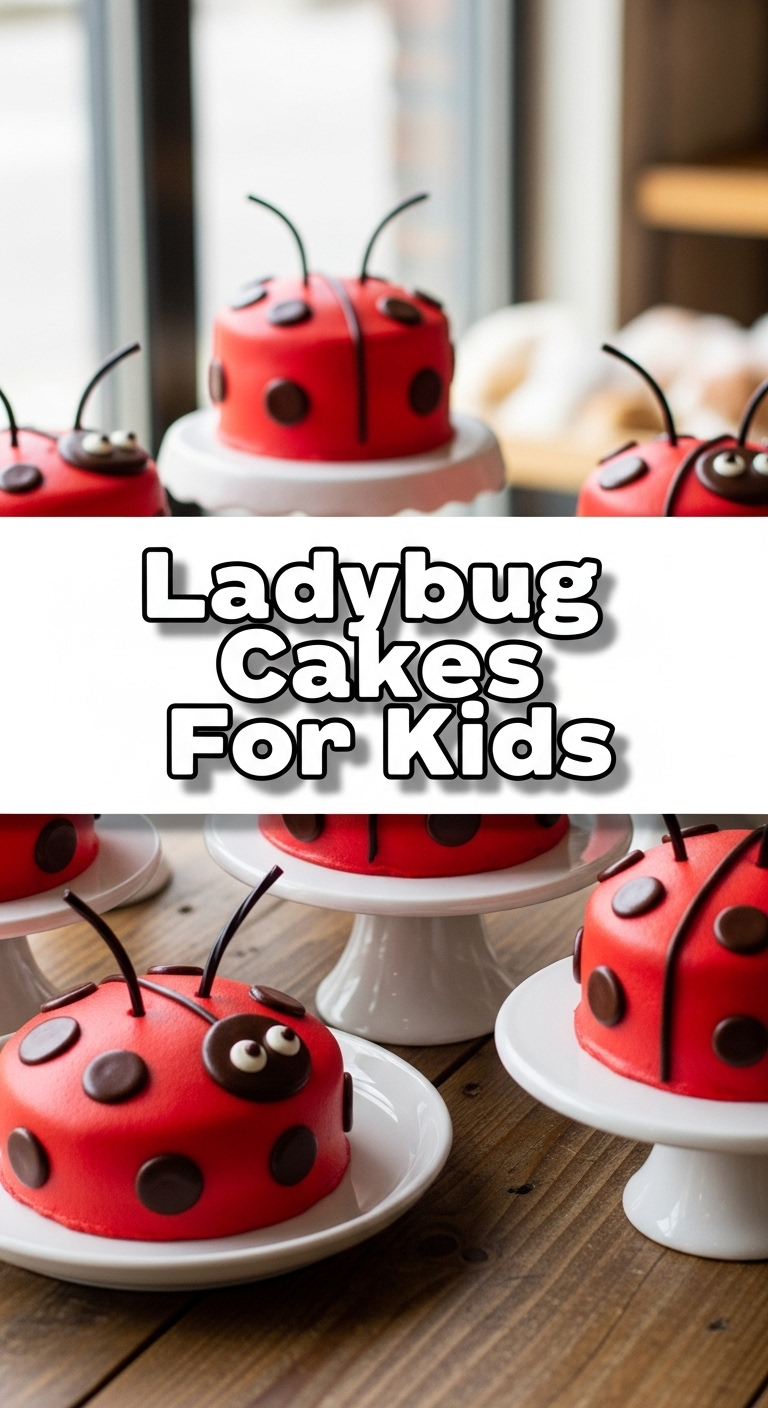
So, you’ve got a gaggle of tiny humans demanding something *adorable* and *edible*, but you’re fresh out of ideas that don’t involve a degree in advanced pastry arts? Been there, done that, got the crumb-stained t-shirt. Worry not, my friend, because today we’re making Ladybug Cakes! They’re cute, they’re fun, and honestly, they’re ridiculously simple. Let’s get baking without breaking a sweat (or a plate!).
Why This Recipe is Awesome
Let’s be real, most kid-friendly recipes either require you to be a master sculptor or involve so much sugar they bounce off the walls until next Tuesday. This one? It’s like magic! It looks super impressive, but it’s honestly **so simple, even your goldfish could probably help out** (don’t try that, though, hygiene first!). Plus, it’s a brilliant way to get the little ones involved without them totally destroying your kitchen… mostly. You’ll look like a culinary genius, and they’ll have a blast. Win-win, right?
Ingredients You’ll Need
- Cupcakes (pre-made mix is your BFF here): Grab a box of vanilla or chocolate cake mix, or whip up your fave vanilla/chocolate batch from scratch if you’re feeling ambitious (bless your heart). You’ll need about 12 cupcakes.
- Vanilla Frosting (store-bought, zero shame): One tub (about 16 oz) of ready-made vanilla frosting. Because who has time to make frosting from scratch when there’s Netflix to watch?
- Red Food Coloring: The brighter, the better. We’re going full ladybug glam here, so aim for a gel food coloring for that vibrant pop.
- Mini Chocolate Chips: For those adorable ladybug spots. Or regular ones if you’re feeling rebellious; they just make bigger spots!
- Chocolate Sandwich Cookies (like Oreos): About 6-8 cookies for the ladybug heads. Black, round, perfect. No arguments.
- Candy Eyes (optional but highly recommended): Because everything is cuter with googly eyes. Fact.
Step-by-Step Instructions
- Bake your chosen cupcakes according to package (or recipe) directions. **Don’t overfill the liners**, we want nice, flat tops for our ladybugs, not volcano eruptions.
- Let those babies cool completely. And I mean *completely*. Trying to frost warm cupcakes is a one-way ticket to a melty, crumbly disaster. Trust me on this.
- Now for the fun part! Scoop your vanilla frosting into a bowl and add red food coloring. Start with a few drops, mix, and add more until you get that glorious, vibrant ladybug red. **Don’t be shy!** You want it bold.
- Frost each cooled cupcake generously. Aim for a smooth, slightly domed surface – this is the ladybug’s back!
- Carefully twist apart your chocolate sandwich cookies and discard the cream filling (or eat it, I won’t judge, it’s a chef’s treat!). Place one half-cookie at the edge of each cupcake for the ladybug’s head.
- Sprinkle mini chocolate chips over the red frosting to create those signature ladybug spots. Arrange them artfully or just go wild; it’s your ladybug party!
- If you’re using candy eyes, dab a tiny bit of frosting on the back of each eye and stick them onto the Oreo head. Behold! Instant personality.
- Step back and admire your adorable little army of edible ladybugs. You did it!
Common Mistakes to Avoid
- Frosting hot cupcakes: We’ve been over this. It’s a disaster. Pure, unadulterated mess. Just. Don’t. Do. It.
- Being stingy with the red food coloring: Your ladybugs will look more like sick, pale ants than vibrant, happy insects. Go bold or go home!
- Trying to decorate before the frosting sets a little: Especially if it’s warm in your kitchen. Those chocolate chips will slide right off. Pop them in the fridge for 5-10 mins after frosting if needed.
- Letting the kids eat *all* the candy eyes beforehand: A valiant effort, but crucial for the aesthetic. Save some, people!
Alternatives & Substitutions
No chocolate sandwich cookies? No biggie! You can use a half-circle of black licorice or even just draw a head shape with black gel icing. Get creative, my friend!
Don’t have candy eyes? A tiny dot of white frosting with an even tinier dot of black frosting (or a mini chocolate chip) works perfectly. **DIY is always chic**, IMO.
Want to get extra fancy? Use a black edible marker to draw a line down the middle of the red frosting for the ladybug’s ‘wing’ separation. It’s a small detail, but makes a big impact.
FAQ (Frequently Asked Questions)
Can I use any flavor of cupcake? Absolutely! Vanilla and chocolate are classic, but imagine a lemon ladybug! Wild, I know. Feel free to experiment!
How far in advance can I make these? You can bake the cupcakes a day or two ahead and store them airtight. Decorate them the day you plan to serve for maximum freshness and cuteness. FYI, they’re super quick to decorate!
My frosting is too thin/thick! Help! Too thin? Add a bit of powdered sugar. Too thick? A tiny splash of milk or water. Adjust slowly, a little goes a long way.
Can the kids help decorate? OMG, yes! That’s half the fun! Let them put on the spots and eyes. It might be messy, but the memories (and photos!) are totally worth it.
How do I store leftovers? In an airtight container at room temperature for a day or two, or in the fridge for up to 4-5 days. But let’s be real, will there *be* leftovers?
Final Thoughts
See? I told you it was easy! Now you’ve got these ridiculously cute ladybug cakes ready to impress any kid, adult, or even yourself (because you deserve cute things). Go forth and conquer the dessert table, my friend. You’re basically a professional now. **Seriously, give yourself a pat on the back!** You’ve earned it!


