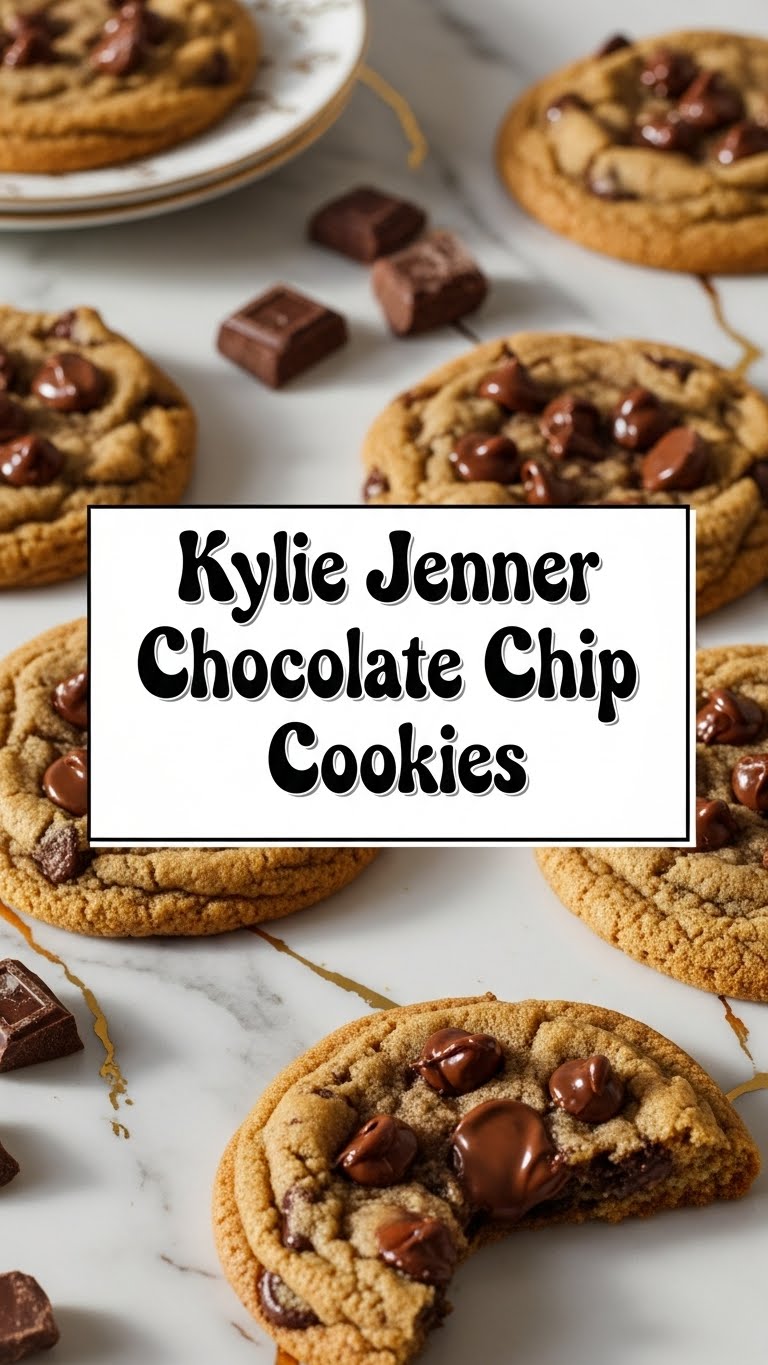
So you’re craving something tasty but too lazy to spend forever in the kitchen, huh? Same. What if I told you we’re about to channel our inner celeb chef and whip up some Kylie Jenner-approved chocolate chip cookies? Yeah, *that* Kylie. Get ready, because these aren’t just cookies; they’re an experience. And no, you don’t need a private jet to make them.
Why This Recipe is Awesome
First off, it’s pretty much idiot-proof. Even I, Queen of ‘oops, did I burn that?’, didn’t mess these up. Seriously. You get that perfect chewy-in-the-middle, slightly crispy-on-the-edges vibe without needing a culinary degree. Plus, who doesn’t want to brag they made cookies *like Kylie*? It’s basically instant cool points with minimal effort. You’re welcome.
Ingredients You’ll Need
- Unsalted Butter: 1 cup (2 sticks). The good stuff. Don’t skimp, your taste buds will thank you. Make sure it’s softened – not melted, not rock-hard.
- Granulated Sugar: 1/2 cup. Sweetness, duh.
- Packed Light Brown Sugar: 1 cup. This is where the magic (and chewiness) happens. Don’t even *think* about skipping this for regular sugar.
- Large Eggs: 2. Room temp, if you’re feeling fancy. If not, whatever, they’ll still work.
- Vanilla Extract: 2 teaspoons. Go wild! The better the vanilla, the better the cookie, IMO.
- All-Purpose Flour: 2 1/4 cups. The glue that holds our dreams together.
- Baking Soda: 1 teaspoon. Our little lift-off agent. Don’t confuse it with baking powder!
- Salt: 1 teaspoon. Don’t forget this! It balances everything out and makes the chocolate sing.
- Chocolate Chips: 2 cups (semi-sweet or a mix!). The more, the merrier. Chocolate chunks? Even better!
Step-by-Step Instructions
- Preheat & Prep: Get that oven heated to 375°F (190°C). Line a baking sheet with parchment paper. Trust me, it makes cleanup a breeze and prevents sticking.
- Cream it Up: In a large bowl, cream together the softened butter, granulated sugar, and brown sugar until light and fluffy. This usually takes 2-3 minutes with an electric mixer. Don’t be shy with that mixer!
- Egg-cellent Addition: Beat in the eggs one at a time, making sure each is fully incorporated before adding the next. Then stir in the vanilla extract. Mmm, vanilla.
- Dry Mix: In a separate medium bowl, whisk together the flour, baking soda, and salt. Give it a good mix so everything is evenly distributed.
- Combine Forces: Gradually add the dry ingredients to the wet ingredients, mixing on low speed until *just* combined. Do not overmix! That’s how you get tough cookies, and no one wants those.
- Chocolate Time: Fold in your glorious chocolate chips. A spatula works best for this. Feel free to be generous here.
- Scoop & Bake: Drop rounded spoonfuls of dough (or use an ice cream scoop for uniform cookies) onto your prepared baking sheet. Leave a little space between them, okay? They like to spread out.
- Golden Goodness: Bake for 9-12 minutes, or until the edges are golden brown and the centers still look slightly soft. Remember, ovens vary, so keep an eye on them!
- Cool Down: Let them cool on the baking sheet for a few minutes before transferring them to a wire rack to cool completely. Or, you know, eat one hot. I won’t tell.
Common Mistakes to Avoid
- Ignoring the Preheat: Thinking you don’t need to preheat the oven? Rookie mistake. Your cookies will bake unevenly and probably spread too much. Patience is a virtue here.
- Cold Butter: Using rock-hard butter right from the fridge. **Soften your butter**, people! It creams better and gives a much nicer texture to your cookies.
- Overmixing the Dough: Once you add the flour, mix *just until combined*. Overmixing develops gluten, making your cookies tough instead of tender. No one wants a tough cookie, literally.
- Forgetting Salt: “It’s just a teaspoon, does it matter?” YES! It balances the sweetness and enhances all those delicious chocolate flavors. Crucial, trust me.
- Cramming the Baking Sheet: Too many cookies on one sheet means they steam instead of bake. Give them space to breathe and spread out. Otherwise, you end up with one giant blob.
Alternatives & Substitutions
- Chocolate Swap: Not feeling semi-sweet? Use milk chocolate, dark chocolate, white chocolate, or even a mix! Peanut butter chips, toffee bits, or chopped nuts are also a fantastic addition if you’re feeling adventurous. Go wild with your mix-ins!
- Butter Alternative: While butter is king, you *could* technically use vegan butter for a dairy-free version. Just make sure it’s a good quality one designed for baking. Margarine? Well, let’s just say I’d stick to butter if you can.
- Flour Power: Want a slightly chewier cookie? Try substituting a quarter cup of the all-purpose flour with bread flour. For gluten-free, use a 1:1 gluten-free baking blend, but results might vary slightly – just a heads up!
FAQ (Frequently Asked Questions)
- Q: Can I chill the dough? A: Heck yes! Chilling the dough for at least 30 minutes (or even overnight!) can deepen the flavor and prevent excessive spreading. It’s a pro move, TBH, and totally worth it if you have the time.
- Q: My cookies are flat! What went wrong? A: Could be a few things! Softened butter might have been too soft, your oven temp could be off, or maybe you didn’t measure your flour correctly. **Try chilling the dough next time!** It works wonders.
- Q: How long do these cookies last? A: In my house? About an hour. Kidding (mostly). Store them in an airtight container at room temp for up to 3-5 days. If they last that long, you’re a stronger person than I am.
- Q: Can I freeze the dough? A: Absolutely! Scoop individual balls of dough onto a baking sheet, freeze until solid, then transfer to a freezer-safe bag. Bake from frozen, adding a minute or two to the baking time. Fresh cookies anytime! You’re basically a genius.
- Q: Do I really need brown sugar? A: For that classic chewy texture and depth of flavor, **yes, brown sugar is essential.** Granulated sugar alone will give you a crispier cookie, which isn’t what we’re going for here.
- Q: What if I don’t have parchment paper? A: You can lightly grease your baking sheet, but parchment paper really is a lifesaver for even baking and no-stick-situations. Seriously, invest in a roll; your future self will thank you.
Final Thoughts
So there you have it! You’ve just unlocked the secret to some seriously delicious, celebrity-approved chocolate chip cookies. Whether you’re making them for a party, a quiet night in, or just because you deserve a treat (you do!), these bad boys will hit the spot. Now go impress someone—or yourself—with your new culinary skills. You’ve earned it, superstar!


