So you’re craving something ridiculously tasty but also kinda want to pretend you’re a super fancy chef without *actually* putting in super fancy chef effort, huh? Same, friend, same. Enter the legendary, the glorious, the unbelievably easy-to-make (shhh, don’t tell anyone) Kunafa dessert, elevated to stratospheric levels with a scoop of ice cream. Get ready to impress yourself, your dog, or anyone else within sniffing distance.
Why This Recipe is Awesome
Okay, let’s be real. This isn’t just a dessert; it’s a *statement*. And the best part? It’s practically **idiot-proof**. Seriously, if I can make it without setting off the smoke alarm (a rare feat, I assure you), you absolutely can too. You get that irresistible combination of crunchy, buttery pastry, gooey, stretchy cheese, and a sweet, fragrant syrup, all perfectly balanced by a cold, creamy scoop of ice cream. It’s warm, it’s cold, it’s sweet, it’s savory – it’s basically a party in your mouth, and everyone’s invited. Plus, it looks super impressive, making you seem like a culinary genius when, in reality, you just followed some ridiculously simple steps. You’re welcome.
Ingredients You’ll Need
Gather ’round, my fellow kitchen adventurers! Here’s your treasure map to deliciousness:
- **500g Kunafa (Kataifi) Pastry:** Find this in the freezer section of Middle Eastern or international grocery stores. It looks like shredded pasta, and yes, it’s as fun to play with as it sounds.
- **200g Unsalted Butter (melted):** Don’t skimp! This is where the magic happens. Seriously, butter makes everything better.
- **250-300g Sweet Cheese (like Akawi or Nabulsi, desalted; or Low-Moisture Mozzarella, shredded):** Mozzarella is easier to find and gives a great cheese pull. If you’re feeling adventurous, find the traditional stuff, but make sure to desalt it.
- **For the Simple Syrup:**
- **1.5 cups Granulated Sugar:** Sweetness incoming!
- **1 cup Water:** To help the sugar dissolve and become syrupy, obviously.
- **1 tsp Lemon Juice:** Don’t skip this, it prevents crystallization and adds a nice zing.
- **1 tsp Rose Water or Orange Blossom Water (optional, but highly recommended):** This is where you get that authentic, fragrant Middle Eastern vibe. Just a tiny splash makes a huge difference.
- **Vanilla Ice Cream (or your favorite flavor):** Because, well, it’s in the title, and it’s essential for the hot-cold contrast. Don’t be shy!
- **Pistachios, crushed (for garnish, optional):** Makes it look extra fancy, like you actually know what you’re doing.
Step-by-Step Instructions
- **First, the Syrup (because it needs to cool):** In a small saucepan, combine the sugar, water, and lemon juice. Bring it to a boil over medium heat, then reduce heat and let it simmer for about 8-10 minutes until it slightly thickens. Remove from heat, stir in the rose or orange blossom water (if using), and set it aside to cool completely. **Cool syrup on hot kunafa is key!**
- **Prep the Pastry:** Take your Kunafa pastry out of the freezer and let it thaw for about 30 minutes. Once it’s pliable, roughly shred it into smaller pieces using your hands. The finer, the better.
- **Butter Up!:** Pour the melted butter all over the shredded Kunafa pastry. Get in there with your hands and really rub that butter into every single strand until it’s evenly coated. It should look moist and golden. This is the secret to its glorious crunch!
- **Layer One – The Bottom:** Take about two-thirds of the buttered Kunafa pastry and press it firmly into the bottom of a 9-inch round baking dish (or a square one, we’re not judging). Make sure it’s packed down tight and creates a slight rim around the edges. **Firmness is your friend here!**
- **Cheese Time!:** Evenly spread your shredded mozzarella (or desalted traditional cheese) over the Kunafa layer, leaving about half an inch border around the edge. This prevents the cheese from melting directly onto the pan and making a mess.
- **Layer Two – The Top:** Gently take the remaining one-third of the buttered Kunafa pastry and spread it carefully over the cheese layer, making sure the cheese is completely covered. Again, press it down gently but firmly.
- **Bake It Up:** Pop your masterpiece into a preheated oven at 190°C (375°F) for about 30-40 minutes, or until the top is a beautiful golden brown and the edges are bubbling. Keep an eye on it – ovens are like people, they’re all a bit different.
- **The Grand Flip (optional, but awesome):** Once it’s golden, carefully take it out. If you’re feeling brave, place a large serving plate over the baking dish and, using oven mitts, carefully but confidently flip the Kunafa onto the plate. The bottom will now be the crispy, golden top. If you’re not feeling brave, just serve it directly from the pan, it’ll still taste amazing!
- **Syrup Drizzle & Serve:** Immediately (and I mean *immediately*) pour the cooled simple syrup evenly over the hot Kunafa. You’ll hear that satisfying sizzle! Let it sit for a minute or two to absorb.
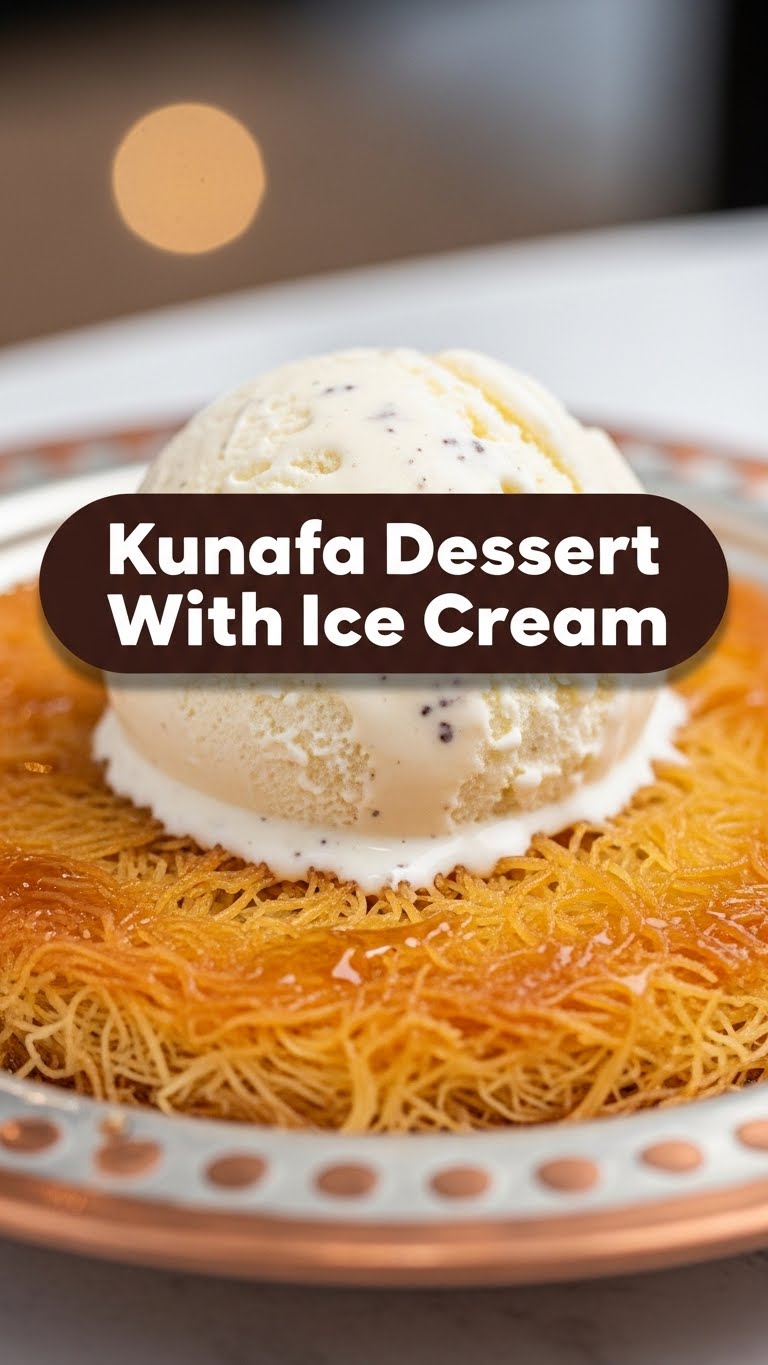
- **The Icing on the Cake (literally):** Garnish with crushed pistachios if you have them. Cut into wedges, scoop a generous dollop of vanilla ice cream next to each warm piece, and serve it up! Enjoy the warm-cold, crunchy-gooey, sweet-creamy perfection.
Common Mistakes to Avoid
- **Not enough butter:** Rookie error! The butter is essential for that golden crunch. Don’t be shy. Your future self will thank you.
- **Not cooling the syrup:** If you pour hot syrup on hot Kunafa, it’ll get soggy. We want crispy, not soggy! So, **syrup first, remember?**
- **Not pressing the Kunafa firmly:** Especially the bottom layer. A loose base means a crumbly Kunafa, and nobody wants that kind of drama.
- **Overfilling with cheese:** Too much cheese can make it harder to cut and might ooze out too much. Find that sweet spot.
- **Forgetting the lemon juice in the syrup:** This little secret ingredient prevents the syrup from crystallizing, so you don’t end up with crunchy sugar bits instead of smooth syrup.
- **Thinking you don’t need to preheat the oven:** C’mon, we’re better than that! Preheat for even baking.
Alternatives & Substitutions
Life’s too short not to experiment, right? Here are a few ideas:
- **Cheese:** If you can’t find traditional sweet cheese or don’t want to deal with desalting, **low-moisture mozzarella** is your best friend. Some people even use ricotta cheese mixed with a little sugar, though it won’t give you that signature stretchy pull. You do you!
- **Ice Cream Flavor:** Vanilla is a classic for a reason, but try pistachio ice cream for an extra Middle Eastern kick, or even a simple strawberry for a fruity contrast. Chocolate ice cream? Go wild, I won’t judge.
- **Syrup Flavor:** Besides rose or orange blossom water, you can infuse your syrup with a cinnamon stick, a few cardamom pods, or even a splash of vanilla extract for a different twist.
- **Toppings:** No pistachios? No problem! A sprinkle of shredded coconut, a drizzle of honey, or even a few fresh berries can work wonders.
FAQ (Frequently Asked Questions)
- **Can I use margarine instead of butter?** Well, technically yes, but why hurt your soul (and your taste buds) like that? Butter is king here for flavor and texture. IMO, it’s worth it.
- **My Kunafa isn’t getting crispy, help!** Did you use enough butter? Did you press it firmly? Was your oven hot enough? These are the usual culprits. Also, make sure your syrup is cool and you poured it on hot Kunafa.
- **Can I make the syrup ahead of time?** Absolutely! In fact, you *should*. It keeps well in the fridge for a couple of weeks in an airtight container. Future you will thank past you for being so organized.
- **What if I don’t have a round baking dish?** No worries! A square or rectangular dish works just fine. The shape doesn’t affect the deliciousness, I promise.
- **Can I freeze Kunafa?** You can freeze the unbaked Kunafa for up to a month. Thaw it slightly before baking. Once baked, it’s best eaten fresh for optimal crunch, but leftovers can be reheated gently in the oven.
- **Is traditional Kunafa cheese really salty?** Oh yes, it can be! That’s why desalting is crucial. You typically soak it in water, changing the water multiple times over several hours, sometimes even overnight. Good thing mozzarella is an easier option, right?
Final Thoughts
So there you have it, your passport to dessert paradise! This Kunafa with ice cream isn’t just a recipe; it’s an experience. It’s fancy enough to impress but forgiving enough for even the most… shall we say, “relaxed” chefs. Now go impress someone—or yourself, which is arguably more important—with your new culinary skills. You’ve earned it! Don’t forget to take a picture before devouring it all. Happy baking!


