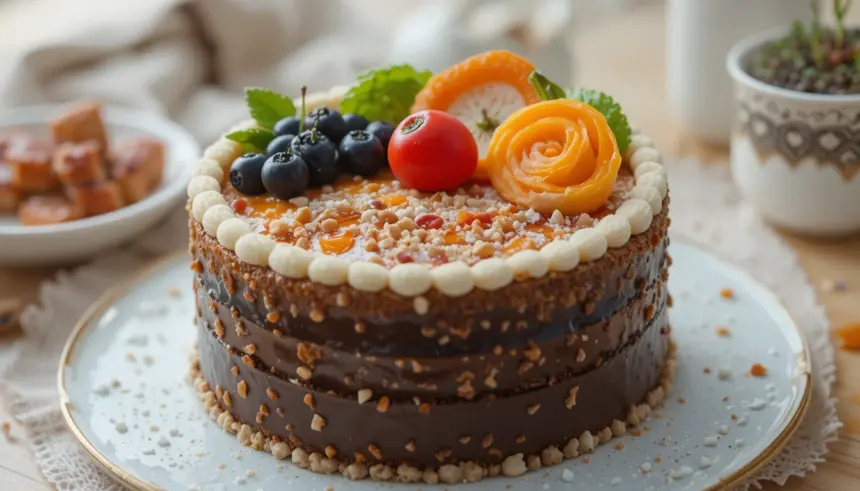
So, you’ve scrolled through Instagram for the zillionth time and landed on those impossibly cute, tiny cakes that look like they’ve been handcrafted by edible fairies? Yep, those are Korean Bento Cakes, and I’m here to tell you, you *can* make them without selling your soul or spending an entire weekend in the kitchen. Seriously. Let’s get baking!
Why This Recipe is Awesome
Okay, let’s be real. Most cake recipes involve enough steps to feel like you’re training for a marathon. But not this one. This Korean Bento Cake design recipe is basically the culinary equivalent of a chill Friday night in. It’s small, it’s quick, and it’s deceptively impressive. Like, “Oh, this? I just whipped it up” kind of impressive. Plus, because they’re tiny, the stakes are super low. Mess up a design? Who cares! It’s still delicious, and you can just eat the evidence. It’s practically idiot-proof, even I didn’t mess it up (and that’s saying something).
Ingredients You’ll Need
No need for fancy stuff here. Most of these are probably chilling in your pantry already. Or, you know, a quick trip to the grocery store won’t break the bank.
- All-Purpose Flour: 1 cup (the unsung hero of all baking adventures).
- Granulated Sugar: 3/4 cup (because sweetness makes the world go ’round).
- Baking Powder: 1.5 teaspoons (our little lift-off specialist).
- Salt: 1/2 teaspoon (just a pinch to make everything taste better, promise).
- Unsalted Butter: 1/2 cup (that’s one stick, softened – no cold butter crimes, please!).
- Large Egg: 1 (room temp is best, FYI, for a smoother batter).
- Whole Milk: 1/2 cup (or whatever milk you have, honestly).
- Vanilla Extract: 1 teaspoon (liquid gold for flavor).
- For the Buttercream Frosting:
- Unsalted Butter: 1 cup (two sticks, softened. Again, room temp is key!).
- Powdered Sugar: 3-4 cups (sifted, unless you like lumpy frosting, you rebel).
- Heavy Cream (or Milk): 2-3 tablespoons (to get that perfect, spreadable consistency).
- Vanilla Extract: 1 teaspoon (or more, if you’re feeling wild).
- Gel Food Coloring: Various colors (gel is way better for vibrant hues, trust me).
Step-by-Step Instructions
Ready to get your bake on? Don’t stress, it’s easier than parallel parking.
- Preheat & Prep: Get that oven heated to 350°F (175°C). Seriously, don’t skip this. Grease and flour two 4-inch or 5-inch cake pans. If you don’t have tiny ones, muffin tins work too, just adjust baking time.
- Dry Mix Fun: In a medium bowl, whisk together the flour, sugar, baking powder, and salt. Give it a good mix, like you’re a mad scientist.
- Wet Mix Magic: In another bowl, cream the softened butter until it’s light and fluffy. Beat in the egg, then the vanilla extract. Scrape down the sides of the bowl like your life depends on it.
- Combine Forces: Gradually add the dry ingredients to the wet ingredients, alternating with the milk. Start and end with dry. Mix just until combined. Overmixing is the enemy of fluffy cakes.
- Bake ‘Em Up: Divide the batter evenly between your prepared pans. Pop them in the oven and bake for 20-25 minutes, or until a toothpick inserted into the center comes out clean.
- Cool Down: Let the cakes cool in the pans for 10 minutes before flipping them onto a wire rack to cool completely. Patience, young padawan.
- Buttercream Bonanza: While the cakes cool, make your frosting. Beat the softened butter on medium-high until pale and fluffy (about 3-5 minutes). Gradually add the powdered sugar, one cup at a time, beating well after each addition.
- Frosting Finesse: Pour in the heavy cream and vanilla extract. Beat on high until the frosting is light, fluffy, and looks utterly delicious. Divide into separate bowls and color with gel food coloring for your design.
- Assemble & Design: Once cakes are fully cool, level them if needed. Spread a thin layer of frosting between the layers, then cover the whole cake with a thin “crumb coat” of frosting. Chill for 15 minutes.
- The Grand Finale: Apply a thicker final layer of frosting to your bento cake. Now for the fun part! Use piping bags with small tips (or just snip the corner off a Ziploc bag) to pipe cute designs: swirls, dots, tiny flowers, or minimalist text. Get creative!
Common Mistakes to Avoid
Look, we all make mistakes. But these are the ones that can turn your bento cake dream into a bento cake nightmare. Don’t be that person.
- Ignoring “Softened Butter”: Thinking you can just microwave rock-hard butter for 10 seconds? Nah. It’ll melt unevenly, and your frosting/cake will be sad. Plan ahead, friend.
- Overmixing the Batter: This is probably the most common crime. You want a light touch. Mixing too much develops the gluten, leading to a tough, dense cake. No one wants that.
- Baking with an Unpreheated Oven: Rookie mistake! An oven needs to be at the correct temperature from the get-go for proper leavening and texture.
- Not Crumb Coating: Seriously, this step is your best friend. It locks in all those pesky crumbs, ensuring your final frosting layer is smooth and crumb-free. Skipping it is just asking for trouble.
- Rushing the Cooling: Trying to frost a warm cake is like trying to ice skate uphill. It melts, it slides, it’s a mess. Let those cakes cool completely!
Alternatives & Substitutions
Feeling adventurous? Or just realized you’re out of milk? No worries, I got you.
- Cake Flavor Swap: Craving chocolate? Replace 1/4 cup of flour with cocoa powder. Lemon zest or almond extract can also totally transform the vibe. IMO, almond extract is underrated.
- Dairy-Free: Use your favorite plant-based milk and a good quality dairy-free butter substitute for both the cake and frosting. Just make sure the butter substitute is suitable for baking.
- Different Frosting: Not a fan of traditional buttercream? A cream cheese frosting (less sweet!) or even a whipped ganache could work beautifully. Just ensure it’s firm enough for piping designs.
- Less Sweet? You can reduce the sugar in both the cake and frosting by about 1/4 cup each. It’ll still be delicious, just less of a sugar rush.
- Tiny Pans? What Tiny Pans?: If you don’t have small cake pans, you can totally bake this in a standard muffin tin to make cute cupcakes, then just frost and design them individually.
FAQ (Frequently Asked Questions)
Got questions? I probably have snarky, yet helpful, answers.
- Can I use margarine instead of butter? Well, technically yes, but why hurt your soul like that? Butter tastes better, performs better, and your taste buds will thank you. Just use butter.
- My frosting is too thin/thick. Help! Too thin? Add more sifted powdered sugar, a tablespoon at a time. Too thick? Add a splash of milk or cream, a teaspoon at a time. It’s a delicate dance!
- How long do these mini cakes last? In an airtight container at room temp, maybe a day or two. In the fridge, up to 3-4 days. But honestly, who’s letting them last that long?
- Can I make the cake layers ahead of time? Absolutely! Bake them, let them cool completely, wrap them tightly in plastic wrap, and freeze for up to a month. Thaw at room temp before frosting.
- Do I need special piping tips for the designs? Nope! A small round tip (like Wilton 3 or 4) is great, but you can totally just snip a tiny corner off a Ziploc bag for simple dots and lines. Embrace the DIY!
- What if my cake sticks to the pan? You probably didn’t grease and flour it well enough. Next time, spray with non-stick spray, then dust with flour, tapping out the excess. Or use parchment paper circles at the bottom!
Final Thoughts
See? That wasn’t so bad, was it? You just whipped up a custom, adorable Korean Bento Cake! Now you’ve got this cute little masterpiece that’s perfect for a solo treat, a sweet gesture for a friend, or just showing off your mad skills. Don’t be afraid to experiment with colors and designs. There’s no wrong way to make something delicious and pretty, especially when it’s this small and forgiving. Now go impress someone—or yourself—with your new culinary skills. You’ve earned it!

