So you’re staring into the abyss of your fridge, craving something refreshingly zesty, but the thought of spending hours in the kitchen makes you want to crawl back into bed? Been there, done that, bought the oversized t-shirt. But what if I told you there’s a dessert so vibrant, so delicious, and so ridiculously easy it practically makes itself? Enter: Kiwi Sorbet. Get ready to have your tastebuds tango!
Why This Recipe is Awesome
Let’s be real, most fancy desserts require a PhD in pastry arts and a small loan. Not this bad boy. This kiwi sorbet is like the chill friend who always shows up with good vibes and no drama. It’s:
- Idiot-proof: Seriously, if you can blend things, you can make this. I didn’t mess it up, so your chances are excellent.
- Crazy refreshing: Perfect for those “is it summer yet?” days, or when you just need a palate cleanser after, say, an entire pizza.
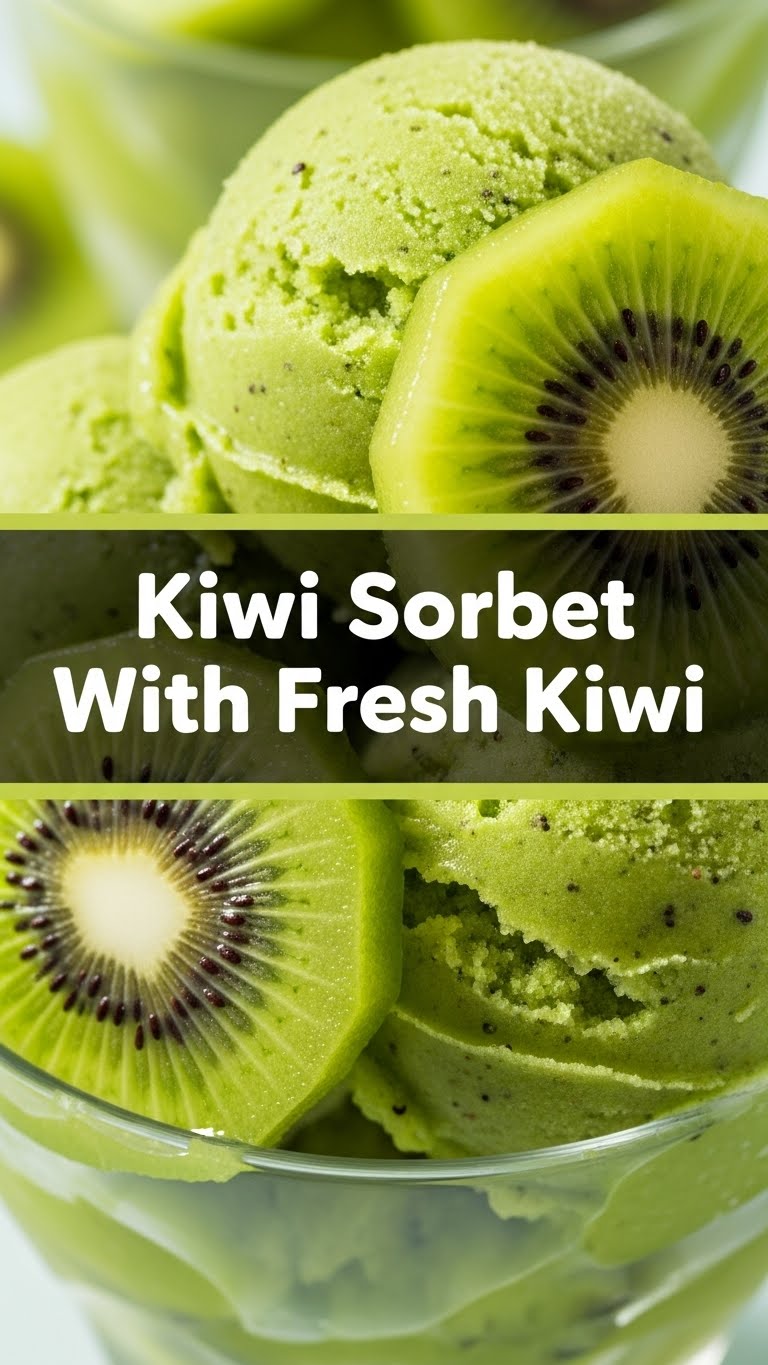
- Surprisingly fancy-looking: Pop it in a cute glass, add a mint sprig, and boom! Instant culinary genius, zero effort.
- Packed with good stuff: Kiwis! They’re basically tiny green powerhouses. You’re practically eating health food. Ish.
Ingredients You’ll Need
Gather ’round, my sweet-toothed companions! Here’s your minimal shopping list. Don’t worry, no obscure spices from the Himalayas here.
- 4-5 Ripe Kiwis: These are the undisputed stars of the show. Make sure they’re nice and soft to the touch, not rock-hard. Think “squishy but not mushy.”
- ½ cup Granulated Sugar: Just enough to make the kiwis sing, not scream “I’m a sugar bomb!” It also helps prevent iciness, science, blah blah.
- ½ cup Water: Your trusty sidekick for the simple syrup. Unsung hero, really.
- 1 Tablespoon Fresh Lime Juice (optional, but highly recommended): A little zesty kick to make things interesting. It brightens everything up like sunshine on a cloudy day.
- Fresh mint leaves or a thin kiwi slice (for garnish, totally optional): Because even sorbet deserves to look snazzy for its close-up.
Step-by-Step Instructions
Alright, apron on (or don’t, I won’t tell), let’s get this party started! Each step is short, sweet, and to the point.
Peel and Chop Your Kiwis: First things first, get those fuzzy little guys naked. Slice them in half, then scoop out the green flesh with a spoon, or just peel ’em like a potato. Chop them into rough chunks. Precision is not our game here.
Whip Up That Simple Syrup: In a small saucepan, combine your ½ cup of sugar and ½ cup of water. Heat it over medium heat, stirring occasionally, until the sugar is completely dissolved. Don’t boil it to oblivion, just get it clear. Let it cool down a bit. This is important!
Blend It Like a Boss: Toss your chopped kiwi chunks into a blender. Pour in the cooled simple syrup and the optional lime juice. Blend until it’s super smooth and uniform. No chunky bits allowed unless that’s your vibe (it’s not for sorbet, trust me).
Strain for Supreme Smoothness (Optional, but Gold): Want sorbet that feels like silk on your tongue? Pour the blended mixture through a fine-mesh sieve into a bowl, pushing it through with a spatula. This catches any rogue seeds or unblended bits. **This step makes a huge difference in texture!**
Churn, Baby, Churn! (or Freeze & Stir): If you have an ice cream maker, pour the strained mixture in and churn according to its instructions (usually 20-30 minutes). If you don’t have one, no worries! Pour the mixture into a shallow freezer-safe dish. Freeze for about 30-45 minutes, then take it out and stir it vigorously with a fork or spoon, breaking up any ice crystals. Repeat this every 30-45 minutes for about 3-4 hours until it’s firm and scoopable.
Final Freeze: Once churned or stirred to perfection, transfer the sorbet to an airtight container and freeze for at least 2-4 hours to let it firm up properly. Patience is a virtue, especially when sorbet is involved.
Scoop and Serve: When you’re ready to indulge, let the sorbet sit out for 5-10 minutes to soften slightly. Scoop into bowls or fancy glasses. Garnish with a fresh mint leaf or a thin kiwi slice if you’re feeling extra. Devour!
Common Mistakes to Avoid
We all make mistakes, even in the kitchen. Here are a few face-palm moments to steer clear of:
Using Underripe Kiwis: A sour sorbet is a sad sorbet. If your kiwis are hard, they’re not ready. Wait for them to soften. Otherwise, you’ll end up with a puckering experience that’s less “refreshing” and more “lemon-face.”
Skipping the Simple Syrup: Just blending kiwis and freezing them will give you a block of icy fruit, not smooth sorbet. The sugar in the syrup is crucial for preventing those nasty ice crystals. Don’t skimp!
Not Cooling the Syrup: If you dump hot syrup into your blender with fresh fruit, you’re basically cooking it. Not what we’re going for. Let it chill before blending.
Forgetting to Stir (if no ice cream maker): If you’re going the manual route, those regular stirs are vital! They break up ice crystals, creating that smooth, luxurious texture you’re after. Don’t set it and forget it.
Alternatives & Substitutions
Feeling adventurous? This recipe is super flexible. Think of it as a base for your mad scientist culinary experiments.
Sweetener Swaps: Not a sugar fan? You can try honey or maple syrup, but you might need to adjust the liquid content slightly. **FYI, sugar does help with texture**, so if you go low-sugar, it might be a bit icier.
Fruit Fusion: This base works wonders with other fruits! Try mango, raspberries, or even pineapple. Mix and match for a tropical explosion. A little bit of passionfruit would be divine, IMO.
Add a Kick: For an adult-only treat, a splash of white rum or vodka (a tablespoon or two) can prevent it from freezing too solid and add a nice little something-something.
Herbacious Hints: A few mint leaves or a tiny piece of ginger blended in can add an extra layer of flavor complexity. Don’t be shy!
FAQ (Frequently Asked Questions)
Got questions? I’ve got (casual) answers!
Q: Do I *have* to strain it? I’m lazy.
A: Technically no, you don’t *have* to. But if you want that super-smooth, seed-free experience that feels like it came from a fancy gelato shop, it’s worth the extra minute. Your tongue will thank you.
Q: Can I reduce the sugar? I’m trying to be healthy.
A: Absolutely, you can! Just know that sugar plays a role in preventing the sorbet from getting too icy. Less sugar usually means a harder, icier texture. Taste your kiwi puree before freezing and adjust to your preference!
Q: How long does this magical sorbet last in the freezer?
A: In an airtight container, it’ll keep happily for about a week. After that, it might start losing some of its charm and getting a bit too icy. But let’s be honest, will it even last a week?
Q: What if my kiwis aren’t super ripe? Can I still make it?
A: You *can*, but it’ll be tarter. You might need to add a touch more sugar to balance the tartness. Or just embrace the sour pucker! Life’s about choices, right?
Q: Can I use frozen kiwis instead of fresh?
A: Yes, you totally can! Just thaw them slightly before blending. It might make your mixture a bit colder, so the simple syrup should definitely be fully cooled.
Q: Can I add other flavors? Like, a dash of coconut?
A: Oh, absolutely! This is your sorbet adventure. A splash of coconut water or even a little shredded coconut blended in could be amazing. Or a tiny bit of vanilla extract! Go wild, you culinary explorer!
Final Thoughts
And there you have it! A dessert so easy, so refreshing, and so vibrant, it’s practically a ray of sunshine in a bowl. Whether you’re impressing friends, chilling on the couch, or just need a pick-me-up, this kiwi sorbet has got your back. So go forth, blend those kiwis, and sorbet-ify your life!
Now go impress someone—or yourself—with your new culinary skills. You’ve earned it!


