So you’re craving something tasty but too lazy to spend forever in the kitchen, huh? Same. We’ve all been there – staring into the pantry abyss, wishing a plate of warm, gooey chocolate chip cookies would just *manifest*. Well, guess what? Your trusty KitchenAid mixer is about to become your culinary genie, making that wish a delicious reality. This isn’t just a recipe; it’s a call to arms for anyone who loves cookies but also values their precious couch time. Let’s get baking!
Why This Recipe is Awesome
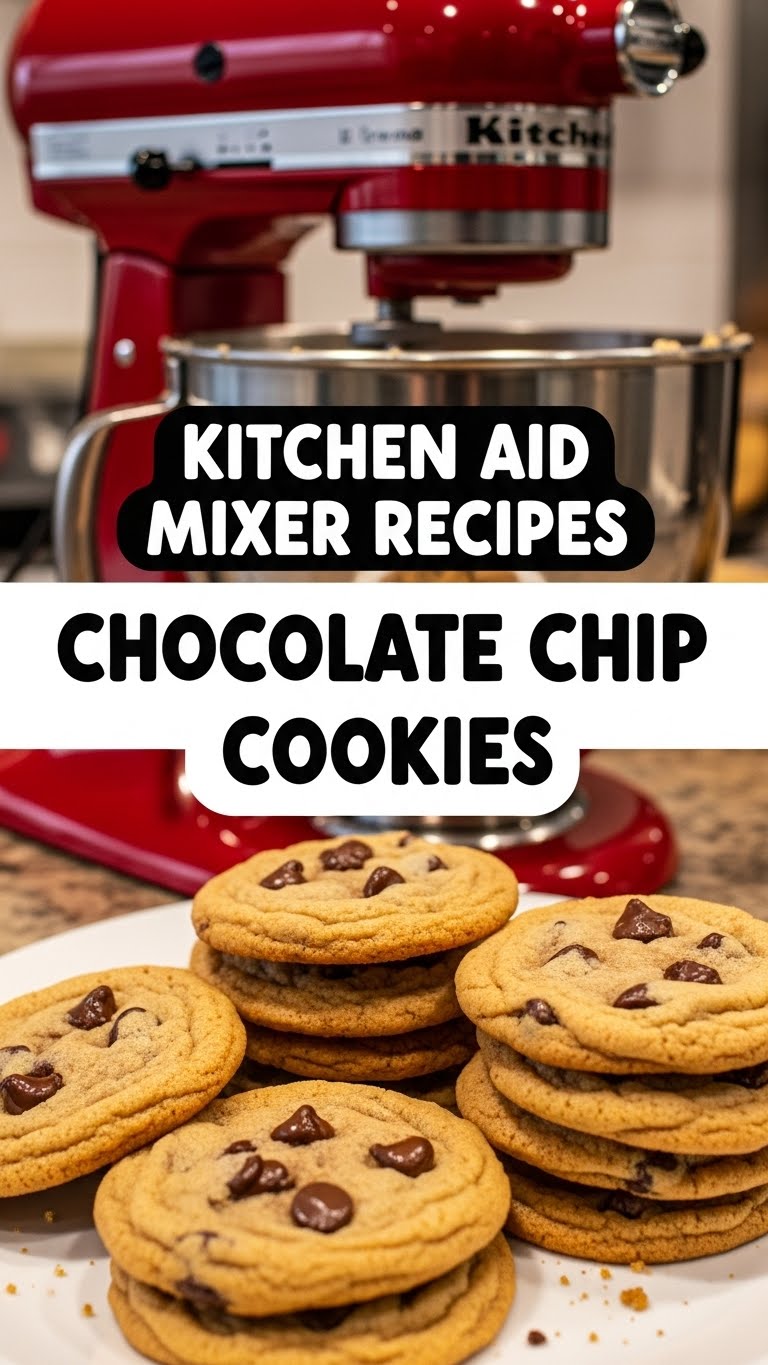
Okay, let’s be real. This recipe is awesome because it’s practically **idiot-proof**. Even I, someone who once mistook baking soda for baking powder (the horror!), can nail these. The secret weapon? Your KitchenAid mixer. It does all the hard work – creaming butter and sugar until fluffy, mixing in eggs without a fuss, and generally making you look like a pro baker without breaking a sweat. **It’s minimal effort for maximum cookie glory.** Plus, who doesn’t love a fresh batch of chocolate chip cookies? They’re practically a hug in edible form.
Ingredients You’ll Need
Gather your troops! Here’s what you’ll need to transform your kitchen into a cookie factory. No fancy, hard-to-find stuff, promise!
- 1 cup (2 sticks) Unsalted Butter: Room temperature, please! Not melted, not rock-hard. Just soft enough to make a dent with your finger.
- ¾ cup Granulated Sugar: For that perfect crisp-chewy balance.
- 1 cup Packed Light Brown Sugar: The secret to chewiness and that lovely caramel note. Don’t skimp!
- 2 Large Eggs: Also at room temperature. Happy eggs make happy cookies.
- 2 teaspoons Vanilla Extract: Use the good stuff! It makes a huge difference.
- 2 ¼ cups All-Purpose Flour: Sift it if you’re feeling fancy, but no judgment if you don’t.
- 1 teaspoon Baking Soda: The magic leavening agent!
- ½ teaspoon Salt: Balances the sweetness and enhances flavor. Don’t forget it!
- 1 ½ cups Chocolate Chips: Semi-sweet, milk, dark, a mix – your cookie, your rules. I’m a fan of mixing a few types.
Step-by-Step Instructions
Time to unleash the power of your KitchenAid! Follow these simple steps, and you’ll be swimming in cookies before you know it.
- Preheat & Prep: Preheat your oven to 375°F (190°C). Line a couple of baking sheets with parchment paper. This makes cleanup a breeze and prevents sticking.
- Cream the Goods: In your KitchenAid mixing bowl, fitted with the paddle attachment, cream together the softened butter, granulated sugar, and brown sugar on medium speed until light and fluffy. This usually takes about 2-3 minutes. **Scrape down the sides of the bowl midway through!**
- Egg-cellent Addition: Add the eggs one at a time, mixing well after each addition. Then stir in the vanilla extract. Keep mixing until everything is fully incorporated and looks smooth.
- Dry Ingredients Unite: In a separate bowl, whisk together the flour, baking soda, and salt. Then, with your KitchenAid on low speed, gradually add the dry ingredients to the wet mixture until just combined. **Do NOT overmix!** As soon as you see no more dry streaks, stop.
- Chocolatey Goodness: Remove the bowl from the mixer and fold in the chocolate chips by hand using a spatula. This prevents breaking the chips and overmixing the dough.
- Scoop & Bake: Drop rounded tablespoons of dough (or use a cookie scoop for uniform cookies) onto your prepared baking sheets, leaving a couple of inches between each cookie.
- Golden Perfection: Bake for 9-11 minutes, or until the edges are golden brown and the centers are still slightly soft. Don’t overbake unless you prefer crispy cookies!
- Cool Down: Let the cookies cool on the baking sheet for a few minutes before transferring them to a wire rack to cool completely (if they even make it that far!).
Common Mistakes to Avoid
Don’t fall into these common cookie traps! Learn from my past errors (and triumphs, obviously).
- Using Cold Butter: Thinking you can skip the “room temperature” part? Rookie mistake! Cold butter won’t cream properly, leading to dense, sad cookies.
- Overmixing the Dough: This is a biggie. Once you add the flour, mix only until just combined. Overmixing develops the gluten too much, making your cookies tough instead of tender.
- Not Chilling Your Dough (Sometimes!): While this recipe is designed for immediate gratification, a 30-minute chill can improve flavor and prevent spreading. If your cookies spread too much, try chilling.
- Not Preheating Your Oven: Pop them in a cold oven and you’ll get unevenly baked, flat cookies. Patience, young padawan!
- Guessing on Ingredients: Baking is science, not a free-for-all. Measuring precisely, especially flour, is crucial for consistency.
Alternatives & Substitutions
Feeling adventurous? Or just missing an ingredient? Here are some simple swaps and additions.
- Chocolate Choices: Mix it up! Try white chocolate chips, dark chocolate chunks, or even mini chocolate chips. Toffee bits or chopped nuts (walnuts, pecans) are also fantastic additions.
- Butter Swaps: While butter is king, you *can* use margarine, but the flavor and texture will definitely change. **IMO, stick to real butter for the best results.**
- Flour Power: Want to make them gluten-free? Swap out the all-purpose flour for a 1:1 gluten-free baking blend. Results might vary slightly, but it usually works pretty well!
- Spiced Up: Add ½ teaspoon of cinnamon or a pinch of nutmeg to the dry ingredients for a cozy, spiced cookie.
FAQ (Frequently Asked Questions)
Got questions? I’ve got answers! (Mostly.)
- Can I use cold butter? Well, technically yes, but why hurt your soul (and your mixer) like that? Room temperature butter creams better, resulting in fluffier cookies.
- Do I really need to chill the dough? Not strictly for this recipe, but if you have the time (30 mins to an hour), it helps deepen the flavor and prevents spreading. **FYI, it’s a pro move!**
- My cookies are spreading too much, what gives? Could be several things: butter was too soft/melted, oven wasn’t hot enough, or your baking soda isn’t fresh. Try chilling the dough next time!
- How long do these cookies last? Ha! Good joke. If they actually survive, store them in an airtight container at room temp for up to 3-4 days.
- Can I freeze the dough? Absolutely! Roll the dough into balls, place them on a baking sheet, and freeze until solid. Then transfer to a freezer-safe bag. Bake from frozen, adding a minute or two to the baking time.
- What if I don’t have brown sugar? You can make your own! Mix 1 cup of granulated sugar with 1 tablespoon of molasses. It works in a pinch!
Final Thoughts
See? That wasn’t so hard, was it? You just conquered the world of chocolate chip cookies with your trusty KitchenAid by your side. Now you’ve got a batch of warm, delicious goodness ready to be devoured. Share them (or don’t, I won’t tell!). You’ve earned every single bite. Go on, pat yourself on the back, and enjoy the fruits of your very minimal labor. Now go impress someone—or yourself—with your new culinary skills. You’ve earned it!


