So, you’ve got those boneless, skinless chicken thighs staring at you from the fridge, silently judging your lack of dinner plans, huh? And you’re thinking, “Keto-friendly, but also, *not boring*?” Plus, the idea of spending hours in the kitchen sounds about as appealing as a lukewarm keto coffee. Same. My friend, you’ve come to the right place. We’re about to turn those unassuming chicken thighs into a dinner champion, with minimal effort and maximum flavor. Prepare your taste buds for glory!
Why This Recipe is Awesome
Okay, let’s get real. Why bother with *this* recipe? Because it’s literally **idiot-proof**. And I say that with love, mostly to myself, because if I can’t mess it up, you definitely won’t. It’s quick, it’s ridiculously flavorful (hello, juicy thighs, goodbye sad, dry chicken breast trauma!), and it’s a keto powerhouse. We’re talking healthy fats, protein galore, and a taste that’ll make you forget you’re even “dieting.” Plus, chicken thighs are usually cheaper than breasts, so your wallet will thank you. Win-win-win, am I right?
Ingredients You’ll Need
Gather ’round, pantry explorers! Here’s your very short shopping list for culinary domination:
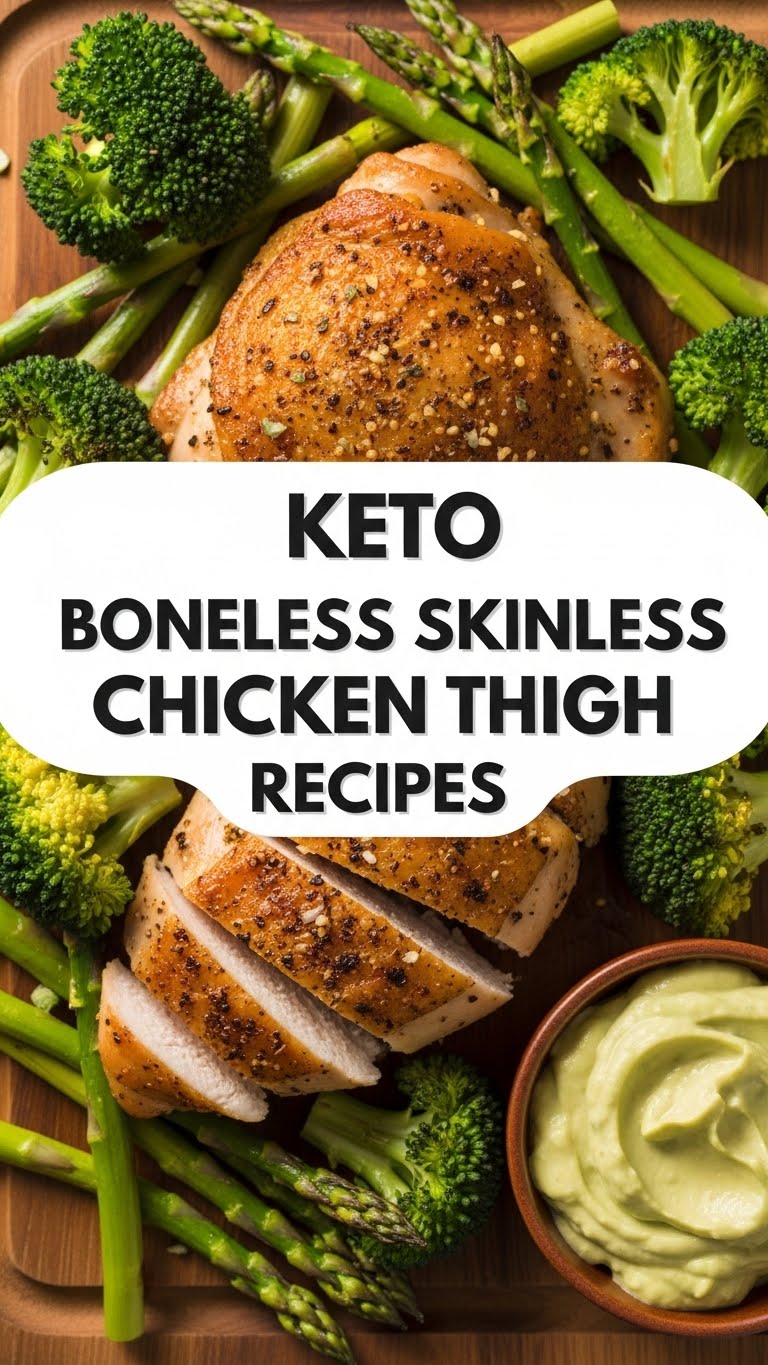
- **1.5 lbs Boneless, Skinless Chicken Thighs:** The unsung heroes of the keto world. They’re forgiving, flavorful, and hard to dry out. Bless their little hearts.
- **1-2 tbsp Olive Oil or Avocado Oil:** Your healthy fat BFF. Don’t skimp; we want that beautiful sear.
- **1 tsp Garlic Powder:** Because everything’s better with garlic. Seriously, fight me.
- **1 tsp Onion Powder:** Garlic’s less famous, but equally essential, sidekick. It adds depth!
- **1 tsp Smoked Paprika:** This is where the magic happens. It brings a warmth and subtle smokiness that elevates everything.
- **½ tsp Dried Oregano (optional, but recommended):** For a little herby Mediterranean vibe.
- **Salt & Freshly Ground Black Pepper:** The OG flavor enhancers. Season liberally, my friends!
Step-by-Step Instructions
- **Pat ‘Em Dry:** First things first, grab those chicken thighs and pat them *super* dry with paper towels. **This is crucial for a good sear!** No dry chicken, no crispy skin (well, no skin here, but still, we want crispy edges!).
- **Season Generously:** In a medium bowl, toss your chicken thighs with the olive/avocado oil, garlic powder, onion powder, smoked paprika, oregano (if using), salt, and pepper. Make sure every piece is coated like it’s going to a fancy spice party.
- **Heat Things Up:** Grab your trusty cast-iron skillet (or any oven-safe pan) and heat it over medium-high heat for about 2-3 minutes. We want it hot, but not smoking like a dragon.
- **Sear Away:** Carefully place the seasoned chicken thighs in the hot pan. Don’t overcrowd it – cook in batches if necessary. Sear for **4-6 minutes per side**, until they’re gloriously golden brown and crusty. That’s flavor, baby!
- **Finish ‘Em Off (Optional, but easy):** If your thighs are on the thicker side, or you just like the oven to do the heavy lifting, transfer the pan to a preheated oven at **375°F (190°C)** for another 8-12 minutes, or until the internal temperature reaches 165°F (74°C). If they’re thinner, you can probably just cook them through on the stovetop by reducing the heat to medium-low and covering the pan for a few minutes.
- **Rest & Serve:** Once cooked, remove the chicken from the pan and let it rest on a cutting board for 5 minutes. **This step is non-negotiable!** It allows the juices to redistribute, keeping your chicken moist and delicious. Slice ’em up or serve whole.
Common Mistakes to Avoid
We’ve all been there, making silly kitchen blunders. Here are a few to steer clear of:
- **Not Patting the Chicken Dry:** Seriously, I cannot stress this enough. If your chicken is wet, it will steam, not sear. You’ll end up with rubbery, sad chicken instead of crispy, flavorful goodness. Nobody wants that.
- **Overcrowding the Pan:** This is another steam-vs-sear culprit. Give your chicken some space! Cook in batches if your pan isn’t big enough. Think of it as social distancing for chicken.
- **Under-Seasoning:** Blandness is a crime against humanity, especially when it comes to chicken. Don’t be shy with the spices and salt. You can always add more, but bland chicken is a difficult journey to fix.
- **Not Letting it Rest:** Impatience is a virtue sometimes, but not after cooking meat. If you cut into the chicken immediately, all those delicious juices will run out, leaving you with a drier piece of meat. Give it a minute!
Alternatives & Substitutions
Feeling a little rebellious, or just missing an ingredient? Here are some ideas:
- **Swap Your Fat:** No olive oil? No problem! Avocado oil, ghee, or even a dollop of bacon fat (oh, yes!) will work wonders for searing. Butter works too, but keep an eye on it as it burns quicker.
- **Spice It Up (or Down):** Want some heat? Add a pinch of cayenne pepper or red pepper flakes to your seasoning mix. Craving a different vibe? Try Italian seasoning, a touch of cumin, or even some chili powder. Get creative!
- **Herbs, Fresh vs. Dried:** If you have fresh herbs like rosemary or thyme, chop ’em up and add them to the pan with the chicken. They’ll infuse amazing aroma. Just remember that fresh herbs are generally stronger, so use a bit more than you would dried.
- **Lemon Zest:** A little squeeze of fresh lemon juice or a sprinkle of zest at the end can brighten up the flavors beautifully. Highly recommend if you have a lemon kicking around.
FAQ (Frequently Asked Questions)
- **Can I use chicken breast instead?**
Well, technically yes, but why hurt your soul like that? Boneless, skinless chicken breasts are leaner, so they tend to dry out much faster. If you *must*, keep a close eye on them and reduce cooking time significantly. **IMO, thighs are superior here.**
- **How do I know when the chicken is fully cooked?**
The best way is to use a meat thermometer. It should read 165°F (74°C) in the thickest part. If you don’t have one, cut into the thickest part – there should be no pink inside, and the juices should run clear. But really, get a thermometer. It’s a game-changer!
- **What if I don’t have an oven-safe pan?**
No worries! After searing both sides, reduce the heat to medium-low, cover your pan tightly with a lid (or foil), and let the chicken cook through for another 5-10 minutes, checking for doneness. Easy peasy!
- **Can I make this ahead for meal prep?**
Absolutely! This recipe is **perfect for meal prep**. Cook a big batch, let it cool, and store it in airtight containers in the fridge for up to 3-4 days. It reheats beautifully and is great sliced over salads or with cauli rice.
- **Is it really *that* easy?**
Yes, my friend. Yes, it is. I wouldn’t lie to you… much. This recipe is designed for maximum flavor with minimum fuss. You’ll be surprised how effortlessly delicious it turns out!
Final Thoughts
So there you have it, folks! A simple, keto-friendly, and downright delicious way to conquer those boneless, skinless chicken thighs. No more bland dinners, no more kitchen anxiety. You’ve just unlocked a new level of dinner greatness. Now go impress someone—or more importantly, yourself—with your new culinary skills. You’ve earned it!


