So you’re craving something ridiculously tasty, totally keto-approved, and doesn’t require you to sell your soul (or an entire afternoon) to the kitchen gods? High five, friend. You’ve landed in the right spot, because today we’re diving headfirst into the glorious world of **Keto Boneless Chicken Thighs**! Get ready for a dish that’s so easy, it’s practically illegal, and so packed with flavor, your taste buds might just throw a party.
Why This Recipe is Awesome
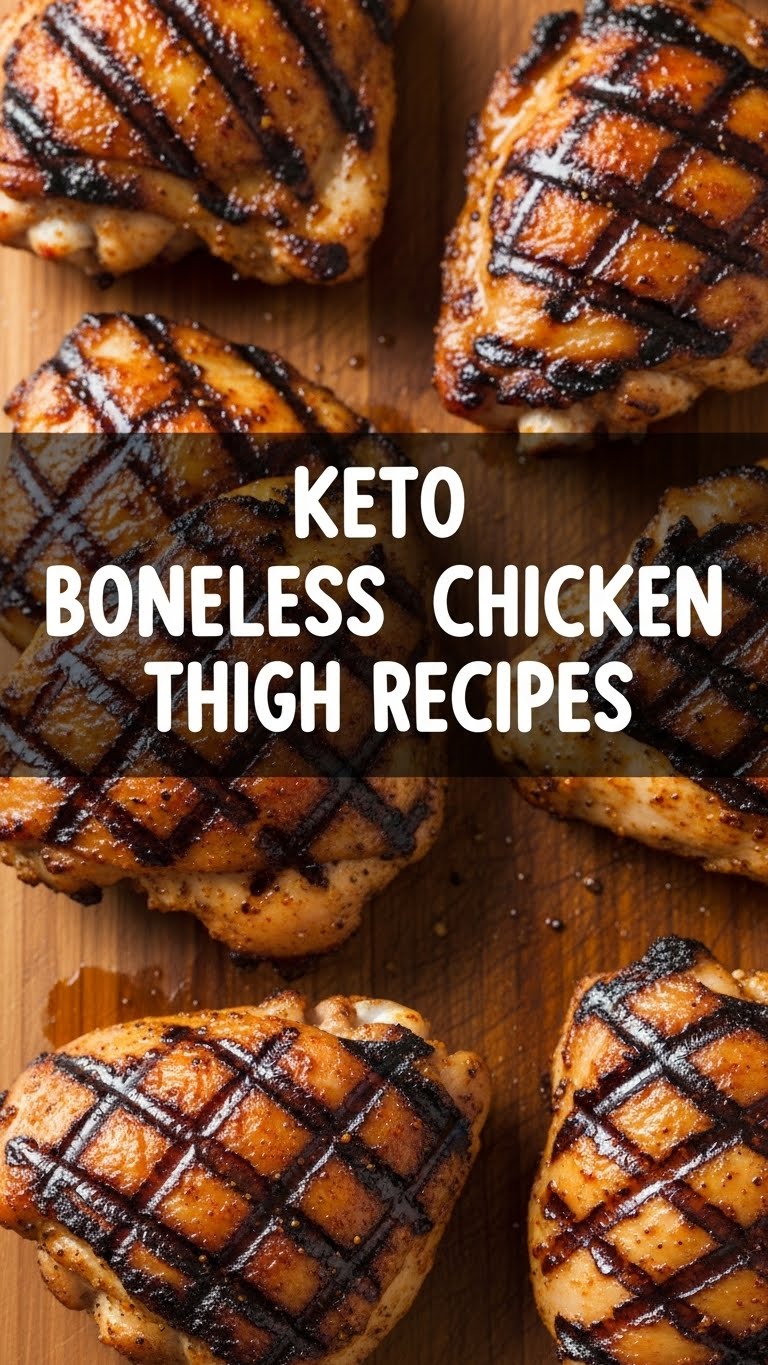
Let’s be real: Boneless, skinless chicken thighs are the unsung heroes of the keto world. They’re like the cool, chill cousin to chicken breast – way more forgiving, incredibly juicy, and generally just happier to be here. This recipe? It’s the ultimate love letter to them. It’s:
- **Stupid-simple:** Seriously, if you can operate a stove, you’ve got this. I’m talking minimal ingredients, minimal fuss, maximum impact.
- **Flavor bomb central:** We’re not doing bland chicken here. We’re doing *flavorful* chicken that makes you say, “Wait, I made this?!”
- **Keto-friendly perfection:** Low carb, high fat, and packed with protein to keep you full and happy without the carb crash.
- **Weeknight warrior:** From fridge to face in about 30 minutes. Perfect for those “I forgot to plan dinner” nights.
- **Meal prep master:** Make a big batch, and you’ve got lunch for days. You’re welcome.
Basically, it’s an idiot-proof way to eat like a king (or queen) without any culinary gymnastics. Even my dog could almost follow these steps. Almost.
Ingredients You’ll Need
Gather ’round, buttercup, these are your weapons of mass deliciousness:
- **Boneless, Skinless Chicken Thighs (6-8 total):** The star of our show. Make sure they’re boneless and skinless unless you want extra steps (and we don’t, do we?).
- **Olive Oil or Avocado Oil (2 tbsp):** Your trusty searing buddy. Pick your poison!
- **Salt (1 tsp):** Don’t be shy.
- **Black Pepper (1/2 tsp):** Freshly ground is always better, but I won’t judge.
- **Garlic Powder (1 tsp):** Because everything is better with garlic.
- **Onion Powder (1/2 tsp):** Garlic’s equally amazing partner in crime.
- **Smoked Paprika (1 tsp):** This is where the magic happens, folks. Trust me.
- **Pinch of Cayenne Pepper (optional):** For those who like a little sass in their bite.
- **Butter (1 tbsp, unsalted):** For that glorious, rich finish. It’s like a warm hug for your chicken.
- **Fresh Parsley or Chives (for garnish, optional):** To make it look fancy, even though you just pulled it off with minimal effort.
Step-by-Step Instructions
Alright, apron on (or not, I’m not your boss), let’s get cooking!
- **Pat ‘Em Dry:** First things first, get your chicken thighs out of their packaging. Lay them on a paper towel-lined plate and **pat them SUPER dry**. This is crucial for getting that beautiful sear. Seriously, don’t skip this.
- **Season Like a Boss:** In a small bowl, mix together the salt, pepper, garlic powder, onion powder, smoked paprika, and cayenne (if using). Sprinkle this glorious spice blend generously over *both sides* of your chicken thighs. Rub it in a little, give ’em some love.
- **Heat It Up:** Place a large, oven-safe skillet (cast iron is my MVP here) over medium-high heat. Add your olive or avocado oil. Let it get nice and hot – you should see a slight shimmer.
- **Sear Like a Pro:** Carefully place the seasoned chicken thighs in the hot skillet. **Don’t overcrowd the pan!** Cook in batches if you need to. Let them sear for about 4-5 minutes per side, until they’re beautifully golden-brown and crispy. We’re building flavor here!
- **Butter Bath:** Once both sides are seared, add the butter to the pan. Let it melt, then tilt the pan and spoon the melted butter over the chicken for about 30 seconds. This adds incredible richness.
- **Finish ‘Em Off (Optional, but recommended):** If your thighs are on the thicker side, or you just want to ensure they’re cooked through without burning the outside, pop that oven-safe skillet into a preheated oven at 375°F (190°C) for another 8-10 minutes, or until an internal thermometer reads 165°F (74°C).
- **Rest & Garnish:** Take the chicken out of the pan and let it rest on a cutting board for 5 minutes. **This is non-negotiable!** Resting allows the juices to redistribute, keeping your chicken ridiculously juicy. Slice if desired, sprinkle with fresh parsley or chives, and serve immediately.
Common Mistakes to Avoid
Nobody’s perfect, but we can learn from past mishaps, right? Here are a few facepalms to steer clear of:
- **The “Wet Chicken” Debacle:** Not patting your chicken dry enough is a crime against crispy searing. You’ll end up steaming your chicken instead of getting that gorgeous golden crust. Don’t be that person.
- **Crowded Pan Syndrome:** Trying to cram all the chicken into a single pan at once cools down the pan and prevents a good sear. You’ll steam it again! Cook in batches, folks. Patience is a virtue.
- **No Rest for the Delicious:** Cutting into your chicken immediately after cooking is like letting all the yummy juices run away. **Always rest your meat.** It deserves a break, and so do you.
- **Forgetting the Thermometer:** Thighs are forgiving, but overcooked chicken is still… overcooked. Get an instant-read thermometer. It’s your best friend for perfectly cooked meat.
Alternatives & Substitutions
Feeling adventurous? Or maybe you’re just out of smoked paprika (gasp!). No worries, we’ve got options:
- **Spice It Up:** Swap out the specific spices for your favorite blend! Think Italian seasoning, Cajun spice mix, lemon-pepper, or even a simple rosemary and thyme combo. **Get creative!**
- **Herb Heaven:** Fresh herbs like rosemary or thyme added during the last few minutes of searing (or while the butter is melting) are divine. Just toss them in the pan, they’ll infuse their magic.
- **Citrus Zing:** A squeeze of fresh lemon juice over the finished chicken takes it to a whole new level of brightness.
- **Veggie Power:** Want a one-pan meal? Toss some quick-cooking keto veggies like asparagus, broccoli florets, or sliced bell peppers into the pan with the chicken during the last 10 minutes of cooking (especially if you’re finishing in the oven).
FAQ (Frequently Asked Questions)
Got questions? I’ve got (casual, opinionated) answers!
- **”Can I use chicken breast instead of thighs?”**
Well, technically yes, but why hurt your soul like that? Breasts are leaner and dry out much faster. If you absolutely must, just shorten the cooking time and **watch it like a hawk**. Don’t say I didn’t warn you. - **”How do I know when the chicken is perfectly cooked?”**
An instant-read meat thermometer inserted into the thickest part should read 165°F (74°C). Don’t poke it too much though, or the juices will escape! - **”Can I make this dairy-free?”**
Absolutely! Just skip the butter or use a good quality dairy-free butter alternative. The chicken will still be amazing, IMO. - **”What should I serve with these glorious thighs?”**
Oh, the possibilities! Cauliflower rice, mashed cauliflower, steamed green beans, a simple side salad with a good vinaigrette, or roasted asparagus are all killer keto companions. - **”My chicken isn’t getting a good sear, what am I doing wrong?”**
Probably a combo of not drying the chicken enough, not enough oil, or not letting the pan get hot enough. Don’t be afraid of medium-high heat! And remember, **don’t crowd the pan**. - **”Can I cook these entirely on the stovetop?”**
Yep! Especially if your thighs aren’t super thick. Just cover the pan after searing and cook on medium-low for an additional 5-7 minutes until cooked through, then uncover for a minute to re-crisp if needed. - **”How long does this last in the fridge?”**
Leftovers are great for 3-4 days in an airtight container. Reheat gently to keep them juicy.
Final Thoughts
See? I told you this was easy! You’ve just whipped up a keto masterpiece that’s packed with flavor, ridiculously juicy, and barely broke a sweat doing it. Go ahead, pat yourself on the back. You’ve earned it. Now go impress someone—or yourself—with your new culinary skills. Maybe even take a picture, if you’re feeling fancy. Happy feasting!


