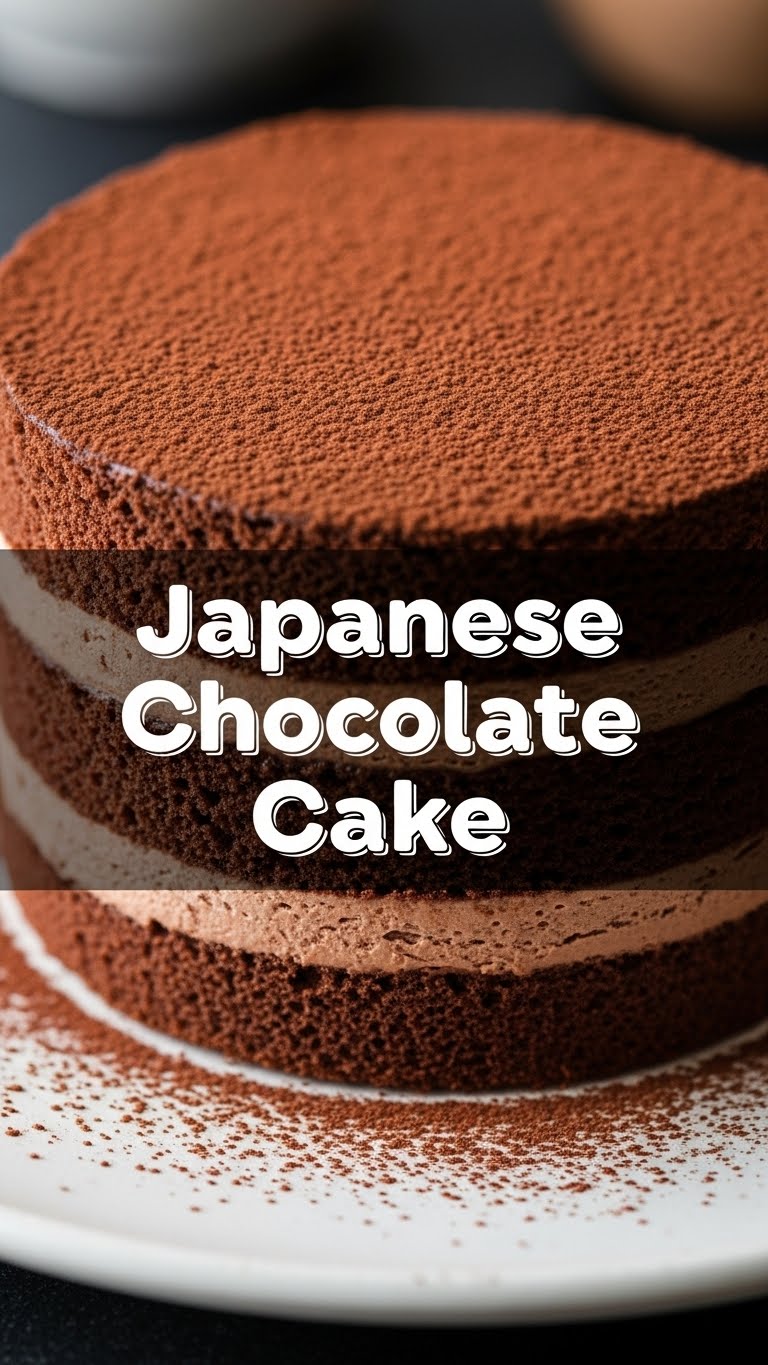
So you’re craving something tasty but too lazy to spend forever in the kitchen, huh? Same. We’ve all been there: staring into the fridge, wishing a gourmet dessert would just magically appear. Well, hold onto your spatulas, my friend, because I’m about to drop a recipe that’s so ridiculously easy and delicious, you’ll wonder why you ever bought a store-bought cake again. We’re talking Japanese Chocolate Cake – the kind that’s fudgy, moist, and basically a hug in cake form. Let’s get baking!
Why This Recipe is Awesome
Okay, let’s be real. Most recipes promise the moon and deliver a slightly soggy crumb. Not this one! This Japanese Chocolate Cake recipe is practically **idiot-proof**. Seriously, even I, with my history of culinary mishaps (remember the Great Soufflé Collapse of ’07?), managed to nail it. It’s:
- **Effortlessly Elegant:** It looks fancy, but the effort involved is minimal. You’ll fool everyone into thinking you’re a pastry chef.
- **Seriously Delicious:** It’s rich, fudgy, and moist without being overly dense. It hits all the chocolate notes just right.
- **Quick & Painless:** No complicated techniques, no obscure ingredients. Just mix, bake, and bask in the glory.
- **A Crowd-Pleaser:** Or, if you’re like me, a “treat yourself” pleaser. Either way, it won’t last long.
Ingredients You’ll Need
Gather ’round, fellow lazy gourmands! Here’s your shopping list. Nothing too wild, I promise.
- **150g Good Quality Dark Chocolate:** Not the super bitter stuff, but not the sugary milk chocolate either. Think 60-70%. Your tastebuds will thank you.
- **100g Unsalted Butter:** The real deal. No compromises here.
- **3 Large Eggs:** Bring ’em to room temp, people! It makes a difference, trust me.
- **100g Granulated Sugar:** Just enough sweetness to balance the chocolate party.
- **50g All-Purpose Flour:** Plain ol’ flour. Don’t overthink it.
- **20g Unsweetened Cocoa Powder:** For that extra punch of chocolate goodness.
- **1 tsp Baking Powder:** Our secret weapon for a little lift.
- **A Pinch of Salt:** Enhances all those lovely chocolate flavors.
- **50ml Whole Milk:** Adds moisture and richness. If you’re feeling extra, full-fat is the way to go.
- **1 tsp Vanilla Extract:** Because everything is better with a splash of vanilla.
Step-by-Step Instructions
Alright, apron on, good vibes only! Let’s get this cake baking.
- **Prep Your Pan & Oven:** Preheat your oven to 170°C (340°F). Grab an 18cm (7-inch) round cake pan. **Line the bottom with parchment paper and grease the sides.** This is a non-negotiable for easy release!
- **Melt the Chocolatey Goodness:** In a heatproof bowl, combine your chopped dark chocolate and butter. You can either pop it in the microwave in 30-second bursts, stirring in between, or use a double boiler (bowl over a simmering pot of water). Stir until smooth and glossy. Set aside to cool slightly.
- **Whisk the Eggs & Sugar:** In a separate, larger bowl, whisk the room temperature eggs with the granulated sugar until the mixture is pale and slightly frothy. You’re looking for it to lighten in color, not just mix.
- **Combine Wet Ingredients:** Gently fold the slightly cooled chocolate mixture into the egg and sugar mixture. Stir until just combined. Don’t overmix!
- **Sift in the Dry Stuff:** Sift the all-purpose flour, cocoa powder, baking powder, and pinch of salt directly over your wet ingredients. Sifting helps prevent lumps and makes for a lighter cake.
- **Fold with Love:** Using a spatula, **gently fold** the dry ingredients into the wet until *just* combined. Stop as soon as you don’t see any dry streaks. Overmixing develops gluten, making your cake tough.
- **Add the Liquids:** Pour in the milk and vanilla extract. Fold again until everything is just incorporated. The batter will be relatively thin, which is perfectly normal for this style of cake.
- **Bake It Up!** Pour your glorious batter into your prepared cake pan. Bake for 25-30 minutes. The cake is done when a toothpick inserted into the center comes out with moist crumbs, but not wet batter. The top should feel springy.
- **Cool & Devour:** Let the cake cool in the pan for about 10-15 minutes before inverting it onto a wire rack to cool completely. Or, if you’re impatient like me, dig in slightly warm. You do you!
Common Mistakes to Avoid
Even the best of us slip up. Here are some common pitfalls to dodge on your path to chocolate cake glory:
- **Not Preheating the Oven:** Rookie mistake! Your oven needs to be at the right temp *before* the cake goes in, or it won’t rise properly.
- **Using Cold Ingredients:** Especially the eggs! **Room temperature ingredients emulsify better**, leading to a smoother, more uniform batter and a better texture.
- **Overmixing:** This is a big one. The moment you introduce flour, switch to a gentle folding motion. Overmixing activates gluten, resulting in a tough, dense cake. We want light and fudgy!
- **Opening the Oven Door Too Early:** Resist the urge! The first 20 minutes are crucial for the cake to set. Opening the door can cause it to collapse.
- **Skipping the Parchment Paper:** Seriously, don’t. This cake is moist, and you want it to come out of the pan beautifully, not in crumbly pieces.
Alternatives & Substitutions
Feeling adventurous or working with what you’ve got? Here are some tweaks:
- **Dairy-Free Delight:** Swap the butter for a good quality vegan butter alternative and the whole milk for unsweetened almond or oat milk. Easy peasy!
- **Gluten-Free Goodness:** You can absolutely use a 1:1 gluten-free flour blend. Just make sure it contains xanthan gum, or add about half a teaspoon per cup of flour.
- **Chocolate Swap:** Want it darker? Use 75%+ chocolate. Prefer it sweeter? Go for a slightly lower percentage (like 50-60%) and maybe slightly reduce the added sugar.
- **Add-ins:** Feeling fancy? Stir in a handful of chocolate chips, chopped nuts, or even a teaspoon of espresso powder with the dry ingredients to deepen the chocolate flavor.
- **Flavor Boosts:** A splash of rum or Kahlua instead of some of the milk can add a sophisticated twist!
FAQ (Frequently Asked Questions)
Got questions? I’ve got (casual) answers!
- **Can I use margarine instead of butter?** Well, technically yes, but why hurt your soul like that? **Butter makes everything better**, IMO. For the best flavor and texture, stick with unsalted butter.
- **Do I *have* to use room temperature eggs?** Look, if you’re in a pinch, it’s not the end of the world. But for optimal results and a smoother batter, warmer eggs emulsify better with other ingredients. Pop them in warm water for 5 minutes if you forget!
- **My cake sank in the middle, what happened?** Oh, the horror! This usually means it was either underbaked (give it a few more minutes next time!) or you opened the oven door too early, letting cold air rush in.
- **How long does this cake keep?** It’s best eaten within 2-3 days at room temperature, stored in an airtight container. It also freezes beautifully for longer storage!
- **Can I make this in a different size pan?** Sure! A smaller pan will result in a thicker cake that needs a longer baking time. A larger pan will make it thinner and bake faster. Just keep an eye on it!
- **Is this cake really Japanese?** FYI, while it’s a popular style of chocolate cake in Japan (think moist and fudgy rather than airy like chiffon), it’s not a traditional Japanese dessert in the same way mochi is. It’s more of a delicious fusion, if you will!
Final Thoughts
See? That wasn’t so scary, was it? You just whipped up a show-stopping Japanese Chocolate Cake, and you barely broke a sweat. Now go impress someone—or yourself—with your new culinary skills. Seriously, slice yourself a generous piece, brew some coffee (or uncork some wine), and enjoy the fruits of your very minimal labor. You’ve earned it!


