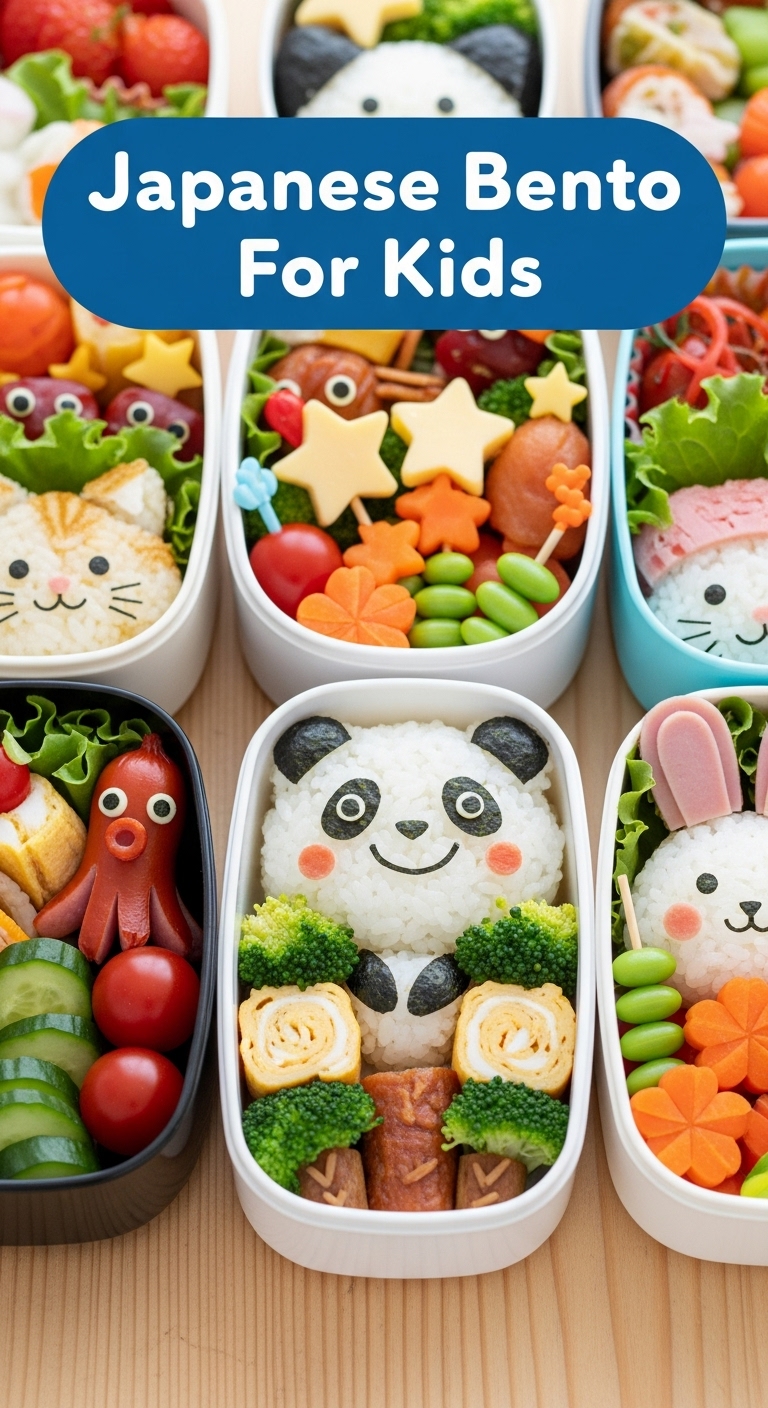
So, your kiddo is giving you the side-eye when you pack that same-old sandwich, huh? And you’re tired of finding uneaten crusts pretending to be fossils at the bottom of their backpack? Same, friend, same. What if I told you we could turn lunchtime into a tiny, edible art show that’s actually, like, *fun* to make (and eat)? Enter the magical world of Japanese Bento for Kids!
Why This Recipe is Awesome
Okay, “recipe” might be a strong word here, because we’re basically talking about the art of cool lunch packing. But trust me, it’s idiot-proof, even I didn’t mess it up! This isn’t just about feeding your mini-human; it’s about making them *excited* about what’s in their lunchbox. Imagine your kid actually showing off their lunch instead of trading it for a pack of dubious fruit snacks. Mind. Blown. It’s also **super customizable**, which means you can sneak in those veggies they claim to despise, cleverly disguised as, well, not-despised food. Plus, it looks like you put in a Herculean effort when really, it’s just smart arranging. Win-win, IMO.
Ingredients You’ll Need
Think of this as your bento “palette.” Get creative!
- Cooked Short-Grain Rice: The sticky kind! Not that dry, long-grain stuff. You want rice that holds a shape, not rice that judges your life choices.
- Nori Sheets (Seaweed): For wrapping, cutting cute faces, or just adding a salty crunch. Essential for maximum cuteness.
- Your Kiddo’s Favorite Protein:
- Mini hot dogs (sliced and criss-crossed to look like octopuses – trust me, it’s a thing).
- Chicken nuggets (pre-cooked, obvs).
- Tamagoyaki (Japanese rolled omelet) – a fancy word for delicious, slightly sweet egg roll. Or just scrambled eggs!
- Leftover grilled chicken or fish (shredded is good!).
- Colorful Veggies:
- Broccoli florets (steamed, because raw broccoli in a lunchbox is just asking for trouble).
- Cherry tomatoes (little red bombs of deliciousness).
- Cucumber slices (maybe cut into stars with a cookie cutter, because why not?).
- Corn kernels (fresh or frozen, thawed).
- Sweet Fruit:
- Grapes, strawberries, mandarin orange segments, blueberries. Whatever’s in season and easily packable.
- Optional Fun Stuff:
- Soy sauce in a tiny dispenser (because dipping is fun!).
- Ketchup or mayo for dipping.
- Cute bento picks (those tiny animal forks!).
- Silicone cupcake liners (great for separating food and adding color).
- Nori punchers or small cookie cutters (for making animal faces or shapes from cheese/ham).
- A Bento Box: The more compartments, the merrier. Or just one with a good divider.
Step-by-Step Instructions
- Cook Your Rice: Get that Japanese short-grain rice going. Once it’s cooked, let it cool down a bit – **warm rice will create condensation** and nobody wants soggy bento. Nobody.
- Prep Your Protein: While the rice cools, prepare your main attraction. Slice those hot dogs and make them into octopuses (cut four slits halfway up one end, boil briefly until the legs curl). If you’re doing tamagoyaki, whip up those eggs, cook, and roll. Cook your nuggets.
- Chop and Blanch Your Veggies: Cut up your cucumbers, wash your tomatoes, steam your broccoli. Remember, you want bite-sized pieces that are easy for little hands to manage.
- Assemble the Main Star: Start with the rice. You can pack it into a mold (think bear, car, star shape) or just neatly tuck it into a section of your bento box. Make sure it’s packed firmly so it doesn’t fall apart.
- Add Your Protein: Place your octo-dogs or chicken nuggets next to the rice. Try to make them visually appealing. Are they looking at the rice? Are they having a tiny party?
- Introduce the Veggies: Now for the good stuff! Fill in the gaps with your colorful veggies. Use those silicone cups to separate different items. This prevents flavors from mingling and makes the box look super organized.
- Tuck in the Fruit: In a separate compartment, or using another silicone cup, add your fruit. Grapes and berries are perfect because they require zero peeling or cutting.
- Add the Sparkle: This is where the magic happens! Use your nori punchers to make eyes or mouths for your rice or hot dogs. Stick in those cute bento picks. Add a tiny splash of soy sauce or ketchup in a mini container. **Don’t overthink it**; even a simple heart cut from cheese can make a huge difference.
- Close it Up: Make sure everything is cool, then seal that bento box tight. Send your kid off to school feeling like they just won the lunch lottery!
Common Mistakes to Avoid
- Packing Warm Food: This is the cardinal sin of bento making. Warm food + sealed box = condensation = soggy mess. Always let everything cool completely!
- Overpacking: You want everything to fit snugly, but not so tightly that things get squashed. Give your food some breathing room, but not too much, or it’ll slide around.
- Ignoring Variety: A bento box is a mini-meal, not just a carb-fest. Make sure you’ve got a good mix of protein, carbs, veggies, and fruit. Balance is key!
- Trying to Be a Michelin-Star Chef on Day One: Don’t attempt a full-blown anime character bento on your first try. Start simple! Rice balls with nori eyes are perfectly adorable. You’ll get there, Van Gogh.
- Using Liquid-Heavy Foods: Soups, stews, or anything with a lot of sauce is probably not a great idea unless you have a truly leak-proof thermos section. Stick to drier items.
Alternatives & Substitutions
Got picky eaters or an empty fridge? No worries!
- Rice Swaps: If short-grain is a no-go or unavailable, you can try brown rice or even quinoa, though they might not hold shapes as well. Just manage expectations!
- Protein Power-Ups: Tofu nuggets, edamame, sliced deli meat (cut into fun shapes!), mini meatballs, hard-boiled eggs, or even cheese cubes work great. **Anything that can be eaten cold is fair game.**
- Veggie Vibe: Don’t limit yourself! Snap peas, bell pepper strips, carrot sticks, sweet potato fries, or even avocado slices are fantastic. Just remember the “no soggy” rule!
- Fruit Flex: Pretty much any fruit that travels well is in. Melon chunks, apple slices (toss with a little lemon juice to prevent browning!), or dried fruit like raisins are great.
- Nori Nods: If your kid isn’t a fan of seaweed, you can use thin slices of cheese or ham to cut out shapes and add character.
FAQ (Frequently Asked Questions)
Got burning questions? I’ve got (casual) answers!
- Do I need a special bento box? Nah, not really. Any lunchbox with dividers or small containers will do the trick. But let’s be real, a cute bento box does add to the fun, doesn’t it?
- How do I keep the food from getting soggy? **Cool everything completely before packing!** Also, keep wet items (like some fruits or anything with dressing) separate in their own little cups.
- Can I make it ahead of time? You can prep some components (cook rice, chop veggies) the night before. But for best results, assemble in the morning. Otherwise, things might get a bit sad looking.
- What if my kid hates everything green? Get sneaky! Cut veggies into tiny shapes and mix them into rice, or hide them under a piece of ham. Presentation is your secret weapon here.
- Where do I get those cute cutters and picks? Online stores (Amazon, Etsy) are a treasure trove! Also, check out Asian grocery stores or kitchen supply shops. You’ll fall down a rabbit hole, BTW.
- Is it really worth the effort? For the look on your kid’s face and the actual consumption of their lunch? **Absolutely.** It feels like a small win in the daily parenting marathon.
Final Thoughts
So there you have it! Your crash course in making lunch fun again. Remember, the goal here isn’t perfection, it’s participation and excitement. Start simple, use what you have, and don’t be afraid to get a little silly with it. Your kid (and your sanity) will thank you. Now go impress someone—or yourself—with your new culinary skills. You’ve earned it!


