So, you’ve got that *intense* chocolate craving hitting you hard, but the thought of baking a whole cake and then, like, *sharing* it? Nah. You just want something small, personal, and utterly delicious, right? My friend, you’ve come to the right place. Let’s make some magic.
Why This Recipe is Awesome
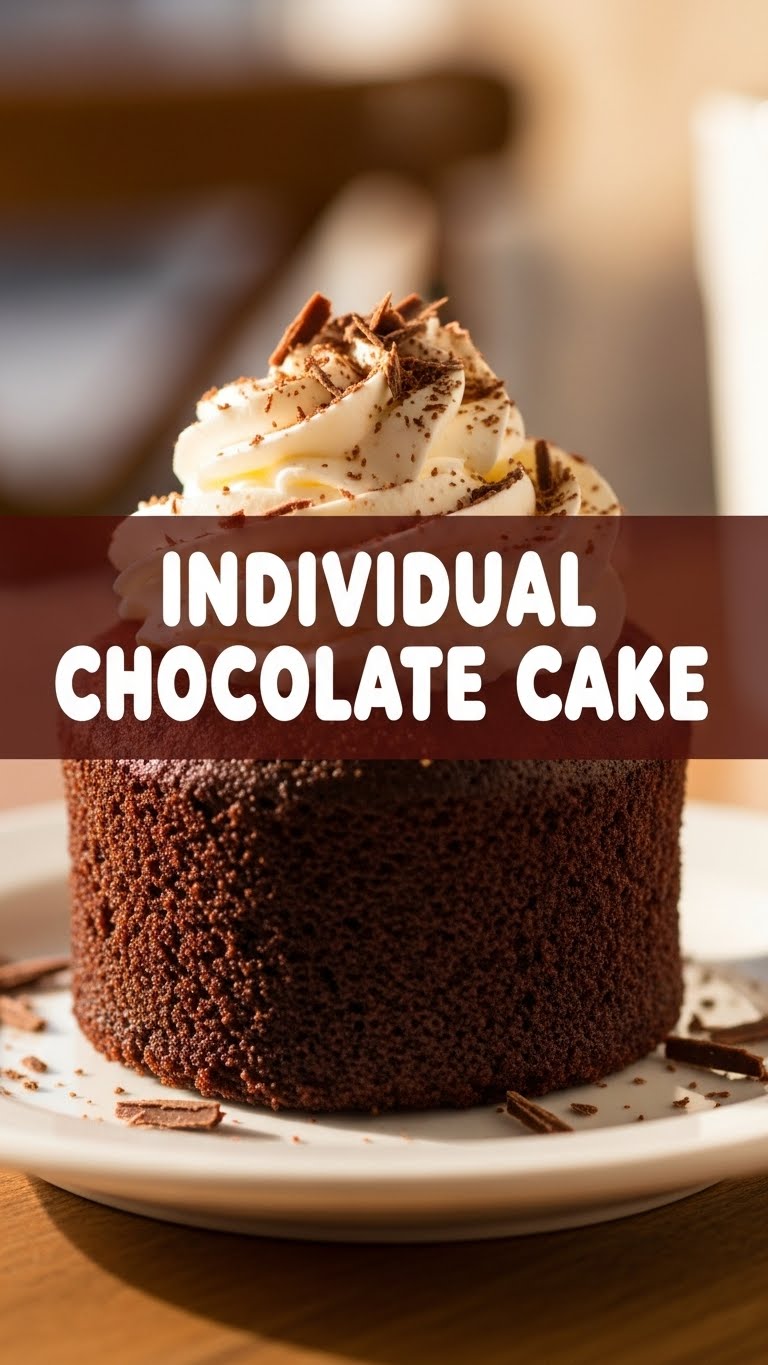
Okay, buckle up, because this isn’t just *any* chocolate cake recipe. This is the **individual chocolate cake** recipe. Meaning: no sharing required (unless you’re feeling exceptionally generous, which, let’s be real, you won’t be after one bite). It’s **super quick**, **idiot-proof** (even I didn’t mess it up, and that’s saying something), and gives you that instant gratification only warm, gooey chocolate can provide. Plus, cleanup is a breeze. Win-win-win!
Ingredients You’ll Need
- **All-purpose flour:** Just a little bit, to give it some structure. Don’t go crazy, we’re not building a skyscraper.
- **Granulated sugar:** Sweetness! Because life’s too short for unsweetened cake.
- **Unsweetened cocoa powder:** The star of the show! Make sure it’s good quality; your taste buds will thank you.
- **Baking soda:** Our little lifting agent. Gets those bubbles going!
- **Salt:** Just a pinch, to balance all that sweetness and make the chocolate sing.
- **Milk:** Any kind works, but whole milk gives it that extra lusciousness.
- **Vegetable oil:** Or any neutral oil. Keeps things moist and tender.
- **Vanilla extract:** A secret weapon for enhancing all those chocolatey vibes. Don’t skip it!
- **Hot water:** Sounds weird, but it blooms the cocoa and makes the cake extra chocolatey. Trust me on this one.
Step-by-Step Instructions
- **Preheat Power:** First things first, get your oven ready. Preheat it to **350°F (175°C)**. And grab a couple of ramekins or a muffin tin (lined, obviously, unless you like things stuck).
- **Dry Mix Magic:** In a medium bowl, whisk together your dry ingredients: the flour, sugar, cocoa powder, baking soda, and salt. Make sure there are no lumps—we’re going for smooth sailing here.
- **Wet Mix Wonders:** In a separate, smaller bowl, whisk together the milk, vegetable oil, and vanilla extract.
- **Combine & Conquer:** Pour the wet ingredients into the dry ingredients. Mix gently until *just* combined. **Don’t overmix!** Lumps are okay; tough cake is not.
- **Hot Water Boost:** Now, carefully stir in the hot water. The batter will be pretty thin, and that’s exactly what we want. It’ll create a super moist cake.
- **Fill ‘Em Up:** Divide the batter evenly between your prepared ramekins or muffin cups. Fill them about **2/3 full**. They’ll rise, promise!
- **Bake Away!** Pop them into your preheated oven. Bake for **15-20 minutes**. To check for doneness, insert a toothpick into the center; if it comes out with a few moist crumbs (but no wet batter), you’re golden.
- **Cool Down (If You Can):** Let them cool in their ramekins for a few minutes before diving in. They’ll be molten hot, and while tempting, burnt tongues are no fun.
Common Mistakes to Avoid
- **Thinking you don’t need to preheat the oven:** Rookie mistake! Your cake won’t rise properly, and you’ll end up with dense sadness.
- **Overmixing the batter:** This is a big one. Overmixing develops the gluten too much, making your cake tough and chewy instead of light and fluffy. Mix until *just* combined, my friend.
- **Not lining your muffin tin (or greasing ramekins properly):** Unless you enjoy chiseling cake out of bakeware, take the extra 30 seconds. Future you will send thank you notes.
- **Baking too long:** Dry chocolate cake is a crime. Keep an eye on those babies! The toothpick test is your best friend.
Alternatives & Substitutions
Feeling adventurous, or just missing an ingredient? No stress!
- **Milk:** Any plant-based milk (almond, soy, oat) works perfectly for a dairy-free version.
- **Oil:** Melted butter can be used, but oil often makes cakes more moist, IMO. Plus, who’s got time to melt butter when craving strikes?
- **Sugar:** You *could* use brown sugar for a slightly different, more caramel-y note, but stick to granulated for the classic taste.
- **Make it fancy:** Toss in some chocolate chips into the batter for an extra chocolate explosion. Or a sprinkle of instant espresso powder to deepen the chocolate flavor—it won’t make it taste like coffee, just *more* chocolatey. You’re welcome.
FAQ (Frequently Asked Questions)
Got questions? I probably anticipated them, because I’m basically a cake-whisperer.
- **Can I use margarine instead of butter?** Well, technically yes, but why hurt your soul like that? Stick to oil for moisture, or real butter for flavor if you must.
- **My cake is dry! What went wrong?** Chances are you overbaked it, my friend. Next time, start checking earlier and remember the moist crumbs rule.
- **Can I make these in advance?** Absolutely! They’re best warm, but they’ll keep well covered at room temp for 2-3 days. A quick zap in the microwave brings them back to life.
- **What if I don’t have ramekins?** Muffin tins work great (lined!), or even oven-safe mugs for a true “cake in a mug” vibe. Just adjust baking time slightly as needed.
- **Can I add frosting?** Is the sky blue? Yes! A simple dusting of powdered sugar is elegant, or go wild with your favorite chocolate ganache or buttercream. You do you!
Final Thoughts
And there you have it! Your very own, incredibly delicious, ridiculously easy individual chocolate cake. See? I told you it was simple. Now go impress someone—or yourself—with your new culinary skills. You’ve earned that warm, chocolatey goodness. Happy baking (and eating)!


