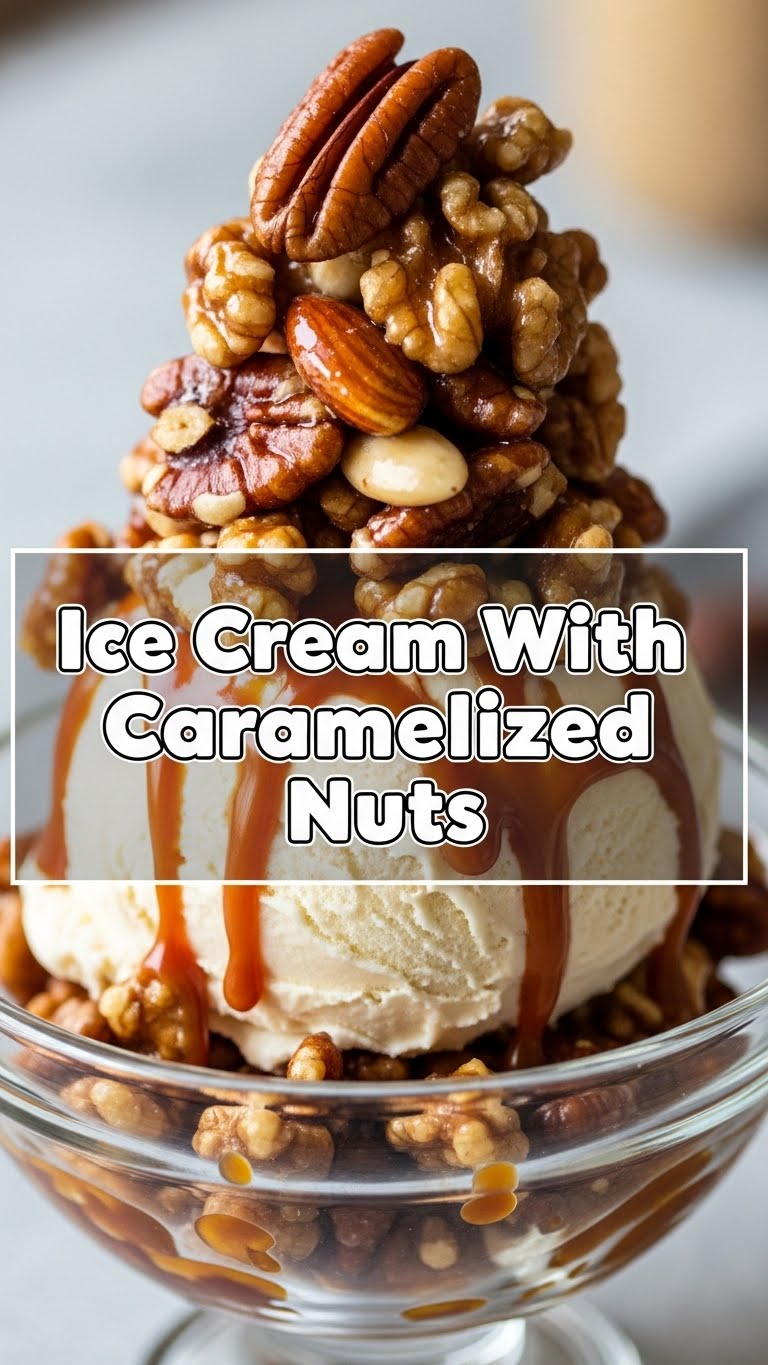
So, you’re craving something tasty but too lazy to spend forever in the kitchen, huh? Same, friend, same. We’ve all been there: staring into the fridge, wishing a gourmet dessert would magically appear. Well, today’s your lucky day, because we’re whipping up some **Ice Cream with Caramelized Nuts**. It’s the kind of treat that looks super fancy but is secretly so easy, you’ll wonder why you ever bought those overpriced, pre-made tubs.
Why This Recipe is Awesome
First off, it’s a major glow-up for plain old ice cream. Seriously, who wants a boring scoop when you can have a textural wonderland? Secondly, **it’s idiot-proof**. I mean, even I, a person who once set off a smoke detector making toast (don’t ask), can nail this. The best part? The crunch, the sweetness, the way the caramelized nuts just *transform* a simple bowl of ice cream into something truly spectacular. Plus, it smells amazing while you’re making it, which is half the fun, right?
Ingredients You’ll Need
Gather your troops, folks! No obscure, hard-to-find stuff here, just kitchen staples ready to get their caramel on.
- **Your Favorite Ice Cream:** Vanilla is classic, but hey, if you’re feeling wild, go for coffee or even a plain chocolate. Just make sure it’s decent quality; this isn’t the time to skimp.
- **Mixed Nuts (or your fave kind!):** About 1 cup. Pecans, walnuts, almonds, cashews – mix ’em up or stick to one. Just make sure they’re unsalted.
- **Granulated Sugar:** ½ cup. This is the magic dust that turns into glorious, golden caramel. Don’t even think about brown sugar here, we’re aiming for a hard, crunchy caramel, not a chewy one.
- **Unsalted Butter:** 2 tablespoons. Because everything is better with butter, IMO. Adds richness and helps prevent the caramel from seizing.
- **Pinch of Salt:** Just a tiny bit, like ¼ teaspoon. It’s a flavor enhancer, trust me. Makes the sweet even sweeter!
Step-by-Step Instructions
Alright, apron on (or not, we’re casual here), let’s get cooking!
- **Prep Your Nuts:** If your nuts are whole, give them a rough chop so they’re bite-sized. This makes them easier to eat and ensures they get nicely coated. Spread them out on a sheet of parchment paper or a silicone mat nearby; you’ll need it soon.
- **Caramel Time!** Grab a non-stick skillet (medium-sized works best) and put it over medium heat. Pour in your granulated sugar evenly. Now, here’s the crucial bit: **don’t stir it!** Just let it sit and watch the magic happen. The edges will start to melt and turn amber.
- **Melt & Mix:** Once about half the sugar has melted and is liquid, you can gently swirl the pan or use a heat-proof spatula to coax the remaining crystals into melting. Keep going until it’s all liquid and a beautiful amber color.
- **Add the Good Stuff:** Immediately take the pan off the heat. Stir in the butter and that tiny pinch of salt. It might bubble up a bit, that’s totally normal. Then, dump in your chopped nuts and stir quickly until they’re all coated in that gorgeous, sticky caramel.
- **Cool Down, Buttercup:** Quickly pour the caramelized nuts onto the parchment paper you prepared earlier. Use your spatula to spread them out into a single, thin layer if you can. This helps them cool faster and prevents them from becoming one giant nut brittle block (unless that’s your goal, then go for it!).
- **Break & Serve:** Let the nuts cool completely. This usually takes about 10-15 minutes. Once they’re totally firm and hard, break them into smaller, ice-cream-friendly pieces. Now, scoop your favorite ice cream into a bowl, sprinkle generously with your crunchy, sweet masterpiece, and prepare for pure bliss.
Common Mistakes to Avoid
- **Burning the Sugar:** This is the big one. Caramel goes from perfect to burnt in a nanosecond. Keep an eye on it! If it smells acrid or looks too dark brown, it’s burnt. Start over, no shame in it.
- **Stirring Too Early:** Resisting the urge to stir the sugar is hard, I know. But stirring before enough of it has melted can make it clump up and crystallize, which is no fun. Patience, young padawan.
- **Not Letting Them Cool:** Trying to break apart warm caramelized nuts is a sticky, painful mess. **Let them cool completely and harden** before you touch them.
- **Eating All the Nuts Before They Hit the Ice Cream:** A common, yet understandable, mistake. Try to save some for the actual dessert. I believe in you.
Alternatives & Substitutions
Feeling adventurous? Here are some ways to shake things up:
- **Spice It Up:** Add a tiny pinch of cinnamon, nutmeg, or even a whisper of cayenne pepper (for a sweet-and-spicy kick!) to the caramel along with the butter. Trust me, a little heat with the sweet is divine.
- **Different Nuts:** While mixed nuts are great, feel free to stick to just one kind if you have a favorite. Pistachios are especially luxurious, and peanuts can give you a sort of gourmet Snickers vibe.
- **Flavored Ice Cream:** Don’t be shy! These nuts would be amazing on coffee ice cream, chocolate ice cream, or even a salty caramel one for a double whammy.
- **A Drizzle of Joy:** After sprinkling the nuts, add a little extra drizzle of chocolate syrup or a store-bought caramel sauce. Because sometimes, more is just… more.
FAQ (Frequently Asked Questions)
Got questions? I’ve got answers (mostly humorous ones).
- **Can I use brown sugar instead of granulated?** Well, technically yes, but why hurt your soul like that? Brown sugar has molasses, which will give you a softer, chewier coating, not the hard, crunchy caramel we’re after. Stick to white sugar for this specific recipe, my friend.
- **My caramel hardened too fast in the pan before I added the nuts, help!** Oops! It probably cooled too much. You can gently put it back on very low heat to melt it again, but be super careful not to burn it this time. Work quickly!
- **Can I make these caramelized nuts ahead of time?** Absolutely! Once they’re completely cool and broken up, store them in an airtight container at room temperature for up to a week. They might lose a *tiny* bit of crunch over time, but they’ll still be delicious.
- **Do I *have* to use vanilla ice cream?** Nope! While it’s a classic for a reason (it lets the nuts shine!), feel free to experiment. Coffee ice cream is a personal fave with these, and chocolate is a no-brainer.
- **What if my nuts are sticking together after cooling?** You probably didn’t spread them thin enough on the parchment paper. No worries! Just give ’em a good whack with the back of a spoon or your hand (gently!) to break them apart. They’ll still be delicious.
Final Thoughts
See? Told ya it was easy! Now you’ve got this glorious, crunchy, sweet masterpiece that’ll make your regular ice cream nights feel like a fancy restaurant experience. It’s the perfect little something when you want to impress without the stress. Go on, pat yourself on the back. You deserve it. Now go impress someone—or yourself—with your new culinary skills. You’ve earned it!


