So, you’re craving something ridiculously delicious, impressively easy, and possibly a little bit chaotic (in the best way)? You know, the kind of dessert that says, “I made this!” but also “I spent about 15 minutes of actual effort on it, tops”? Yeah, same. Which is why we’re diving headfirst into the glorious, customizable world of homemade ice cream with cake pieces. Forget those fancy, intimidating recipes. We’re here for fun, flavor, and minimal fuss.
Why This Recipe is Awesome
Let’s be real, life’s too short for boring desserts, and definitely too short for desserts that require you to buy obscure gadgets or spend an entire afternoon slaving away. This recipe? It’s basically a genius hack to combine two of life’s greatest pleasures: creamy, dreamy ice cream and soft, decadent cake. Plus, it’s pretty much **idiot-proof**. Even if your culinary skills peak at microwaving popcorn, you can nail this. It requires no churning, no ice cream maker, and honestly, very little precision. It’s forgiving, it’s fabulous, and it’s fast. What’s not to love?
Ingredients You’ll Need
Gather ’round, my lazy-gourmet friend. Here’s what you’ll need to conjure this magic. Don’t worry, it’s all stuff you can probably grab on a quick grocery run (or already have lurking in your pantry).
- 2 cups Heavy Whipping Cream: This is where the magic happens. Make sure it’s cold, or it’ll just look at you with defiance.
- 1 (14-ounce) can Sweetened Condensed Milk: The sweet, thick nectar that turns cream into ice cream without a churner. Don’t confuse it with evaporated milk, unless you like sadness.
- 1 teaspoon Vanilla Extract: A classic for a reason. Adds that “oomph.”
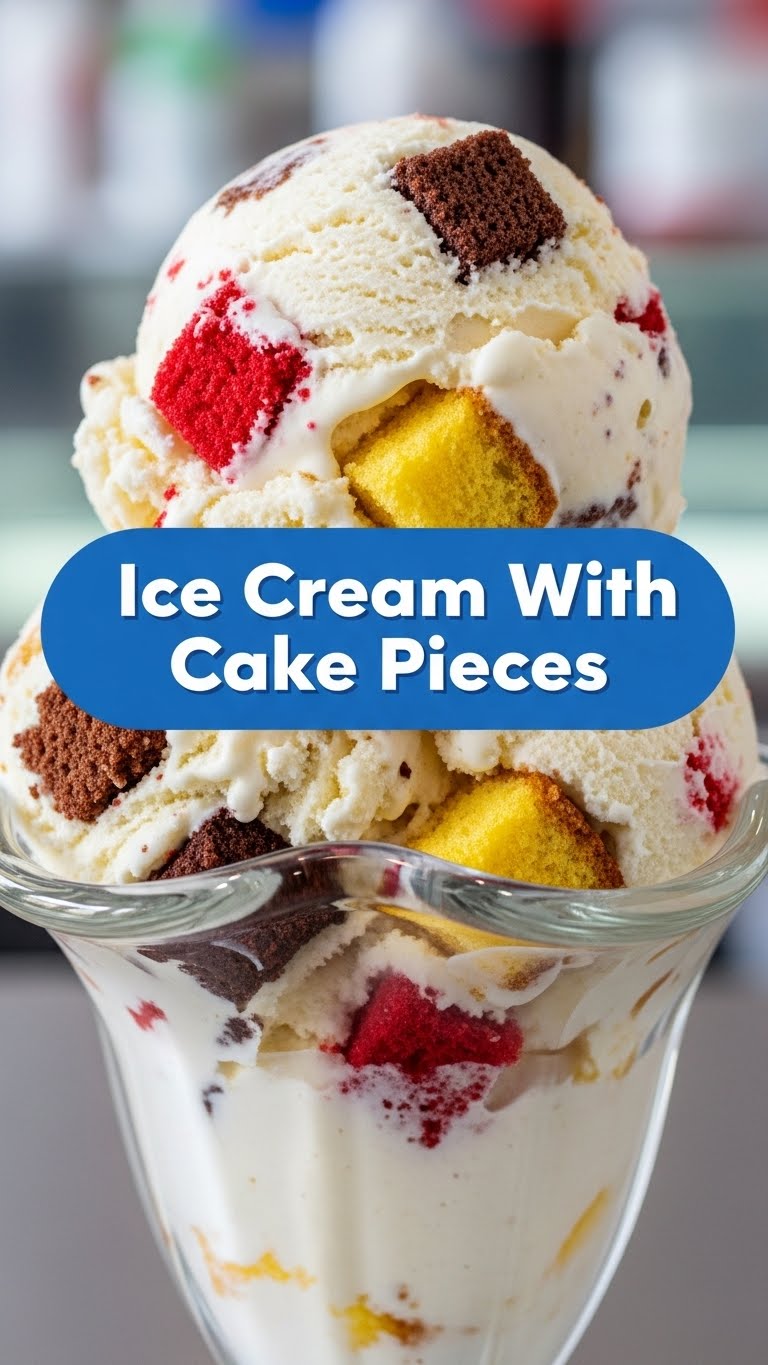
- About 2 cups (packed) Cake Pieces: Leftover cake? Store-bought cupcakes? A sad, lonely slice from yesterday’s birthday party? Any kind of cake works! Seriously, chocolate, vanilla, red velvet – your call. **Pro tip: cut them into roughly 1-inch chunks.**
- Optional Mix-ins (because why not?): Sprinkles, chocolate chips, a drizzle of fudge or caramel. Go wild, you rebel.
Step-by-Step Instructions
Alright, apron on (or not, we’re not judging), let’s get this party started. These steps are so simple, you’ll wonder why you haven’t been doing this your whole life.
- **Whip It Good:** In a large, chilled bowl (a cold bowl helps the cream whip faster!), pour in your heavy whipping cream. Using an electric mixer (handheld or stand mixer), whip the cream on medium-high speed until it forms stiff peaks. This means when you lift the beaters, the cream stands up straight and proud. This usually takes about 3-5 minutes.
- **Sweeten the Deal:** Gently fold in the sweetened condensed milk and vanilla extract into your whipped cream. Be careful not to deflate all that beautiful airy cream you just created. We want it light and fluffy, not a soupy mess.
- **Introduce the Cake:** Now for the star of the show! Carefully fold in your cake pieces. Try to distribute them evenly throughout the mixture. If you’re adding any other optional mix-ins like sprinkles or chocolate chips, this is the time to toss them in too.
- **Freeze for Glory:** Pour the glorious mixture into a freezer-safe container. A loaf pan works wonderfully, or any shallow dish with a lid. Cover it tightly with plastic wrap or a lid.
- **Patience, Grasshopper:** Place your container in the freezer for at least 6 hours, or even better, overnight. **The longer it freezes, the firmer and more scoopable it will be.** Resist the urge to peek every 10 minutes. It needs its beauty sleep.
Common Mistakes to Avoid
Nobody’s perfect, but we can learn from past (often hilarious) failures. Steer clear of these common blunders:
- **Overmixing the Cream:** Whipped cream turns into butter if you overdo it. Unless you’re also making homemade butter, stop when those peaks are stiff, not grainy.
- **Ignoring the Cold:** Using warm cream or a warm bowl makes whipping much harder. A little chill goes a long way.
- **Too Much Cake/Too Little Cake:** While it’s hard to have “too much cake” in life, in this recipe, going overboard can make the ice cream a bit crumbly. Not enough, and you’ll be sad. Stick to the 2-cup guideline for optimal balance.
- **Impatience:** Trying to scoop it before it’s properly frozen is a rookie mistake. You’ll just get a delicious, but messy, soft-serve situation. Wait it out, it’s worth it!
Alternatives & Substitutions
This recipe is a canvas, my friend! Feel free to get creative. Here are a few ideas:
- **Cake Flavor:** Seriously, any cake. Chocolate fudge cake with chocolate ice cream? Yes. Lemon pound cake with vanilla base? Divine. Red velvet with a cream cheese swirl (just drizzle some softened cream cheese into the mix)? Oh, yes.
- **Dairy-Free:** You can totally do a similar version using full-fat canned coconut cream (chilled overnight, scoop out the thick cream) and a dairy-free condensed milk alternative. The texture might be slightly different, but still delish!
- **Mix-in Madness:** Swirl in some Nutella, peanut butter, cookie dough chunks, mini marshmallows, or even a shot of espresso (if you’re into coffee ice cream). The world is your oyster… or, well, your freezer.
- **Boozy Twist (for adults only!):** A tablespoon or two of a complementary liqueur (like Kahlúa or Grand Marnier) can add a lovely depth of flavor. Don’t add too much, or it won’t freeze properly!
FAQ (Frequently Asked Questions)
Got questions? I’ve got answers, delivered with a casual shrug and a smile.
- **Can I use a regular store-bought ice cream as the base?** Well, yes, but why bother? The whole point of this no-churn method is that it’s just as easy and tastes so much fresher! Plus, you get to say you “made” the ice cream.
- **How long does it last in the freezer?** Ideally, enjoy it within 2-3 weeks for the best texture and flavor. Beyond that, it might start getting a bit icy, but it’s still edible if you’re desperate.
- **Do I need an ice cream maker?** Nope! That’s the beauty of this recipe. No fancy equipment required.
- **My ice cream is too hard, what went wrong?** It might be over-frozen, or your freezer is just super powerful. Let it sit on the counter for 5-10 minutes before scooping to soften slightly.
- **Can I make this ahead for a party?** Absolutely! In fact, it needs to freeze for several hours, so making it the day before is perfect.
- **What if my cake is a bit dry?** A slightly dry cake can actually be great here, as it absorbs some of the ice cream mixture. If it’s *super* dry, maybe give it a quick drizzle of milk or a simple syrup before adding.
Final Thoughts
And there you have it! A ridiculously easy, unbelievably tasty, and infinitely customizable ice cream with cake pieces. You’ve officially leveled up your dessert game without breaking a sweat. So go ahead, scoop yourself a generous bowl (or five), pat yourself on the back, and revel in your culinary genius. Now go impress someone—or yourself—with your new culinary skills. You’ve earned it!


