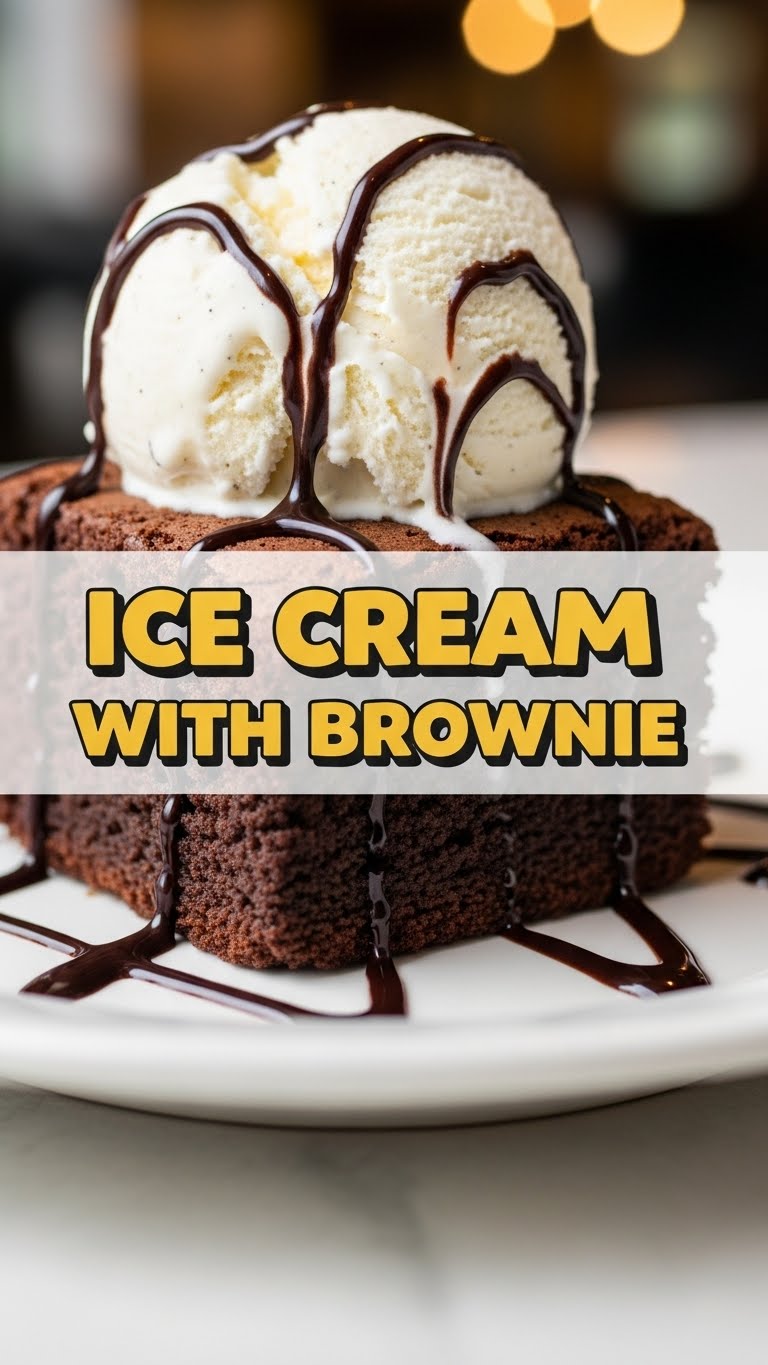
So you’re craving something utterly divine, something that screams “comfort food with a capital C,” but also something that won’t have you slaving away in the kitchen like a Victorian-era scullery maid, huh? Same. High five! We’re diving headfirst into the glorious world of Ice Cream with Brownie. It’s basically a hug for your taste buds, no excessive effort required.
Why This Recipe is Awesome
Alright, let’s be real: this isn’t rocket science, but it *is* pure magic. This recipe is awesome because, first off, it’s ridiculously simple. Like, “can’t-mess-it-up-unless-you-try-really-hard” simple. Seriously, if I can pull this off without setting off the smoke alarm (a rare feat, believe me), then you, my friend, are practically a Michelin-star chef in the making.
Secondly, it delivers maximum deliciousness for minimum effort. We’re talking gooey, chocolatey brownies paired with cold, creamy ice cream. It’s the kind of dessert that makes people think you spent hours meticulously crafting it, when in reality, you just… well, followed some pretty chill steps. Plus, it’s super customizable. Wanna get fancy? Go for it! Wanna keep it classic? You do you. This recipe is your canvas for deliciousness.
Ingredients You’ll Need
Gather ’round, my sweet-toothed companions! Here’s what you’ll need for this masterpiece. Don’t worry, nothing too exotic here – just good ol’ pantry staples for the most part.
- For the Brownies (because homemade is always better, even if it’s a cheat-sheet version!):
- ½ cup (1 stick) unsalted butter, melted (or vegetable oil if you’re feeling wild)
- 1 cup granulated sugar (for that sweet, sweet goodness)
- 2 large eggs (the binders of our delicious destiny)
- 1 teaspoon vanilla extract (don’t skip this, it’s the secret sauce of flavor)
- ½ cup all-purpose flour (the structure!)
- ⅓ cup unsweetened cocoa powder (the chocolate kick!)
- ¼ teaspoon baking powder (a little lift, but not too much)
- ¼ teaspoon salt (enhances all those lovely flavors)
- Optional: ½ cup chocolate chips (because why not add more chocolate?)
- For the Ice Cream & Toppings:
- Your favorite vanilla ice cream (or any flavor, really – live your best life!)
- Chocolate syrup (a classic for a reason)
- Whipped cream (from a can is perfectly acceptable, no judgment here)
- Sprinkles, chopped nuts, or fresh berries (because presentation matters, even if it’s just for you!)
Step-by-Step Instructions
Alright, let’s get down to business! Follow these simple steps and you’ll be in dessert heaven in no time.
- Preheat & Prep: Preheat your oven to 350°F (175°C). Lightly grease and flour an 8×8 inch baking pan. This prevents sticking, trust me, you want that brownie to come out easily.
- Mix the Wet Stuff: In a medium bowl, whisk together the melted butter (or oil) and granulated sugar until well combined. Beat in the eggs one at a time, then stir in the vanilla extract. It should look glossy and beautiful.
- Combine Dry Power: In a separate small bowl, whisk together the flour, cocoa powder, baking powder, and salt. Make sure there are no lumps—nobody wants a mouthful of dry flour.
- Bring It All Together: Gradually add the dry ingredients to the wet ingredients, mixing until just combined. Don’t overmix! Overmixing develops gluten, making your brownies tough, and we’re aiming for gooey perfection. If using, fold in those optional chocolate chips now.
- Bake It Up: Pour the batter into your prepared baking pan and spread evenly. Bake for 20-25 minutes, or until a toothpick inserted into the center comes out with moist crumbs, not wet batter. Remember, we want fudgy, not cakey!
- Cool Down (Patience, Grasshopper!): Let the brownies cool completely in the pan on a wire rack. This is crucial! Trying to cut hot brownies is a messy affair, and they need time to set up for maximum gooeyness.
- Assemble Your Masterpiece: Once cooled, cut a generous square (or rectangle, we’re not picky) of brownie. Place it in a bowl, top with a scoop (or two, again, no judgment) of your favorite ice cream. Drizzle with chocolate syrup, add a dollop of whipped cream, and scatter your favorite toppings.
Common Mistakes to Avoid
Nobody’s perfect, but we can avoid some common culinary faux pas, right? Here’s a little heads-up.
- Overmixing the Batter: As mentioned, this is a one-way ticket to tough, cake-like brownies. Mix until *just* combined, then stop. Walk away from the spoon.
- Overbaking: The ultimate brownie sin! An overbaked brownie is a dry brownie. Keep an eye on that oven and pull them out when a toothpick still has moist crumbs. A little underdone is better than overdone for fudgy brownies.
- Not Greasing Your Pan: Seriously, this isn’t the time to be a rebel. A well-greased and floured pan means your beautiful brownies actually come *out* of the pan.
- Eating Them Hot Off the Press: I know, the temptation is real. But seriously, let them cool completely. The texture improves dramatically, and they’ll be easier to cut without crumbling into a hot, chocolatey mess (unless that’s what you’re going for, in which case, carry on).
Alternatives & Substitutions
Feeling creative? Or maybe you’re just out of one ingredient? No stress! Here are some ways to switch things up.
- Ice Cream Flavors: Vanilla is classic, but why stop there? Try mint chocolate chip, coffee, strawberry swirl, or even a decadent salted caramel ice cream. The world is your oyster!
- Brownie Add-ins: Get wild with your brownies! Add white chocolate chips, chopped nuts (walnuts, pecans), a swirl of peanut butter, or even some crushed cookies. The possibilities are endless, my friend.
- Topping Extravaganza: Beyond the basics, consider caramel sauce, berry compote, toasted marshmallows, a dusting of powdered sugar, or even a sprinkle of sea salt to really make those chocolate flavors pop. FYI, a little crunch from toasted pecans is divine.
- Butter Substitute: If you’re out of butter, vegetable oil works perfectly fine for fudgy brownies. Some even argue it makes them *more* fudgy.
FAQ (Frequently Asked Questions)
Got questions? I’ve got answers (mostly, and with a smile!).
- Can I use a boxed brownie mix instead of making them from scratch? Heck yes, you can! This article is about ease and deliciousness. Use your favorite mix and follow the box instructions. No judgment here, just pure dessert joy!
- My brownies aren’t as fudgy as I’d hoped. What gives? Chances are, you overbaked them a smidge. Next time, pull them out when the toothpick still has a few moist crumbs clinging to it. Trust your gut (and the toothpick)!
- How long do these delightful creations last? The brownies alone will keep at room temperature in an airtight container for 3-4 days. Once you add ice cream, it’s a “serve immediately” situation, for obvious melty reasons.
- Can I make the brownies ahead of time? Absolutely! Bake them, cool them, cut them, and store them. Then, when a craving strikes, just grab a piece, warm it up if you like, and unleash the ice cream.
- What if I don’t have an 8×8 inch pan? A 9×9 inch pan will work, but your brownies might be a little thinner and bake faster, so keep an eye on them. You could also use an appropriately sized loaf pan for thicker, chewier slices (adjust baking time).
- Can I use margarine instead of butter? Well, technically yes, but why hurt your soul like that? Butter just tastes better, IMO. But if it’s all you have, it’ll work in a pinch. Just don’t expect the same rich flavor profile.
Final Thoughts
See? I told you it was easy! You just whipped up a dessert that’s going to make jaws drop and taste buds sing. Whether you’re making this for a cozy night in, an impromptu get-together, or just because Tuesday felt like a dessert day (which, let’s be honest, is every day), you’ve totally nailed it. Now go impress someone—or yourself—with your new culinary skills. You’ve earned it! Enjoy every glorious bite!


