Ever stared into your fridge, feeling that deep, existential ‘what do I even *do* with myself’ vibe, only to realize you just want something sweet and utterly ridiculous? Yeah, me too. And today, my friend, we’re not just making ice cream; we’re giving it a personality crisis. Because why not?
Why This Recipe is Awesome
Okay, so why this particular culinary masterpiece? Because it’s a mood. It’s an edible art project for the creatively challenged. It requires minimal effort, maximum fun, and zero actual cooking skills. Honestly, if you can scoop ice cream, you’re basically a Michelin-star chef for this one. Plus, it’s pretty much guaranteed to make you (or whoever you’re feeding) crack a smile. And let’s be real, who doesn’t need more smiles?
Ingredients You’ll Need
- Your favorite ice cream: The canvas! Vanilla, chocolate, strawberry… whatever floats your boat (or your face).
- Oreo cookies: The ultimate eye-provider. Or eyebrows. Versatility, baby!
- Mini chocolate chips or M&Ms: For those soulful (or soulless) eyes, or a cute button nose.
- Pretzel sticks: Excellent for quirky mouths, spiky hair, or even glasses if you’re feeling fancy.
- Candy corn, fruit leathers, or gummy worms: To fashion some truly wild hair, a goofy tongue, or perhaps a rogue unibrow.
- Whipped cream (optional): For a fluffy beard, a cloud of hair, or just extra deliciousness. Don’t judge.
Step-by-Step Instructions
- Grab your bowl: Scoop a generous helping (or two, I’m not judging) of your chosen ice cream into a dessert bowl. Make it relatively round-ish to give your face a nice foundation.
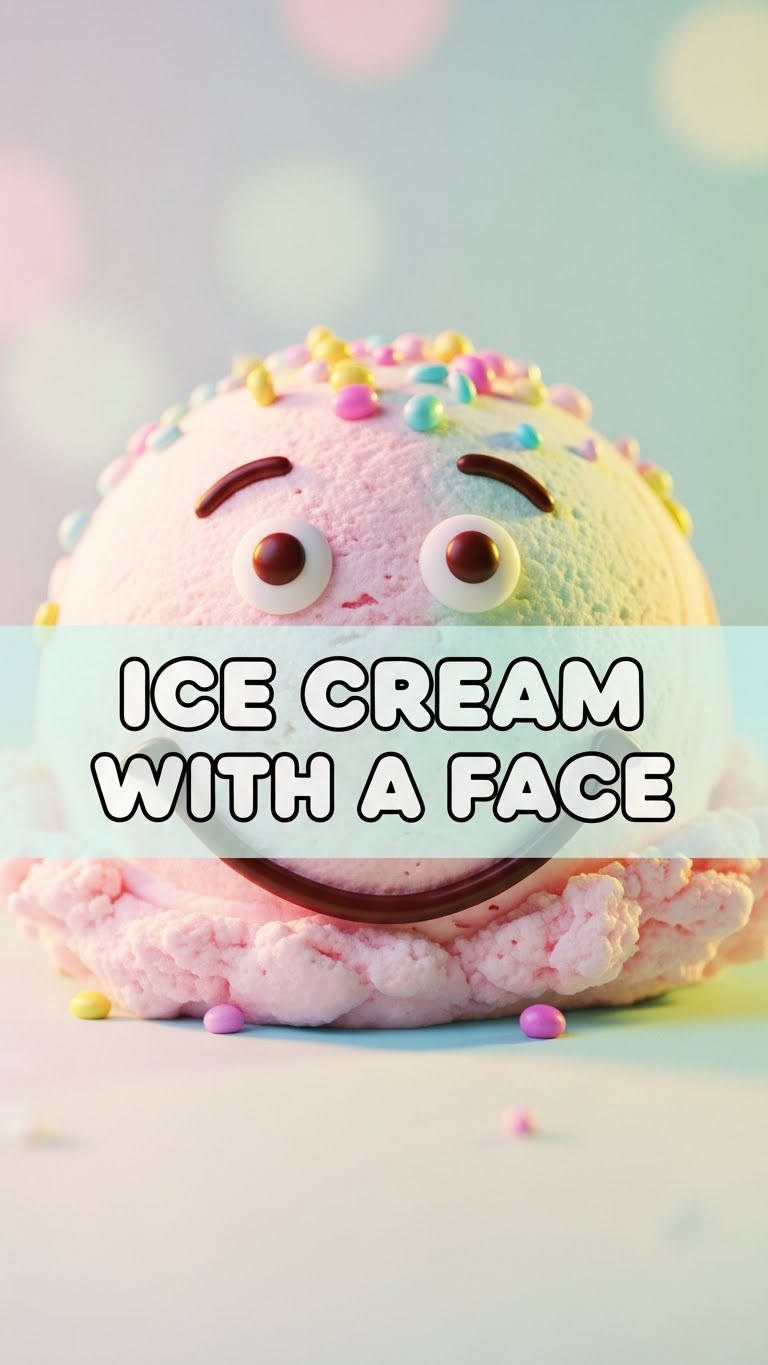
- Eyes, eyes, baby: Twist open an Oreo cookie. Use the cream-filled side as your eyeballs. Place two on your ice cream “head.” If you’re feeling wild, use two full Oreos.
- Pupils power: Pop a mini chocolate chip or an M&M onto each Oreo “eye” to create pupils. Adjust for a cross-eyed, sleepy, or surprised look. Your call, artist!
- Mouth magic: Break a pretzel stick to your desired length and gently press it into the ice cream to form a smile, a frown, or a super silly open mouth.
- Hair flair: Now for the fun part! Use candy corn, fruit leathers cut into strips, or gummy worms to create some truly outlandish hair. Think punk rock, classic bob, or even a majestic mullet.
- Accessorize (optional): Want a nose? A mini M&M or a small piece of fruit leather works. Feeling extra? Add some whipped cream for a beard or a fluffy hat!
Common Mistakes to Avoid
- Melting into a puddle: Don’t spend an hour perfecting the hairline. Work relatively quickly before your ice cream becomes a sad, sugary soup. Speed is your friend here!
- Overthinking it: This isn’t a gallery opening. It’s ice cream with a face. Embrace the wonky, the lopsided, the utterly ridiculous. Perfection is the enemy of fun, especially when dessert is involved.
- Eating all the ingredients before you start: We’ve all been there. Try to save *some* Oreos for the actual face, okay? A few “taste tests” are fine, but exercise some self-control.
- Using too much force: Your ice cream isn’t a brick. Gently press decorations in, otherwise, you’ll end up with a crater face. Unless that’s the look you’re going for?
Alternatives & Substitutions
- Ice Cream Base: Not feeling standard flavors? Try mint chocolate chip for a green face, or rainbow sherbet for a technicolor dream! IMO, vanilla is the easiest canvas, but go wild.
- Eyes: No Oreos? Use large chocolate wafers, round crackers, or even slices of banana. The pupils can be blueberries, raisins, or even small jelly beans.
- Mouth/Nose: Got some licorice? Perfect for a long, droopy mustache! Pretzels are great, but so are fruit strips or even thin cookie pieces.
- Hair: Beyond what we listed, sprinkles are amazing for a spiky ‘do, or shredded coconut for a fuzzy look. Candy laces are also fantastic for long, flowing locks.
- Extras: Small cookies for ears? Gummy rings for glasses? Edible glitter for a sparkly complexion? The world is your oyster, or rather, your ice cream face.
FAQ (Frequently Asked Questions)
Q: Will this recipe win me a culinary award?
A: Probably not a *Michelin* star, but definitely a “Most Fun Dessert” award in my book. And that’s way better, honestly.
Q: Can I make this ahead of time?
A: You *can*, but ice cream faces tend to look their best when freshly sculpted. They melt, get droopy… just like us after a long day. Best served immediately!
Q: What if my kids (or I) eat all the decorations?
A: See “Common Mistakes.” It’s a risk. Maybe buy extra? Or just make a very minimalist face. A single eye, perhaps?
Q: Is there a healthier version of this?
A: *Healthy* ice cream with a face? Honey, we’re here for joy, not kale. But hey, use fruit for decorations, I guess? Or frozen yogurt? No judgment, just… maybe not the point.
Q: My ice cream is rock hard. Help!
A: Let it sit out for 5-10 minutes. A slightly softened scoop is much easier to work with. Unless you want a face made of chiselled ice, which, actually, could be a cool look.
Q: This sounds too simple. Am I missing something?
A: Nope! That’s the beauty of it. It’s delightfully, wonderfully simple. Sometimes the best things are.
Final Thoughts
And there you have it, folks! Your very own ice cream creation with more personality than some actual people I know. Go forth, scoop, decorate, and most importantly, devour. This isn’t just dessert; it’s a statement. A statement that says, ‘I’m playful, I’m creative, and I really, *really* like ice cream.’ Now go impress someone—or yourself—with your new culinary skills. You’ve earned it, you magnificent dessert artist!


