So, you’ve got that ice cream maker staring at you from the back of the cupboard, probably feeling a bit neglected, huh? And you’re craving something ridiculously good, refreshingly cool, and honestly, pretty simple to whip up, right? Especially when the sun’s being extra zealous or you just need a hug in a bowl. Same, friend, *same*.
Why This Recipe is Awesome
Okay, let’s be real. We all love ice cream, but the store-bought stuff, while convenient, sometimes just doesn’t hit the spot like something made with love (and zero weird stabilizers). This recipe? It’s basically a sunshine generator in a bowl. It’s **idiot-proof**, I swear. Even if your culinary skills usually involve calling for takeout, you can nail this. It takes minimal effort for maximum deliciousness, making you look like a gourmet chef without actually, you know, *being* one. Plus, fresh berries! It’s practically health food, right? Don’t argue with me on this one.
Ingredients You’ll Need
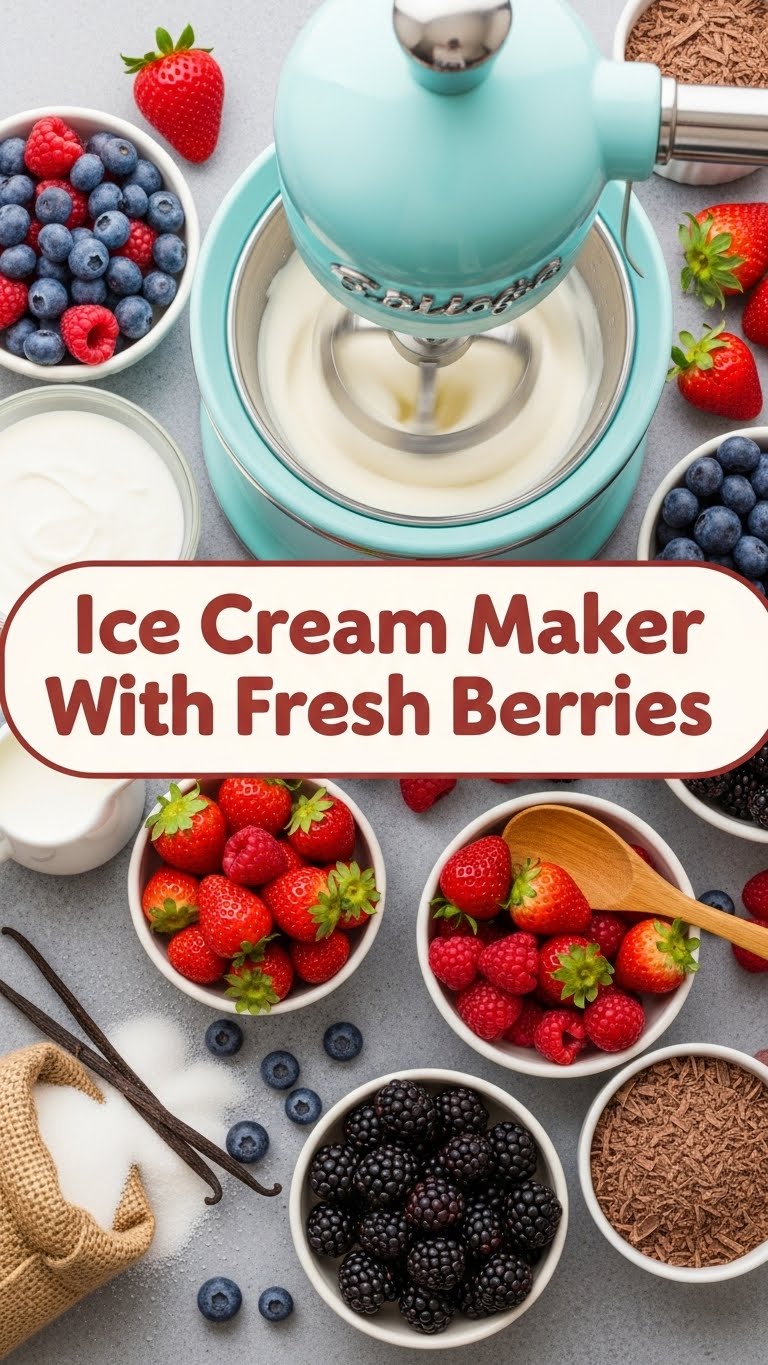
Gather ’round, my sweet-toothed companions! Here’s what you’ll need to make magic happen. Keep it simple, keep it fresh.
- **2 cups heavy cream:** Go for the good stuff. This is ice cream, not a diet plan.
- **1 cup whole milk:** Again, no skimping here. Fat equals flavor, **FYI**.
- **¾ cup granulated sugar:** Adjust to your berry’s sweetness. If they’re super tart, maybe a bit more. Live a little!
- **1 teaspoon pure vanilla extract:** Skip the imitation stuff. We’re classy, remember?
- **Pinch of salt:** Don’t skip this! It balances the sweetness and makes everything pop. Trust me.
- **1-2 cups fresh berries (strawberries, raspberries, blueberries, mixed – your call!):** The star of the show! Make sure they’re ripe and juicy.
- **Optional: 1-2 tablespoons lemon juice:** A little zing really brightens up the berry flavor. Highly recommended, **IMO**.
Step-by-Step Instructions
Right, apron on (or not, we’re friends here), let’s get churning!
- **Prep Your Berries:** Give your beautiful berries a quick rinse and pat them dry. If you’re using strawberries, hull and chop them into smaller pieces. For raspberries or blueberries, you can mostly leave them as is, or give them a light mash for a jammy consistency.
- **Make the Base:** In a large bowl, whisk together the heavy cream, whole milk, granulated sugar, vanilla extract, and that tiny pinch of salt. Whisk until the sugar is completely dissolved. You don’t want grainy ice cream, do you?
- **Chill Out (Literally):** This is a **crucial step**, folks. Cover your cream mixture and pop it into the fridge for at least 2 hours, or even better, overnight. A well-chilled base makes for better, creamier ice cream. Patience is a virtue, especially when ice cream is involved.
- **Churn, Baby, Churn!** Once your base is super cold and your ice cream maker’s freezer bowl is frozen solid (you did remember to freeze it, right?), pour the chilled mixture into your ice cream maker. Follow your machine’s instructions – they usually churn for 20-30 minutes.
- **Add the Berries:** About 5-10 minutes before the churning is complete (or when the ice cream looks like soft-serve), add your prepped fresh berries (and optional lemon juice). Let the machine do its magic, mixing them in evenly.
- **Harden Up:** Once churned, your ice cream will be soft, like a dream. For a firmer scoop, transfer it to an airtight container and freeze for another 2-4 hours. If you can wait that long, you’re a stronger person than I am.
Common Mistakes to Avoid
Nobody’s perfect, but we can avoid some classic oopsies, right?
- **Not Chilling the Base Enough:** This is probably the number one rookie error. If your base isn’t ice-cold, your machine will struggle, and you’ll end up with icy, not creamy, results. **Chill that base!**
- **Overfilling Your Machine:** Every ice cream maker has a max fill line. Respect it! The mixture expands as it churns, and an overfilled machine makes a giant, sticky mess (ask me how I know).
- **Adding Frozen Berries Directly:** Unless you’re going for ice chips, don’t just dump rock-solid berries in. Thaw them slightly or use fresh. Frozen chunks will mess with the churn and might even damage your machine.
- **Eating It All in One Sitting:** Okay, maybe not a *mistake* per se, but exercise some self-control. Or don’t. I’m not your mom.
Alternatives & Substitutions
Feeling adventurous? Good! This recipe is super flexible.
- **Berry Bonanza:** Not feeling strawberries? Try blueberries, raspberries, blackberries, or a mix! Tropical twist? Mango or pineapple chunks (fresh, not canned in syrup, please!).
- **Dairy-Free Dream:** Swap the heavy cream and whole milk for full-fat coconut milk or a good quality oat milk for a delicious dairy-free version. The texture will be slightly different, but still amazing.
- **Add-ins Galore:** A splash of almond extract with blueberries? A swirl of lemon zest? A sprinkle of chopped fresh mint? Little chocolate chips? **Go wild!** This is your ice cream, your rules.
- **Sugar Swap:** You can try maple syrup or agave nectar for a different kind of sweetness, but experiment with quantities as they can be sweeter than granulated sugar.
FAQ (Frequently Asked Questions)
- **Do I *really* need to pre-freeze the bowl?** Absolutely! Your freezer bowl needs to be in the freezer for at least 12-24 hours until it’s super cold, otherwise, your ice cream won’t churn properly. It’s the engine of this operation!
- **My ice cream is icy, what did I do wrong?** Chances are your base wasn’t cold enough before churning, or your freezer bowl wasn’t frozen solid. Also, make sure you’re using full-fat dairy.
- **Can I use frozen berries instead of fresh?** You can, but let them thaw completely and drain any excess liquid first. Fresh always tastes better, though, **IMO**.
- **How long does homemade ice cream last?** In an airtight container, usually up to 1-2 weeks in the freezer. But honestly, it rarely lasts that long, does it?
- **What if I don’t have an ice cream maker?** Oh no! You can try a “no-churn” recipe, but it’s a different beast. For this creamy goodness, the maker is key. Maybe it’s time to invest? Your future self will thank you.
- **Why is my ice cream not as firm as store-bought?** Homemade ice cream typically has less air whipped into it and no stabilizers, so it tends to be softer and melts faster. That’s part of its charm!
Final Thoughts
See? That wasn’t so scary, was it? You just made yourself (or, if you’re feeling generous, your loved ones) some genuinely incredible, fresh, berry-packed ice cream. Take a bow! You’ve officially leveled up your dessert game. Now go impress someone – or just yourself – with your new culinary skills. You’ve earned that delicious, creamy reward!


