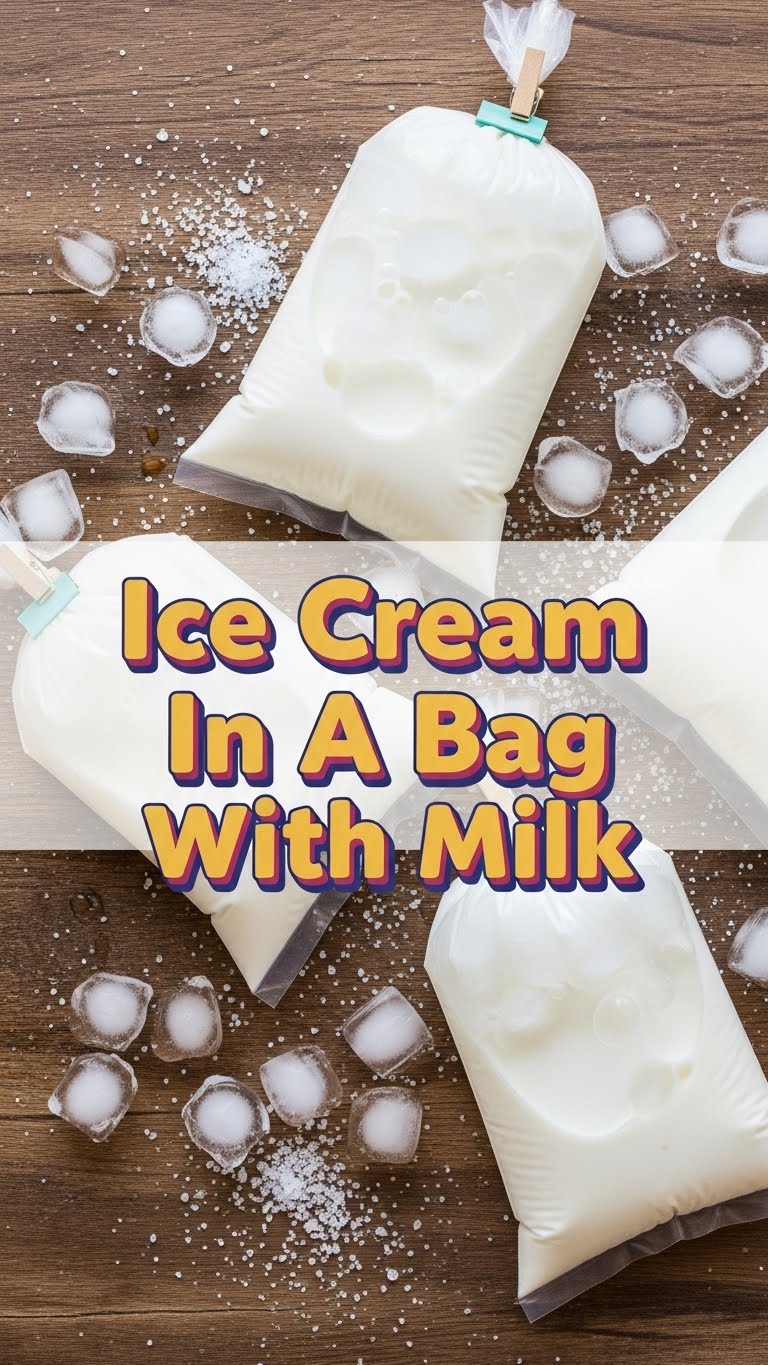
So you’re craving something frosty, creamy, and ridiculously easy, but the thought of pulling out that ancient ice cream maker fills you with dread? Or maybe, like me, you don’t even *own* an ice cream maker? Friend, I’ve got your back. We’re about to make actual, honest-to-goodness ice cream… in a bag. With just milk. Seriously!
Why This Recipe is Awesome
Let’s be real, who has time for complicated recipes these days? Not me, and probably not you. This “Ice Cream in a Bag” recipe is basically the culinary equivalent of a high-five. Here’s why it’s about to become your new favorite party trick (or solo snack):
- **No fancy equipment needed.** Your hands are pretty much the only “machine” you’ll use. Seriously, ditch the mixer, the churner, all that jazz.
- **Instant gratification.** We’re talking 5-10 minutes from “liquid” to “scoopable magic.” No overnight chilling, no waiting for hours.
- **It’s idiot-proof.** And I say that with love, because if I can do it without setting off the smoke alarm, anyone can. **Foolproof, even for kitchen novices.**
- **Minimal cleanup.** A couple of plastic bags, a bowl, maybe a spoon. Done. Your inner neat freak will thank you.
Ingredients You’ll Need
Gather ’round, my fellow lazy chefs. Here’s your simple shopping list. You probably have most of this stuff already:
- **1 cup Milk:** Whole milk is your BFF here for ultimate creaminess. Skim milk works, but it’s like a whisper of ice cream – totally up to you.
- **2 tablespoons Granulated Sugar:** The sweet stuff. Don’t be shy, it’s ice cream!
- **1/2 teaspoon Vanilla Extract:** The MVP of flavor. Go for the good stuff, your taste buds will thank you.
- **About 3-4 cups Ice:** You’ll need more than you think. Fill up that freezer tray, buddy.
- **1/2 cup Rock Salt (or Table Salt):** This is the secret sauce, folks! It’s crucial for getting your ice super cold. **Do NOT skip this!**
- **1 Small Resealable Plastic Bag (quart size):** This is for your ice cream mixture.
- **1 Large Resealable Plastic Bag (gallon size):** This will be your ice bath container.
Step-by-Step Instructions
Alright, let’s get down to business. Prepare to be amazed by your own culinary prowess!
- **Mix It Up:** Grab your small resealable bag. Pour in the milk, sugar, and vanilla extract. **Seal it super tight**, making sure to push out as much air as possible. You do *not* want a milky explosion later.
- **Prep the Chilly Bath:** Now, take your large resealable bag. Fill it about halfway with ice. Then, generously sprinkle the rock salt (or table salt) over the ice.
- **Bag-ception!:** Carefully place the small bag (with your ice cream mix) inside the large bag. Again, **seal the large bag TIGHTLY**, pushing out any excess air. Double-check those seals, seriously!
- **Shake It, Baby!:** This is where the magic (and a bit of a workout) happens. Hold the large bag and start shaking, squishing, and massaging it vigorously. You’ll want to do this for about 5-10 minutes. **Pro Tip: Use kitchen towels or wear gloves** because that bag gets FREEZING cold!
- **Check for Magic:** After a few minutes, you’ll feel the mixture in the small bag starting to thicken and firm up. It should resemble soft-serve ice cream. If it’s still super liquidy, keep shaking!
- **Rinse and Devour:** Once your ice cream is ready, carefully remove the small bag from the large bag. **Rinse the outside of the small bag under cold water** to wash off any residual salt. Open it up, grab a spoon, and dive into your glorious, homemade, bag-made ice cream!
Common Mistakes to Avoid
Even though this recipe is practically foolproof, there are a few rookie errors that can stand between you and your creamy dreams. Don’t be that person!
- **Not enough salt (or no salt at all):** This is the biggest sin. The salt *lowers the freezing point of the ice*, making it cold enough to actually freeze your milk mixture. **No salt, no ice cream!** It’ll just be cold milk.
- **Not sealing the bags properly:** Oh, the horror! Imagine a salty, milky slush exploding everywhere. Don’t let it happen to you. Seal those bags like your life (or at least your dessert) depends on it.
- **Giving up too soon:** It takes a good, consistent shake for 5-10 minutes. Don’t just give it a half-hearted jiggle and declare it a failure. Put some arm muscle into it!
- **Forgetting gloves/towel:** Your hands *will* freeze. Seriously, this isn’t a joke. Protect your digits.
- **Using skim milk (and expecting gourmet):** While skim milk technically works, for a truly creamy, rich ice cream, whole milk is your best bet. Skim will give you a icier, less decadent result. YOLO, go for the good stuff!
Alternatives & Substitutions
Feeling adventurous? Or maybe you just have different stuff in the fridge. No problem, this recipe is pretty forgiving!
- **Milk:** For extra richness, swap out the milk for half-and-half or even heavy cream. You want dairy-free? Almond milk or oat milk will work, but the texture might be a little different (less creamy, IMO, but still tasty!).
- **Flavorings:** Vanilla is classic, but why stop there? Add a tablespoon of chocolate syrup, a teaspoon of cocoa powder (mix it *really* well!), a pinch of instant coffee, or even some fruit puree for a different vibe.
- **Sweetener:** Honey or maple syrup can replace sugar. Just remember to adjust the quantity to your taste, as they have different sweetness levels.
- **Salt:** While rock salt is ideal, any salt will work. Kosher salt or regular table salt will get the job done in a pinch.
FAQ (Frequently Asked Questions)
Got questions? I’ve got answers! (Mostly.)
- **Why does it need salt?** Because science, my friend! The salt lowers the freezing point of the ice, making the outside of the bag super-duper cold (below freezing temperature) which then allows your milk mixture to freeze into ice cream. Pretty neat, huh?
- **Can I use any kind of milk?** You totally can, but as I mentioned, whole milk gives you the best, creamiest texture. Skim milk will work but might be icier.
- **How long do I actually have to shake it?** About 5 to 10 minutes of consistent shaking should do the trick. If it’s not firming up, you probably need to keep going!
- **My hands are freezing! What gives?** What gives is that you’re making ICE cream, surrounded by ICE and salt! I warned you about the gloves or towel, didn’t I? 😉
- **Can I store leftovers?** Leftovers? You’ll have leftovers? Bless your self-control! Yes, you can scoop it into a container and freeze it, but it might get quite hard. You may need to let it soften for a few minutes before eating.
- **Can I make it chocolate?** Absolutely! Just add a tablespoon or two of cocoa powder or chocolate syrup to your milk mixture in the small bag. Stir it really well before sealing!
Final Thoughts
There you have it! Your very own, incredibly simple, ridiculously satisfying ice cream, whipped up with minimal effort and maximum cool factor. You just made a frozen treat with your bare hands and some plastic bags. Go on, pat yourself on the back. You’ve earned that scoop (or three). Now go impress someone—or yourself—with your new culinary skills. You’ve earned it! Seriously, go make some right now. What are you waiting for?


