So you’re craving something ridiculously good, something that screams ‘I tried’ but actually took minimal effort, huh? And it involves ice cream? My friend, you’ve come to the right place. We’re about to make an ice cream cake that’s so easy, you’ll wonder why you ever bought one. Get ready to unleash your inner dessert wizard, because this is about to get delicious.
Why This Recipe is Awesome
Okay, real talk: this isn’t just an ice cream cake; it’s a masterpiece of laziness. You get all the ‘wow’ factor with none of the ‘what was I thinking?!’ stress. It’s **no-bake**, meaning your oven can finally take that vacation it deserves. Plus, it’s totally customizable, so you can make it as fancy or as delightfully trashy as your heart desires. Seriously, it’s idiot-proof; even I didn’t mess it up, and my kitchen skills sometimes peak at microwaving popcorn. It’s the ultimate crowd-pleaser that requires minimal effort for maximum impact. Who doesn’t love that?
Ingredients You’ll Need
Gather your troops! Here’s what you’ll need for this dessert adventure:
- Your Favorite Ice Cream (or Two!): About 1.5 – 2 quarts. Go wild! Chocolate, vanilla, strawberry, mint chip, cookie dough – you do you. Pick flavors that make your soul sing.
- Crunchy Cookies: One standard pack (about 14 oz) of Oreos, graham crackers, or even digestive biscuits. We’re crushing these, so don’t get too attached to their original form.
- Unsalted Butter: Half a cup (about one stick), melted. Yeah, the real stuff. Don’t skimp here; it’s what makes the crust divine.
- Hot Fudge or Caramel Sauce: Your call, or both! Get the good stuff. This is not the time for sad, watery sauce. We want gooey perfection.
- Whipped Cream: An 8 oz tub of cool whip or, if you’re feeling fancy, about 1.5 cups of heavy cream to whip yourself. We’re going for volume here for that fluffy finish.
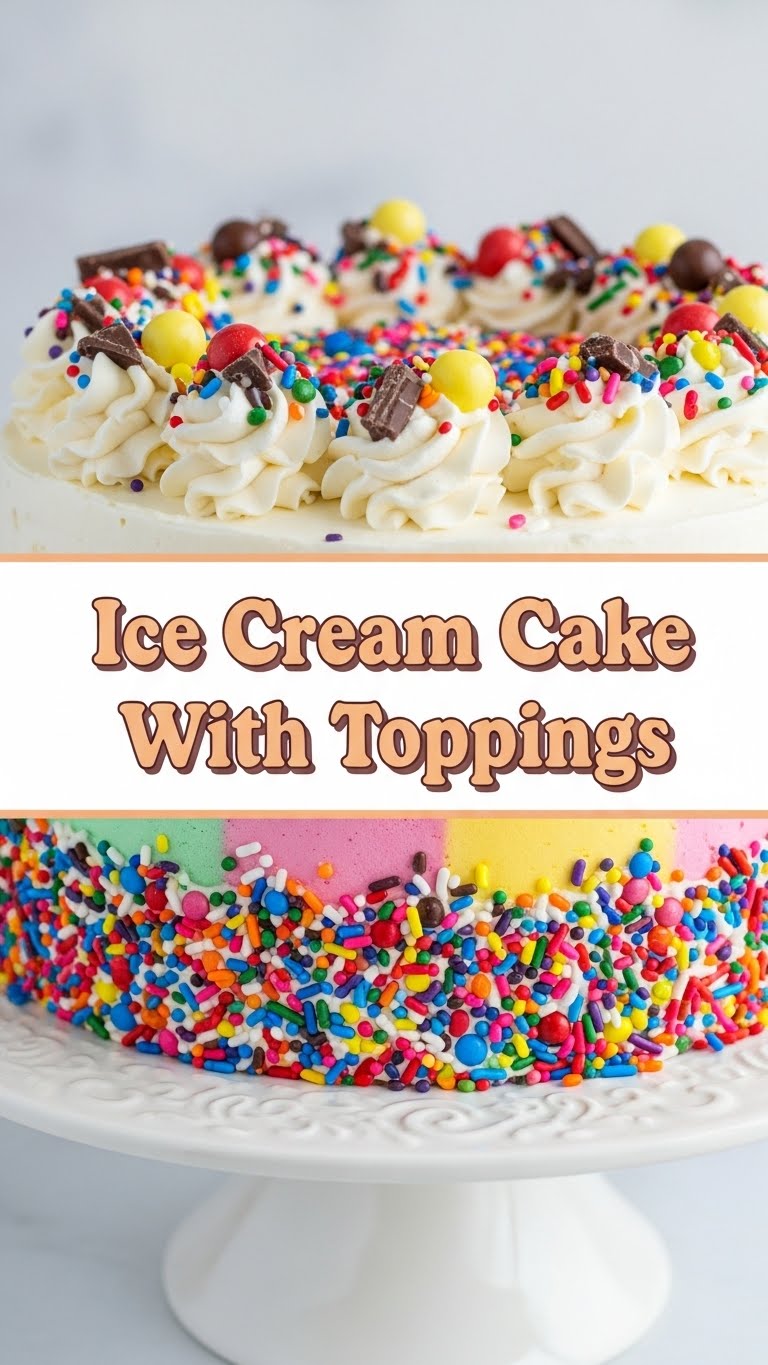
- Assorted Toppings: Sprinkles (duh!), chopped candy bars (Snickers, Kit Kat, Reese’s – oh my!), mini chocolate chips, fresh berries, Gummy Bears (don’t judge!), crushed nuts. This is where the party truly starts, so go nuts!
Step-by-Step Instructions
Alright, apron on (or not, we’re not judging), let’s get this party started!
Crush those cookies: Grab your cookies and go to town. Use a food processor for speed, or put them in a Ziploc bag and unleash your stress with a rolling pin. You want about 2 cups of fine crumbs. No whole cookies allowed!
Butter up the crust: Melt your butter. Pour it over the cookie crumbs and mix ’em up until they’re all uniformly buttery. Press this glorious mess evenly into the bottom of a 9-inch springform pan. **Press it down firmly!** This is key for a solid base that won’t fall apart.
Freeze the crust: Pop that pan into the freezer for at least 15-20 minutes. We need it to firm up and get nice and chilly before the main event.
Soften the ice cream: While the crust chills, let your ice cream hang out on the counter for 10-15 minutes. You want it softened enough to spread easily but not full-on soup. Patience, young Padawan.
Layer one (or two!) of ice cream: Take half of your softened ice cream and spread it evenly over the frozen crust. If you’re using two flavors, this is your first layer. **Don’t press too hard**, you don’t want to disturb the crust.
Add a saucy middle (optional but highly recommended): Drizzle a generous layer of hot fudge or caramel sauce over the first ice cream layer. Maybe some chopped candy or extra cookie crumbs, too? This is your delicious little secret stash!
Add the next ice cream layer: Spread the remaining ice cream (or your second amazing flavor) on top of the sauce. Smooth it out nicely so it looks presentable (ish).
Freeze it solid: Cover the pan with plastic wrap and freeze for at least 4-6 hours, or preferably overnight. **Patience is a virtue here**, trust me. You want this baby rock solid before you try to decorate.
Decorate and devour: Once solid, carefully remove the cake from the springform pan. Frost with your whipped cream and then go absolutely wild with your chosen toppings! Slice, serve, and bask in the glory. High-fives all around!
Common Mistakes to Avoid
Listen up, buttercup, we’ve all made these boo-boos. Learn from my (many) past errors:
- Not softening the ice cream enough: Trying to spread rock-hard ice cream will leave you with a lumpy mess, a sore wrist, and possibly a mild existential crisis. Give it 10-15 minutes on the counter, it’s worth the wait.
- Not pressing the crust firmly: **This is a crucial step!** A loose crust means crumbly sadness when you slice, and nobody wants that. Press it down like you’re trying to win an arm wrestle with the pan.
- Not freezing long enough: Pulling it out too soon will result in a sad, slumpy cake that’s more puddle than masterpiece. You want a solid block of deliciousness. **Overnight is best, IMO.** Don’t rush perfection.
- Overdoing the hot fudge in the middle: While tempting to drown your cake in sauce, too much can make the middle too soft and messy. Drizzle generously, but don’t drown it. There’s a fine line.
Alternatives & Substitutions
This recipe is like a choose-your-own-adventure book, but for your taste buds! Get creative:
- Crust: No Oreos? No problem! Graham crackers, digestive biscuits, shortbread, even pretzels (hello, sweet and salty combo!) work great. Just make sure to crush ’em well. You could even use a brownie base if you’re feeling extra indulgent.
- Ice Cream: Dairy-free? Vegan? Absolutely! There are tons of amazing non-dairy ice creams out there these days. Or go for sorbet for a lighter, fruitier twist, especially in summer. Just keep in mind some might soften quicker.
- Sauces: Beyond fudge and caramel, try a berry compote, a peanut butter drizzle (warm it slightly!), or even a simple chocolate ganache. A lemon curd swirl would be epic with vanilla ice cream. Get creative!
- Toppings: Literally anything! Crushed nuts, different candy bars, mini marshmallows, toasted coconut flakes, fresh fruit, more cookies, brownie bits, sprinkles (obvi!). The world is your oyster… or, well, your ice cream cake.
FAQ (Frequently Asked Questions)
Got questions? I’ve got answers (mostly sarcastic, but still helpful):
- Can I make this ahead of time? Oh, absolutely! In fact, it’s *designed* for that. Make it a day or two before your big event. Just keep it well-wrapped in the freezer, and add toppings right before serving. Easy peasy.
- My springform pan leaks! Help! Uh oh! Rookie mistake? No worries. **Line the bottom with parchment paper and wrap the outside base with foil** before adding your crust. This acts as a delicious barrier to prevent any buttery escapes.
- What if I don’t have a springform pan? You can use a regular 9×13-inch baking dish for a rectangular cake. It might be a bit harder to get out cleanly (you’ll just scoop it), but it’ll still taste amazing. Alternatively, line a regular round cake pan with plastic wrap, leaving an overhang to lift it out once frozen. FYI, it works!
- How many servings does this make? Typically, a 9-inch cake serves 8-12 people, depending on how generous your slices are (and how much your friends love ice cream cake). Let’s be real, it might only serve two if you’re me and my cat.
- Can I use store-bought whipped cream? Yes, please! That’s the ‘easy’ part of this recipe. Cool Whip or any aerosol can whipped cream is perfectly fine and encouraged for minimal effort. If you’re feeling extra, homemade is great too, but it’s not required for deliciousness.
- How do I slice it cleanly? **Run your knife under hot water and wipe it clean between each slice.** This makes for super neat cuts that’ll impress your guests. You’re welcome.
Final Thoughts
See? I told you it was easy! Now you’ve got this epic, customizable ice cream cake chilling in your freezer, ready to impress everyone (or just you, curled up on the couch, no judgment here). Go on, bask in your culinary glory. You’ve earned it! Now go forth and conquer the dessert world, one ridiculously delicious ice cream cake at a time. And hey, maybe send me a slice?


