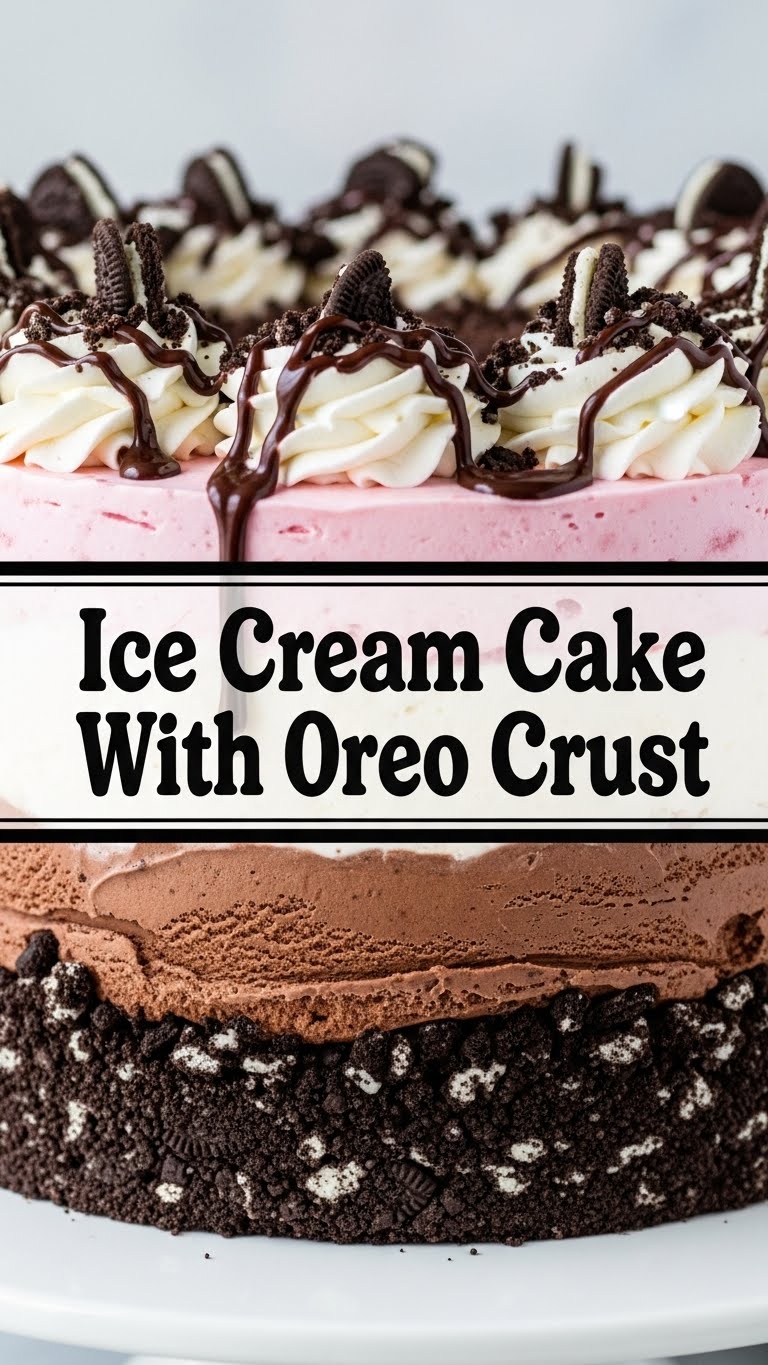
So you’re craving something epic, but the thought of turning on the oven for actual *baking* feels like too much effort? My friend, I feel you deep in my soul. And guess what? We’re about to make an Ice Cream Cake with an Oreo Crust that’s basically pure joy with minimal fuss. Think cool, creamy, crunchy, and ridiculously easy. Grab your apron (or don’t, no judgment here), because we’re diving into deliciousness!
Why This Recipe is Awesome
Let’s be real, who doesn’t love dessert that requires almost zero actual “cooking”? This ice cream cake is your new best friend for a few glorious reasons:
- It’s mostly no-bake! We’re talking minimal heat, maximum chill. Your oven can stay safely off, thank you very much.
- Oreo crust, people! Do I even need to elaborate? It’s crunchy, chocolatey, and the perfect base for anything.
- Foolproof. Seriously, if you can soften ice cream and crush cookies, you’re basically a pastry chef in the making. Even *I* didn’t mess this up, and that’s saying something.
- Highly customizable. You can go wild with flavors and toppings, making it your own personal masterpiece.
- It looks impressive. Your friends and family will think you slaved away for hours. Let them believe it. You deserve the accolades.
Ingredients You’ll Need
Time to gather your edible treasures. Keep it simple, keep it fun!
- 1 (14.3 oz) package Oreo cookies: Don’t skimp. This is your glorious crust. Double-stuffed? Even better, IMO.
- 6 tablespoons unsalted butter: Melted, please. And yes, butter. Don’t even *think* about margarine. We’re better than that.
- 2 different flavors of ice cream (1.5 quarts each): Pick your poison! Vanilla and chocolate are classics, but strawberry and cookies & cream? Heck yeah! Soften them slightly before you start.
- 1 cup hot fudge sauce: Or caramel, or both! Get a good quality one. This is key for that dreamy middle layer.
- 1 (8 oz) container whipped topping: Like Cool Whip, or actual whipped cream if you’re feeling fancy. No judgment either way.
- Optional toppings: More crushed Oreos, sprinkles, chocolate chips, chopped nuts, candy bar bits – go wild!
Step-by-Step Instructions
Alright, let’s turn these simple ingredients into a showstopper. Follow these steps, and you’ll be a no-bake legend in no time.
- Crush those Oreos like there’s no tomorrow! You can use a food processor for speed (my preferred method) or put them in a zip-top bag and smash them with a rolling pin (excellent for stress relief). You want fine crumbs, but a few small chunks are totally okay for texture.
- Make the glorious crust. In a medium bowl, mix your crushed Oreos with the melted butter until it’s well combined. Press this mixture firmly into the bottom of a 9-inch springform pan. Use the back of a spoon or your hands. Pro tip: really press it down to create a solid base! Pop it in the freezer for at least 15-20 minutes to firm up.
- First ice cream layer, reporting for duty! Take your first ice cream flavor (which should be slightly softened by now—not soup, but spreadable). Spread it evenly over your chilled Oreo crust. Gently, now. Once it’s all smooth, return the pan to the freezer for at least 30-45 minutes to firm up completely. We don’t want a runny mess.
- Fudge it up! Once your first ice cream layer is firm, drizzle or spread your hot fudge sauce over it. If your sauce is too thick, microwave it for 15-20 seconds to make it more spreadable. Freeze again for another 30 minutes. This helps keep the layers distinct.
- Second ice cream layer, action! Now for your second ice cream flavor. Again, make sure it’s slightly softened. Spread it carefully and evenly over the fudge layer. Once smooth, you know the drill: back to the freezer! This time, let it chill for at least 4 hours, or ideally, overnight. This is crucial for slicing cleanly.
- The grand finale! When you’re ready to serve (or just admire your handiwork), carefully remove the sides of the springform pan. Spread your whipped topping over the top of the cake. Now, unleash your creativity with the optional toppings! More crushed Oreos? Sprinkles? Chocolate shavings? The world is your oyster (a delicious, chocolatey one).
- Slice and conquer. Let the cake sit out for 5-10 minutes before slicing to make it easier to cut. Use a warm, sharp knife (run it under hot water and wipe dry between slices) for the cleanest cuts. Serve immediately and prepare for compliments!
Common Mistakes to Avoid
Listen, we’ve all been there. Here’s how to steer clear of rookie errors and ensure your cake is a triumph:
- Not freezing enough between layers: This is probably the biggest culprit for a sad, melty, mixed-up cake. Patience is a virtue, especially in ice cream cake making! Don’t rush it.
- Trying to spread rock-hard ice cream: You’ll just break your spoon and get frustrated. Let it soften for 10-15 minutes on the counter. But also, don’t let it become a milkshake. It’s a delicate balance.
- Skimping on the Oreos for the crust: A thin, crumbly crust is a cardinal sin. You need that sturdy, delicious foundation. Don’t be afraid to use the whole package, FYI.
- Using a dull knife to slice: This leads to mangled slices and disappointment. A warm, sharp knife is your friend.
- Forgetting to grease your springform pan (optional, but helpful): While not strictly necessary, a light spray can help the crust release perfectly.
Alternatives & Substitutions
Feeling adventurous? Here are some ways to shake things up and make this cake truly your own:
- Crust variations: Not an Oreo fan (gasp!)? Try crushed graham crackers, Nilla wafers, or even chocolate chip cookies. Mix in a pinch of cinnamon for a cozy twist.
- Ice cream flavors: The possibilities are endless! Coffee ice cream with chocolate ice cream? Mint chip and cookies & cream? Lemon sorbet and raspberry for a lighter, fruitier vibe? Dream big!
- Sauce swap: Instead of hot fudge, go for dulce de leche, peanut butter sauce, or even a berry compote.
- Topping madness: Beyond the basics, consider mini chocolate pretzels, chopped candy bars (Snickers, Reese’s!), toasted coconut, or even a drizzle of caramel just before serving.
- Make it boozy: Add a tiny splash of a complementary liqueur (like Kahlúa or Bailey’s) to your hot fudge layer for an adult treat.
FAQ (Frequently Asked Questions)
Got questions? I’ve got (mostly sarcastic) answers!
- Can I use reduced-fat Oreos? Well, technically yes, but why hurt your soul like that? We’re making a celebration cake, not a health tonic. Live a little!
- How long does this ice cream cake last in the freezer? Realistically? Probably not long because it’s too delicious. But it can last well-covered for up to 2 weeks. As if it’ll survive that long!
- Do I *really* need to freeze between layers? Yes, yes, a thousand times YES! Unless you’re aiming for a melty, swirly, indeterminate mess, which, hey, is an aesthetic, but not what we’re going for here.
- What if my ice cream is too hard to spread? Just let it sit out on the counter for another 5-10 minutes. Don’t try to microwave it – you’ll end up with soup in the middle and ice around the edges. Nobody wants that.
- Can I make this ahead of time for a party? Absolutely! This cake is a make-ahead champion. In fact, it’s better if it has a solid overnight freeze. Just cover it well with plastic wrap or foil.
- My crust isn’t sticking together, help! Either you didn’t add enough melted butter (rookie mistake!) or you didn’t press it down firmly enough. Add another tablespoon of melted butter, mix, and press like you’re kneading dough (but gently!). You got this!
Final Thoughts
And there you have it, folks! Your very own, totally impressive, ridiculously easy Ice Cream Cake with Oreo Crust. You’ve navigated the tricky waters of softening ice cream and crushing cookies, and you’ve emerged victorious. Now go impress someone—or more importantly, yourself—with your new culinary skills. You’ve earned every single bite. Enjoy the fruits (or rather, the frozen dairy and cookie crumbles) of your labor!


