So you’re craving something tasty but too lazy to spend forever in the kitchen, huh? Same. Ever stare into the freezer, full of ice cream, and think, ‘This could be *more*?’ Well, my friend, today we’re making ‘more’ happen without turning on a single oven. Your future self (the one with dessert in hand) will thank you. Get ready for an Ice Cream Cake that’s so easy, it practically makes itself, and so delicious, you’ll wonder where it’s been all your life.
Why This Recipe is Awesome
Let’s be real, who wants to bake when it’s hot? Or even when it’s not? This bad boy is **no-bake**, meaning your oven gets a vacation. It’s also super customizable, ridiculously easy (seriously, my cat almost did it), and looks like you actually tried. Plus, it involves ice cream, which is always a win. It’s pretty much the ‘I-want-to-look-fancy-but-do-zero-work’ champion. And guess what? It’s pretty much idiot-proof, even I didn’t mess it up. That’s high praise, people.
Ingredients You’ll Need
Gather ’round, fellow chefs! Here’s your loot:
- 2 tubs (1.5-quart each) of your favorite ice cream, slightly softened: Don’t go rock-hard, unless you enjoy a good arm workout. Pick flavors that play nice together, or just double down on one epic one!
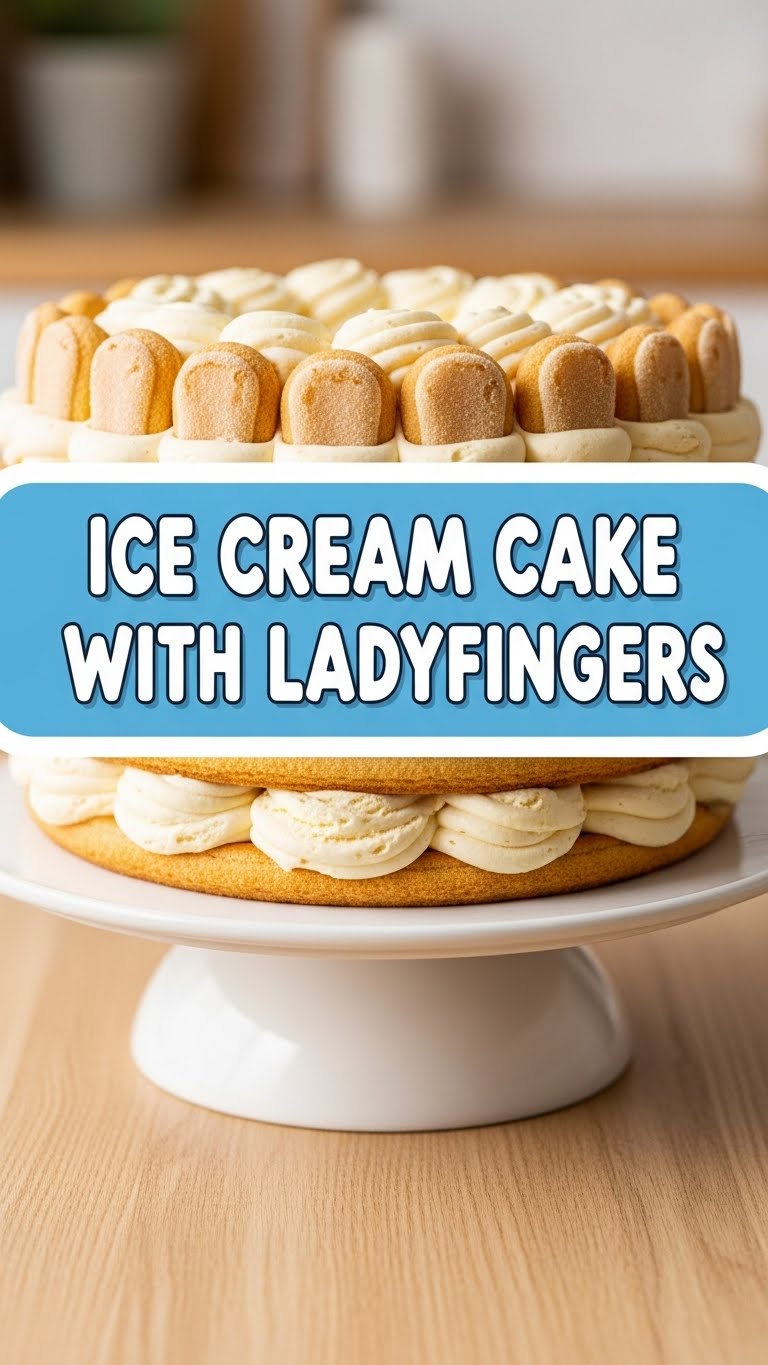
- 1 pack (7 oz / 200g) ladyfingers: The crunchy kind, not the soft ones from the bakery. We need structure!
- 1 cup strong brewed coffee or espresso, cooled: Or decaf if you’re a rebel without a cause and hate sleep.
- 1/4 cup coffee liqueur (like Kahlúa) or rum (optional, but highly recommended for adulting): Adds a little *oomph*. If serving to kids, just skip or use a splash of vanilla extract.
- 1 cup heavy whipping cream, chilled: For that cloud-like topping. Or just use Cool Whip if you’re feeling extra “I-can’t-be-bothered.”
- 2-3 tablespoons powdered sugar: To sweeten that cream.
- 1 teaspoon vanilla extract: Makes everything taste like a hug.
- Cocoa powder or chocolate shavings, for dusting: For a fancy finish. Because we’re *fancy*.
Step-by-Step Instructions
Alright, let’s get this deliciousness started. No fancy chef skills required, I promise!
- Prep Your Pan: Grab a 9×5 inch (or similar) loaf pan and line it with plastic wrap, leaving a generous overhang on the sides. This is your secret weapon for easy removal. Trust me, it’s a game-changer.
- Get Dippy: In a shallow dish, mix your cooled coffee (and optional liqueur). **Quickly dip** one side of a ladyfinger into the coffee mixture. Don’t let it soak, or it’ll disintegrate faster than your motivation on a Monday.
- First Layer Down: Line the bottom of your prepped pan with the dipped ladyfingers, dipped side down. Break them if you need to fit; it’s not a beauty contest yet.
- Scoop Some Bliss: Spoon about half of one softened ice cream flavor over the ladyfingers. Gently spread it out, trying not to squish the ladyfingers too much. Smooth it as best you can.
- Repeat the Love: Add another layer of dipped ladyfingers on top of the first ice cream layer. Then, scoop out the other half of the *first* ice cream flavor, or use your second flavor entirely if you’re doing two.
- Ladyfingers Again: Another layer of dipped ladyfingers. You’re getting the hang of this!
- Last Ice Cream Push: Spoon the remaining ice cream (or your second flavor if you’re multi-talented) over the last ladyfinger layer. Smooth it out one final time.
- Freeze It Good: Cover the pan with the plastic wrap overhang and stick it in the freezer for at least **4-6 hours**, or even better, overnight. We want it solid.
- Whip It Real Good (Later): When your cake is nearly frozen, whip the heavy cream, powdered sugar, and vanilla in a cold bowl until stiff peaks form. If using Cool Whip, just open the tub, you culinary genius.
- Unmold & Decorate: Gently pull the cake out of the pan using the plastic wrap. Peel off the wrap. Frost the top and sides with your whipped cream. Dust generously with cocoa powder or chocolate shavings.
- Final Chill: Pop it back in the freezer for at least 30 minutes to set the cream, or until serving. Slice and bask in the glory!
Common Mistakes to Avoid
We all make ’em, so let’s learn from mine (and save you some grief):
- Over-soaking your ladyfingers: They’re not sponges, people! A quick dip is all they need. Otherwise, you’ll end up with a delicious but messy pile of mush, and nobody wants that.
- Not softening your ice cream enough: Trying to spread rock-hard ice cream is a recipe for broken spoons and personal frustration. Give it 10-15 minutes on the counter to get scoopable but not melted.
- Forgetting to line the pan: Oh, honey. You’ll be chiseling your beautiful cake out piece by painstaking piece. **Plastic wrap is your friend.** Embrace it.
- Impatience, thy name is YOU: This cake needs its freezer time. Don’t pull it out after an hour expecting a solid slice. Give it **at least 4-6 hours, ideally overnight**. Good things come to those who wait (for dessert).
Alternatives & Substitutions
Feeling creative? Here are some ways to make this cake *even more* “you”:
- Ladyfinger Swap: Not a fan? You could use graham crackers, digestive biscuits, or even thin cookies like Biscoff. Just remember they won’t soak up liquid the same, so adjust your coffee dip or use them dry for a different texture.
- Coffee Aversion? No problem! Use milk, chocolate milk, or even a fruit juice (like orange or raspberry) to dip the ladyfingers. Get creative!
- Liqueur for the Lads (and Ladies): Kahlúa is classic, but Bailey’s, Amaretto, or even a splash of dark rum would be divine. For a non-alcoholic kick, use a few drops of almond or rum extract.
- Ice Cream Flavors: This is your playground! Coffee ice cream is a natural fit, but vanilla, chocolate, strawberry, mint chip, or even a swirl flavor would be epic. Mix and match!
- Add-ins: Sprinkle chocolate chips, chopped nuts, or diced fruit between layers. A drizzle of fudge or caramel sauce would also be *chef’s kiss*.
FAQ (Frequently Asked Questions)
Got questions? I’ve got answers (mostly humorous, of course).
- Can I make this ahead of time? Um, yes! That’s half the magic. It needs to freeze, so making it the day before (or even two!) is highly encouraged. Just keep it well-wrapped in the freezer.
- How long does it last in the freezer? If it somehow survives that long, it’s good for about **a week** in an airtight container. Beyond that, the ladyfingers might get a bit too soggy.
- What if I don’t have a loaf pan? No stress! You can use an 8×8 inch square pan or a springform pan. Just adjust the amount of ladyfingers and ice cream as needed. The layers might be thinner, but still delish.
- Can I make it dairy-free? Absolutely! Grab some dairy-free ice cream (there are so many great options now!) and use a plant-based whipped cream alternative. Just double-check your ladyfingers, as some contain dairy.
- My ice cream won’t spread! What gives? Did you let it soften a bit? If it’s still too hard, give it another 5-10 minutes on the counter. Patience, grasshopper.
- Do I have to use coffee? Nope! Read the “Alternatives” section above. Hot chocolate, fruit juice, or even plain milk are all viable options depending on your desired flavor profile.
Final Thoughts
See? That wasn’t so hard, was it? You just whipped up a dessert that looks like it took hours, but really, it was just you and some clever layering. Now go impress someone—or yourself—with your new culinary skills. You’ve earned it! Grab a fork, you deserve this deliciousness.


