So, you just pulled a tray of gloriously gooey, warm, cinnamon-scented clouds of joy out of the oven, huh? Or maybe you swung by your favorite bakery because, hey, sometimes adulting means outsourcing the baking. No judgment here! Now you’ve got these beauties, and the mission, should you choose to accept it, is to get them from Point A (your kitchen counter) to Point B (a hungry friend’s face, a potluck, or let’s be real, your couch for a solo binge session) without them turning into a sticky, sad, smushed mess. Because nothing, and I mean NOTHING, ruins the vibe faster than a deflated cinnamon roll. Let’s get these rolls travel-ready, shall we?
Why This “Recipe” (aka Packaging Strategy) is Awesome
Because frankly, your amazing cinnamon rolls deserve a grand entrance, not a sticky, squashed farewell. This isn’t just about putting them in a box; it’s about preserving their dignity, their frosting, and your sanity. Think of it as a protective cocoon, ensuring every swirl remains perfect. Plus, a beautifully packaged treat makes you look like a culinary guru, even if your secret superpower is just knowing how to use parchment paper. It’s **idiot-proof**, I swear. Even I didn’t mess up this simple “how-to.”
Ingredients (err, Supplies) You’ll Need
- **Your magnificent cinnamon rolls:** Obviously. Make sure they’ve had a moment to chill, though!
- **Sturdy containers:** Think Tupperware, takeout containers, a nice bakery box, or even a fancy cookie tin. Flimsy cardboard is a no-go, unless you enjoy playing “find the lost frosting.”
- **Parchment paper or wax paper:** Your best friend for preventing sticking and making cleanup a breeze.
- **Plastic wrap or aluminum foil:** For an airtight seal. We’re locking in that glorious freshness!
- **Optional flair (but highly recommended):** Ribbons, twine, cute labels, a little “enjoy!” tag. Because presentation points are real, folks.
- **Insulated bag (for longer journeys):** Keeps them toasty or cool, depending on your vibe.
Step-by-Step Instructions
- **Let ‘Em Chill Out:** This is crucial, my friend. **Do NOT package hot cinnamon rolls.** I repeat, do not! The steam will create condensation, turning your fluffy rolls into a soggy, frosted puddle. Give them at least an hour to cool completely on a wire rack. Frost them once cool, if you haven’t already.
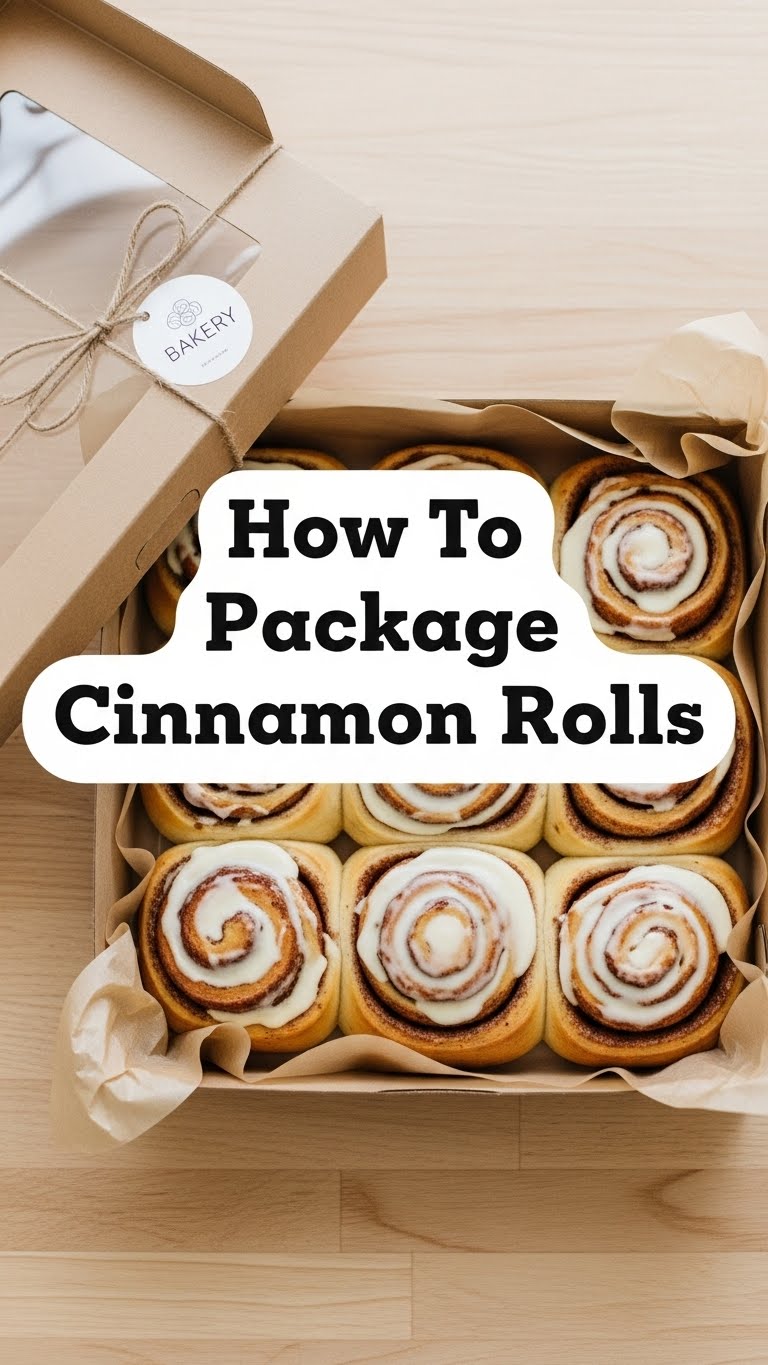
- **Choose Your Vessel Wisely:** Grab your chosen container. For gifting, a bakery box or a festive tin is perfect. For transport to a potluck, a sturdy plastic container with a lid is your hero. Ensure it’s large enough to hold the rolls without squishing.
- **Line It Up:** Line the bottom of your container with parchment paper or wax paper. This prevents sticking, especially if your rolls are extra gooey, and makes them super easy to remove later. You can even let the paper extend up the sides for easy lifting.
- **Arrange with Care:** Gently place your cinnamon rolls into the lined container. Don’t overcrowd them! Give each roll a little breathing room, especially if they’re generously frosted. If stacking, place a piece of parchment paper between layers to protect that precious frosting.
- **Seal the Deal (Literally):** Cover the rolls directly with a layer of plastic wrap, making sure it touches the frosting (this helps prevent a dry crust from forming). Then, secure the lid of your container or wrap the entire thing tightly with aluminum foil or more plastic wrap. We want an airtight seal to lock in all that delightful moisture and aroma.
- **Add That Extra Oomph:** If you’re feeling fancy, now’s the time for ribbons, twine, or a cute little tag. A handwritten “Made with Love” goes a long way. This is where your inner Martha Stewart (or, you know, just someone who cares) can shine!
- **Travel Smart:** If you’re going a long distance, pop your sealed container into an insulated bag. This keeps them at a stable temperature and protects them from jostling. Drive carefully—no sudden stops that might send your rolls flying!
Common Mistakes to Avoid
- **Packaging Hot Rolls:** We talked about this, right? It’s like putting a wet towel in a sealed bag. Disaster waiting to happen. **Patience is a virtue here.**
- **Flimsy Containers:** Trust me, you don’t want your beautifully crafted rolls collapsing mid-journey. Invest in a decent container or wrap a plate like it’s Fort Knox.
- **Overpacking:** Trying to cram too many rolls into one container is like trying to fit into your jeans after a holiday feast. It just ends in squishing and disappointment.
- **Forgetting a Liner:** Without parchment, those bottom rolls are going to fuse with the container, turning extraction into a sticky, frustrating archaeological dig.
- **Not Sealing Properly:** An open container is an invitation for dry air to suck the life out of your rolls. Seal ’em up tight!
Alternatives & Substitutions
No fancy bakery boxes? No problem! Life’s about improvising, my friend.
- **Sturdy Plate + Wrap:** A dinner plate wrapped tightly with several layers of plastic wrap and then maybe some foil is a perfectly acceptable, rustic way to transport. Tie a ribbon around it, and boom! Rustic chic.
- **Clean Cookie Tin:** Got an old holiday cookie tin lying around? Clean it out, line it with parchment, and you’ve got a perfectly reusable, nostalgic container. Plus, it’s pretty durable.
- **No Parchment Paper?** Wax paper works in a pinch, but be mindful if you plan to reheat directly in the container, as wax paper isn’t as heat-tolerant as parchment.
- **Frosted vs. Unfrosted:** If your rolls are unfrosted, they’re a bit more forgiving. You can frost them at your destination if you’re feeling extra. But honestly, pre-frosted is usually more convenient.
FAQ (Frequently Asked Questions)
Because I know you’ve got questions, you curious culinary wizard!
- **Can I package them while they’re still warm?** Uh, no. Have we learned nothing? **Cold rolls are happy rolls for packaging.** Seriously, wait.
- **How long do they stay fresh once packaged?** Properly packaged, unfrosted rolls can last a couple of days at room temp, or a bit longer if refrigerated. Frosted rolls are best eaten within 1-2 days at room temperature. But who are we kidding, they won’t last that long.
- **What’s the best container for gifting?** Personally, I love a good sturdy bakery box. They look professional, are easy to tie a ribbon around, and give the rolls plenty of space to shine.
- **What about cinnamon rolls with cream cheese frosting? Do those need to be refrigerated?** Ah, the age-old dilemma! Cream cheese frosting *should* ideally be refrigerated if storing for more than a few hours, especially in warmer climates. If you’re transporting for a short period (under 2-3 hours) to be eaten immediately, room temperature is usually fine. For longer storage, fridge it!
- **How do I prevent them from getting squished during transport?** Choose a container that fits them snugly but without actual squishing. If there’s extra room, you can gently crumple some extra parchment paper to fill the gaps and prevent shifting. And, you know, drive like a responsible adult.
- **Can I freeze them after packaging?** Absolutely! Unfrosted rolls freeze beautifully for up to a month in an airtight container. If they’re frosted, you can freeze them too, but make sure the frosting is completely set first, and wrap them extra well to avoid freezer burn. Thaw overnight in the fridge.
Final Thoughts
And there you have it! The secret to becoming a cinnamon roll packaging pro. Now you can confidently transport your sugary masterpieces without a single bead of frosting out of place. Go forth, share the gooey goodness, and bask in the glory of perfectly presented treats. You’ve earned it! Now, if you’ll excuse me, I think I hear a cinnamon roll calling my name from its perfectly packaged temporary home…


