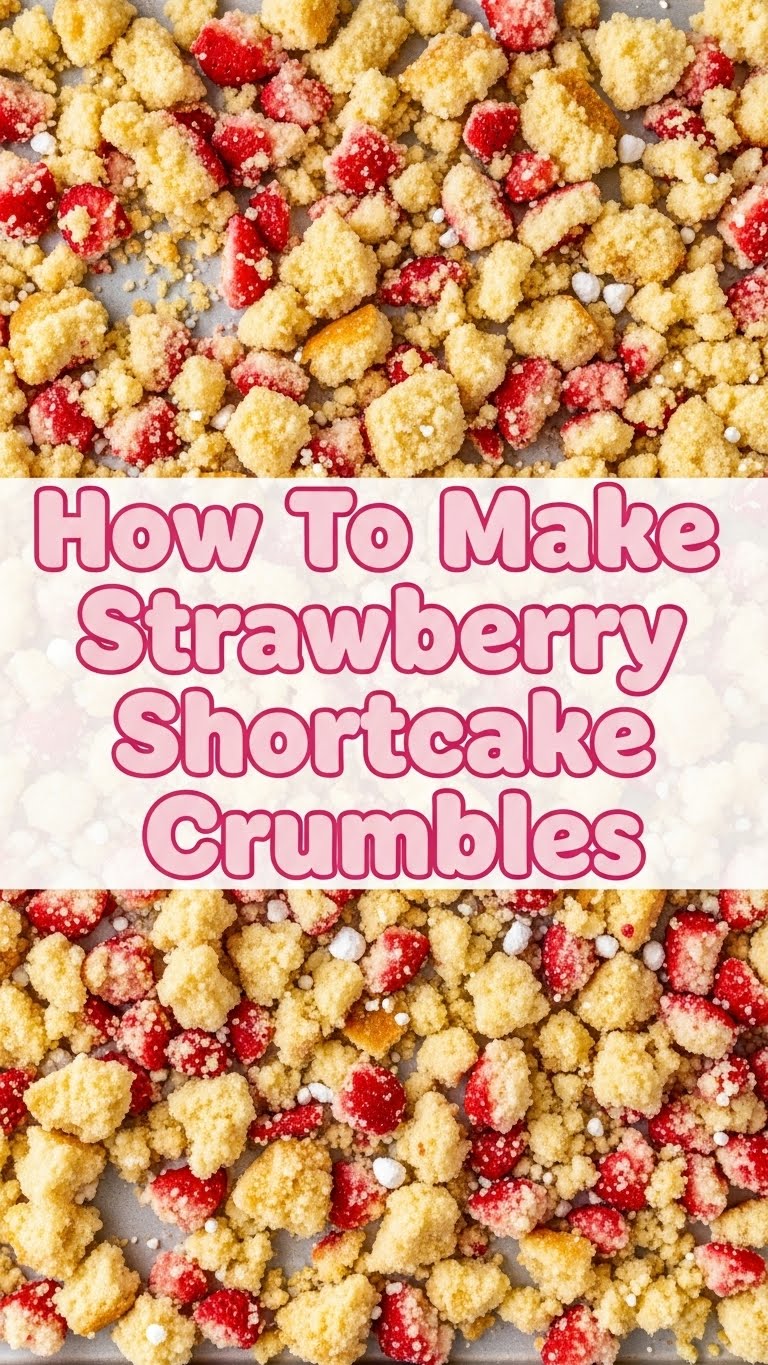
So you’re craving something tasty but too lazy to spend forever in the kitchen, huh? Same. We’ve all been there: staring blankly into the fridge, wishing a dessert would magically appear. Well, today, my friend, we’re not waiting for magic. We’re *making* magic, or at least, something delightfully close: Strawberry Shortcake Crumbles!
Why This Recipe is Awesome
Because let’s be real, life is too short for complicated recipes that require a culinary degree. This bad boy is practically **idiot-proof**. Seriously, even I didn’t mess it up, and my kitchen skills are usually reserved for making toast and ordering takeout. It’s quick, it’s satisfying, and it tastes like the best part of a strawberry shortcake decided to have a party all on its own. Plus, it’s versatile! Serve it with berries, ice cream, or, let’s be honest, just a spoon straight from the bowl. No judgment here.
Ingredients You’ll Need
Gather ’round, butter-lovers! Here’s what you’ll need for our crispy, crumbly masterpiece:
- **1 stick (1/2 cup) Unsalted Butter:** Make sure it’s **ice-cold and cut into small cubes**. This is non-negotiable, unless you like sad, flat crumbles.
- **1 cup All-Purpose Flour:** The sturdy backbone of our crumble dreams.
- **1/2 cup Granulated Sugar:** For that sweet kiss.
- **1/4 teaspoon Salt:** Just a pinch, because even crumbles need balance.
- **Optional: 1/2 teaspoon Vanilla Extract:** For that “what *is* that delightful flavor?” vibe.
- **Optional: 1 teaspoon Lemon Zest:** If you’re feeling zesty and want a little extra zing.
Step-by-Step Instructions
Alright, let’s get our hands dirty (in the best way possible!).
- **Preheat Your Oven:** Set it to 375°F (190°C). Don’t skip this, rookie mistake! While it’s heating, line a baking sheet with parchment paper. This makes cleanup a breeze, FYI.
- **Mix the Dry Stuff:** In a medium bowl, whisk together the flour, sugar, and salt. If you’re adding lemon zest, toss it in now too. Give it a good swirl to combine everything evenly.
- **Bring in the Butter:** Add your cold, cubed butter to the dry ingredients. Now, here’s where the fun begins.
- **Crumble Time!** Use your fingertips (or a pastry blender, if you’re fancy) to rub the butter into the flour mixture. You’re aiming for a coarse, crumbly texture, kind of like wet sand with some pea-sized chunks of butter still visible. **Don’t overmix!** We want light, airy crumbles, not tough dough.
- **Add the Vanilla (if using):** If you’re adding vanilla, drizzle it over the mixture and lightly incorporate it with your fingertips.
- **Spread ‘Em Out:** Scatter your glorious crumbles evenly over the prepared baking sheet. Try not to clump them up too much.
- **Bake Away!** Pop the tray into your preheated oven and bake for 10-15 minutes. You’re looking for a beautiful golden-brown color and a heavenly aroma filling your kitchen.
- **Cool Down:** Once golden, take them out and let them cool completely on the baking sheet. They’ll crisp up even more as they cool. Try not to eat them all immediately. I dare you.
Common Mistakes to Avoid
Nobody’s perfect, but we can at least avoid these common crumbly blunders:
- **Warm Butter is a No-Go:** Using room-temperature butter leads to flat, sad crumbles that melt into a sad puddle. **Cold butter is key!**
- **Overmixing is the Enemy:** You’re not making bread here. Too much mixing develops the gluten, making your crumbles tough instead of tender. Keep it light and quick.
- **Forgetting to Preheat:** Just like you wouldn’t jump into a cold shower, your crumbles need a hot oven to get that immediate crisp. Patience, young padawan!
- **Eating All the Crumbles Before Serving:** This is less a mistake and more a test of self-control. I usually fail, but I thought I’d warn you.
Alternatives & Substitutions
Feeling adventurous? Here are some ways to jazz up your crumble game:
- **Flour Power:** Swap out half of the all-purpose flour for **whole wheat flour** for a nuttier, heartier crumble. Or, add a handful of **rolled oats** for extra texture!
- **Sugar Swap:** Replace the granulated sugar with **light brown sugar** for a deeper, caramel-y flavor. Yum!
- **Flavor Boosts:** Add a pinch of **cinnamon or nutmeg** for a warmer spice profile, especially if you’re pairing it with baked apples later.
- **Dairy-Free Friends:** For a vegan or dairy-free version, use a **cold, plant-based butter alternative**. Just make sure it’s one that bakes well.
- **Nutty Additions:** Fold in some finely chopped **pecans, almonds, or walnuts** for an extra crunch.
FAQ (Frequently Asked Questions)
- **Can I use salted butter instead of unsalted?** Technically, yes, but why hurt your soul like that? If you absolutely must, just **reduce the added salt** in the recipe by about half a pinch.
- **My crumbles are too fine, they look like flour again! Help!** Sounds like you might have overmixed, or your butter got too warm. Add another tiny cube of **ice-cold butter** and gently work it in again with your fingertips to create more defined crumbs.
- **How do I serve these epic crumbles?** Oh, let me count the ways! Spoon them over **fresh sliced strawberries** (the classic!), a scoop of vanilla ice cream, Greek yogurt, or even mix them into a smoothie bowl. The possibilities are endless!
- **Can I make these ahead of time?** Absolutely! Once completely cooled, store them in an **airtight container** at room temperature for up to 3-4 days. For longer storage, see the next question.
- **Can I freeze them?** You bet! Store the cooled crumbles in a freezer-safe bag or container for up to a month. Just thaw at room temperature when you’re ready to use them.
Final Thoughts
So there you have it, your ticket to crumbly, strawberry-shortcake-y bliss! This recipe is a testament that delicious doesn’t have to mean difficult. Go on, whip up a batch, and enjoy every single crunchy, buttery piece. Now go impress someone—or yourself—with your new culinary skills. You’ve earned it!


