So, you’re nestled on the couch, maybe binging your favorite show, and BAM! A craving for pumpkin pie hits you like a rogue asteroid. But wait, making a whole pie for just little ol’ you? That’s commitment, my friend, and frankly, who needs that kind of pressure? Especially when you know 90% of it will end up in the fridge, silently judging you.
Fear not, fellow solo indulgence seeker! I’ve cracked the code to making a glorious, individual pumpkin pie that’s just for *you*. No sharing, no guilt, just pure, unadulterated, autumnal bliss. Let’s get baking!
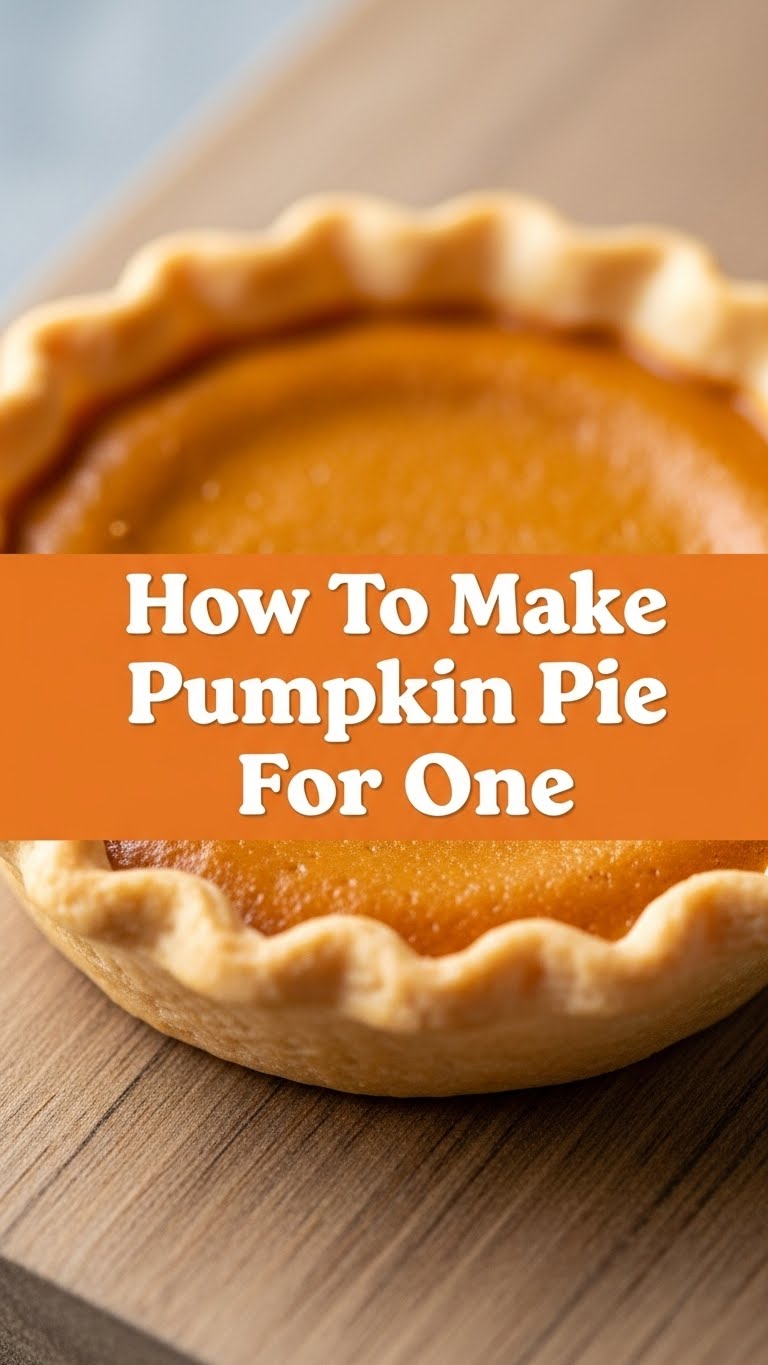
Why This Recipe is Awesome
Okay, so why is this tiny pie wonder going to change your life (or at least your evening)? For starters, it’s single-serving perfection. No giant pie taking up fridge real estate, no wondering if you should invite that second cousin over just to finish it. It’s all yours, baby!
Secondly, it’s ridiculously easy. Seriously, if you can stir things in a bowl and operate an oven without setting off the smoke alarm (mostly), you got this. It’s practically idiot-proof. Even I didn’t mess it up, and my kitchen adventures often involve “creative” interpretations of recipes. Plus, minimal cleanup – because who needs more dishes, right?
Ingredients You’ll Need
Gather your culinary comrades! Most of these are probably already lurking in your pantry, ready for their moment in the spotlight.
- For the Crust (the foundation of all greatness):
- 2-3 tablespoons crushed graham crackers or digestive biscuits: Or any crunchy cookie you have lying around. Your choice, your rules!
- 1 tablespoon melted butter: Because everything’s better with butter. Don’t skimp here; it’s tiny!
- A pinch of sugar (optional): If your cookies aren’t sweet enough, give ’em a little boost.
- For the Filling (the star of the show):
- 1/4 cup pumpkin puree: NOT pumpkin pie filling. Big difference, trust me.
- 1 tablespoon heavy cream or evaporated milk: For that luscious, smooth texture.
- 1 tablespoon brown sugar: Adds a beautiful, deep sweetness.
- 1/2 teaspoon pumpkin pie spice: The magic fairy dust that makes it taste like fall.
- Pinch of salt: Balances everything out like a culinary tightrope walker.
- 1 small egg yolk: Just the yolk, for binding and richness. Don’t be shy, separate it!
- Optional Toppings (because why not?):
- Whipped cream (duh)
- A sprinkle of cinnamon
- A tiny drizzle of caramel sauce
Step-by-Step Instructions
Alright, apron on (or not, we’re informal here), let’s get this deliciousness going!
- Get Preheating & Prep Your Vessel: First things first, get that oven nice and toasty to 350°F (175°C). Grab a small ramekin (about 4-6 oz is perfect) or an oven-safe mug. Lightly grease it if you’re feeling fancy, but it’s not strictly necessary.
- Crush Your Crust Dreams: In a small bowl, combine your crushed graham crackers, melted butter, and optional sugar. Mix until it resembles wet sand.
- Press It Down: Press the crumb mixture firmly into the bottom of your ramekin. Use the back of a spoon or your clean fingers. No need to bake the crust separately for this tiny wonder!
- Whip Up the Filling: In another small bowl, whisk together the pumpkin puree, heavy cream, brown sugar, pumpkin pie spice, and salt until smooth. Then, whisk in the egg yolk until everything is beautifully combined.
- Pour & Bake: Carefully pour your pumpkin filling over the crust in the ramekin. Slide it onto a baking sheet (just in case of any rogue bubbles) and pop it into your preheated oven.
- The Waiting Game: Bake for 20-25 minutes, or until the center is mostly set. A slight jiggle is okay, but it shouldn’t be liquid. A knife inserted near the edge should come out clean.
- Cool Down, Buttercup: Let your mini masterpiece cool completely on a wire rack. Then, for optimal bliss, chill it in the fridge for at least an hour. Patience is a virtue, especially when pie is involved.
- Top & Devour: Once chilled, adorn your pie with your favorite toppings. A generous dollop of whipped cream is practically mandatory. Now, grab a spoon and enjoy every single bite. You earned it!
Common Mistakes to Avoid
Even for something this simple, a few rookie blunders can occur. Let’s make sure you dodge them like a pro!
- Using Pumpkin Pie Filling: I said it once, I’ll say it again: puree, not filling! The filling has sugar and spices already in it, and your pie will be an overly sweet, weirdly spiced mess. Trust me on this one.
- Overbaking: You want a creamy, custardy texture, not a dry, crumbly hockey puck. Watch your pie carefully towards the end of the baking time. A little jiggle in the center is good!
- Impatience: I know, it smells divine. But pulling it out of the oven and digging in immediately will result in a messy, unset pie. Let it cool, then chill. It makes all the difference. IMO, the chill is non-negotiable for true pumpkin pie texture.
- Skimping on Spice: Pumpkin pie spice isn’t just a suggestion; it’s the soul of the pie. Don’t be afraid to add a tiny extra pinch if you’re a spice fiend!
Alternatives & Substitutions
Life’s about options, right? Here are a few ways to tweak your solo pie adventure:
- Crust Chaos: No graham crackers? Use crushed shortbread, Biscoff, or even crushed cornflakes mixed with a little sugar and butter for a quirky crunch. Or, if you’re feeling *really* lazy, just skip the crust entirely! It’ll be more of a pumpkin custard, but still delicious.
- Dairy Dilemmas: Out of heavy cream? Milk will work in a pinch, though it might be slightly less rich. For a dairy-free version, use full-fat canned coconut milk (the thick cream on top) and a plant-based butter alternative.
- Spice It Up: Don’t have pumpkin pie spice? You can use just cinnamon, or even a mix of cinnamon and a touch of ginger for a milder spice profile. It’s your pie, make it your way.
- Sweet Swaps: You can use granulated sugar instead of brown sugar, but brown sugar really adds that depth of flavor. Maple syrup could also work for a different kind of sweetness, just reduce other liquids slightly if you go that route.
FAQ (Frequently Asked Questions)
Got burning questions? I got answers (and probably some cheeky commentary).
- Can I use a microwave instead of an oven? Oh, sweet summer child, no. This is a pie, not a mug cake. The oven bakes it, sets the custard, and crisps the crust. Microwaving would yield a sad, rubbery, soggy mess.
- What if I don’t have a ramekin? A small oven-safe mug, a large muffin tin opening (line it!), or even a tiny oven-safe bowl will do the trick. Get creative with what you have!
- Can I make more than one at a time? Absolutely! Just scale up the ingredients and use as many ramekins as you need. Perfect for a small gathering where everyone gets their own pie!
- How long does this tiny pie last? In the fridge, tightly covered, it’ll last 2-3 days. But honestly? It’s “for one.” It’ll probably be gone before you even remember to cover it. FYI.
- Do I *really* need to chill it? Yes, you really do. Chilling allows the custard to fully set and gives you that perfect, sliceable (or spoonable) pumpkin pie texture. Skipping this step is like skipping leg day—you’ll regret it.
- What if I don’t like pumpkin pie spice? You monster! Just kidding. You can use just cinnamon, or even a mix of cinnamon and a touch of ginger for a milder spice profile. It’s your pie, make it your way.
Final Thoughts
There you have it! Your very own, perfectly portioned pumpkin pie, ready to be devoured without a single shred of guilt (unless you eat two, then maybe a *tiny* shred, LOL). This isn’t just a recipe; it’s a declaration of self-love, a commitment to immediate dessert gratification, and a testament to the fact that good things *do* come in small packages.
Now go forth and bake, my friend! You’ve successfully navigated the treacherous waters of solo baking and emerged with a delicious reward. Go impress someone – or yourself – with your new culinary skills. You’ve earned it!


