So, you’re looking for a dessert that screams “summer” but also whispers “I didn’t actually try that hard,” huh? Perfect! Because today, my friend, we’re diving into the ridiculously delicious world of Peach Ice Cream with Honey. Imagine sunshine in a bowl, but like, the lazy, laid-back kind of sunshine that doesn’t demand you wear sunscreen or go jogging. It’s pure, unadulterated, peachy-sweet bliss, and trust me, your taste buds are about to throw a party.
Why This Recipe is Awesome
First off, let’s just get this out of the way: this isn’t some fussy, pretentious ice cream. This is the kind of recipe that’s so **idiot-proof**, even I managed to nail it on the first try (and my track record with anything more complex than toast is… questionable). It’s got that perfect balance of natural sweetness from ripe peaches and a lovely, subtle hum from the honey. Plus, it uses *real* ingredients, not some crazy chemicals you can’t pronounce. It’s fresh, it’s vibrant, and honestly, it’s probably better than anything you’ll buy from the store. And who doesn’t love bragging rights?
Ingredients You’ll Need
Gather your troops! Here’s what you’ll need for your creamy, dreamy peach-honey masterpiece. Don’t skimp on quality here; your taste buds will thank you.
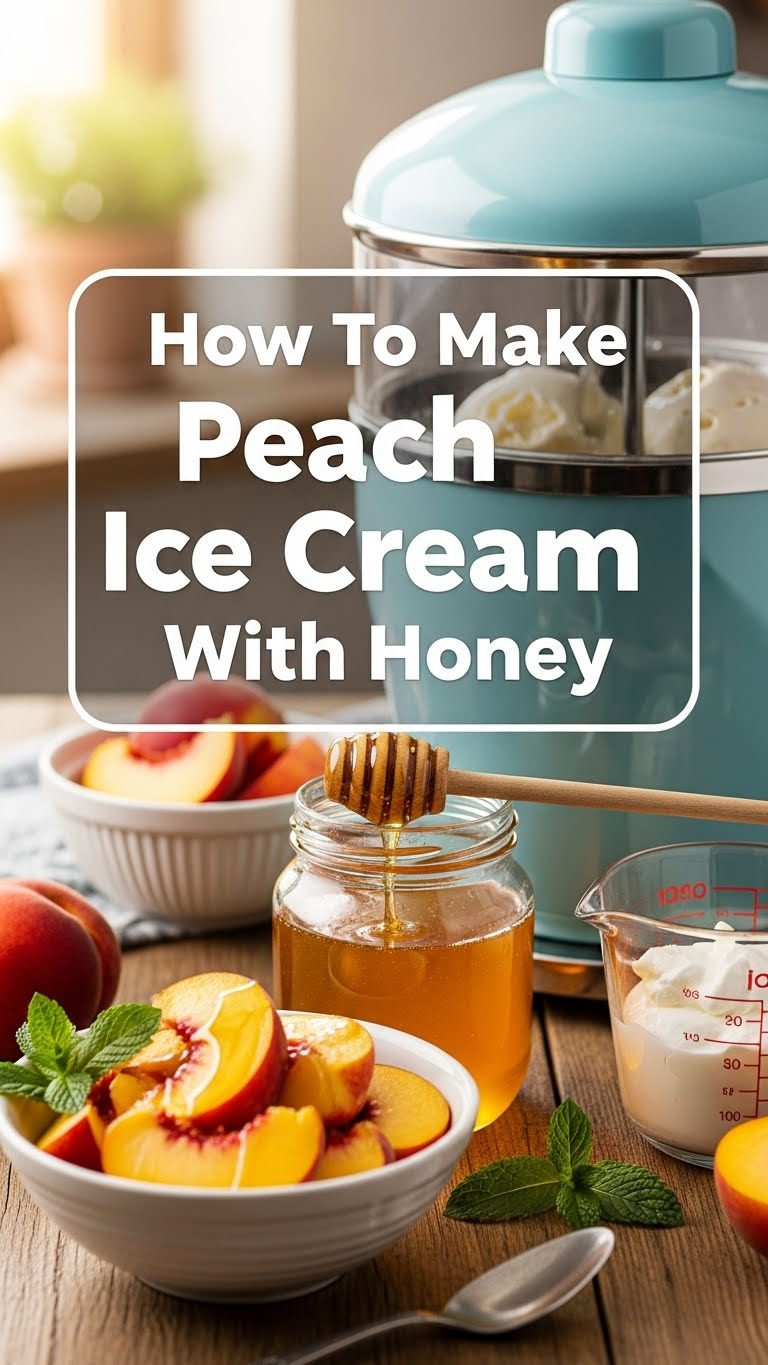
- 3-4 ripe peaches: Think squishy, fragrant goodness. Not the rock-hard ones that stare at you judgmentally from the fruit bowl.
- 1 cup whole milk: Full fat, baby! We’re making ice cream, not health food (unless you count “joy” as a health benefit, which I totally do).
- 2 cups heavy cream: The real MVP of any ice cream. Don’t even think about light cream unless you want sad, icy ice cream.
- ½ cup honey: The star of our show, bringing that golden, floral sweetness. Any type works, but a lighter one lets the peach shine.
- ½ cup granulated sugar: Yes, even with honey. It helps with texture and sweetness balance. Trust me on this.
- 1 teaspoon vanilla extract: The unsung hero that brings all the flavors together. Good quality makes a difference!
- Pinch of salt: Seriously, don’t skip this. It wakes up all the other flavors. It’s like a tiny, flavor-enhancing alarm clock.
Step-by-Step Instructions
Alright, apron on (or not, I don’t judge). Let’s make some magic happen!
- Prep Your Peaches: First things first, get those peaches ready. Wash ’em, peel ’em (a paring knife or even just your fingers if they’re super ripe works wonders after a quick dunk in boiling water), and then chop them into small, glorious pieces.
- Sweeten ‘Em Up: Grab a small saucepan. Toss in about half of your chopped peaches with about 2 tablespoons of the honey and 1 tablespoon of the sugar. Cook over medium heat for about 5-7 minutes, until they soften and get all syrupy. You want them tender, not mushy. Give them a gentle mash with a fork – leave some chunks for texture! Let this cool completely. **This step is key for intense peach flavor!**
- Whip Up the Base: In a large bowl, whisk together the whole milk, heavy cream, remaining honey, remaining sugar, vanilla extract, and that crucial pinch of salt. Whisk until everything is dissolved and well combined.
- Marry the Flavors: Once your cooked peach mixture is *completely* cool (seriously, don’t rush it!), stir it into your cream base along with the other half of your fresh, chopped peaches. This combo gives you cooked peach goodness and fresh peach bursts.
- Chill Out (Literally): Cover your bowl and pop the whole mixture into the fridge. Let it chill for at least 2 hours, but honestly, overnight is even better. **A thoroughly chilled base churns into smoother ice cream.** FYI.
- Churn, Baby, Churn!: Now for the fun part! Pour your super-chilled ice cream base into your ice cream maker (make sure its bowl is frozen solid, as per manufacturer’s instructions). Churn according to your machine’s directions, usually 20-30 minutes, until it’s the consistency of soft-serve.
- Freeze to Perfection: Transfer your glorious, freshly churned ice cream into a freezer-safe container. Press a piece of plastic wrap directly onto the surface of the ice cream to prevent ice crystals (a sad, sad fate). Freeze for another 2-4 hours, or until firm enough to scoop.
Common Mistakes to Avoid
Listen, we all make mistakes. But with a little heads-up, you can avoid these rookie blunders:
- Not Chilling the Base Enough: This is a biggie. If your base isn’t ice-cold, your ice cream maker will struggle, and you’ll end up with an icy, less creamy product. Patience, young padawan!
- Using Under-Ripe Peaches: Seriously, choose wisely. Hard, bland peaches mean bland, sad ice cream. Life’s too short for sad ice cream.
- Overfilling Your Ice Cream Maker: Your machine needs room to work its magic and for the mixture to expand. Check your manufacturer’s limits!
- Skipping the Salt: I know, I know, “salt in ice cream?” Trust me. It balances the sweetness and makes everything taste *more* peachy and *more* delicious. Don’t be a hero, add the salt.
- Eating It All Straight From the Churner: It’s tempting, I get it. But a little time in the freezer truly makes it perfect for scooping. Resist the urge, even just for an hour!
Alternatives & Substitutions
Feeling adventurous? Or maybe you just ran out of something? No worries, I got you!
- No Peaches? No Problem! This base is fantastic with other fruits. Try ripe mangoes, berries (strawberries, raspberries), or even roasted apricots. Just adjust the cooking time slightly.
- Dairy-Free? You Bet! Swap the whole milk and heavy cream for full-fat coconut milk (the canned kind, chilled overnight) or a good quality plant-based cream alternative. The texture will be slightly different but still delicious.
- Honey Haters (gasp!)? You can use all granulated sugar, or even maple syrup for a different flavor profile. Just note that maple syrup has a distinct taste.
- No Ice Cream Maker? You *can* still make this! Pour the chilled base into a shallow, freezer-safe pan. Freeze for 30-45 minutes, then scrape and stir the icy edges into the center. Repeat this every 30-45 minutes for 3-4 hours until it’s scoopable. It’s more work, but hey, dedication!
FAQ (Frequently Asked Questions)
Got questions? I’ve got answers (mostly good ones, anyway).
- Can I use frozen peaches instead of fresh? Absolutely! Thaw them first, then proceed with the recipe. You might need to adjust the cooking time slightly, as they tend to be softer.
- Do I *have* to peel the peaches? Technically, no, the skin is edible. But for a truly smooth, creamy ice cream experience, I highly recommend it. No one wants furry bits in their dessert, right?
- My ice cream is too hard. What did I do wrong? Likely froze it too long or your freezer is super cold. Let it sit out on the counter for 5-10 minutes before scooping. Also, using full-fat dairy helps keep it creamier.
- Can I reduce the sugar/honey? You can experiment, but remember sugar (and honey) contributes to the texture, helping to keep it scoopable and preventing it from turning into an ice block. A slight reduction is probably fine, but go too far, and you risk a rock-hard dessert.
- How long does this homemade goodness last? In a well-sealed container, it’s best enjoyed within 1-2 weeks. After that, ice crystals might start to form, and it won’t be as dreamy.
- Can I add other things to it? Like chocolate chips? Go wild! While peaches and chocolate are… an interesting combo, feel free to add toasted nuts, a swirl of caramel, or even a dash of cinnamon with the peaches. Just add them during the last few minutes of churning.
Final Thoughts
Phew! You made it! See? That wasn’t so scary, was it? You’ve just crafted a magnificent, utterly delicious batch of homemade peach and honey ice cream. Now go impress someone—or yourself, which, IMO, is way more important—with your new culinary skills. You’ve earned every single scoop of that peachy, honey-kissed bliss. Enjoy, friend!


