So, you’re craving something rich, chocolatey, and utterly decadent but the thought of a dry, sad cake sends shivers down your spine? Been there, done that, bought the t-shirt. Let’s be real, life’s too short for bad cake. But also, who has hours to slave away in the kitchen for a treat? Not us, my friend. We’re here for the good stuff, the easy stuff, the “make it in your PJs on a Tuesday” stuff. Get ready to bake a chocolate cake so moist, it’ll make other cakes weep with envy.
Why This Recipe is Awesome
Okay, first things first: why *this* recipe? Because it’s basically magic. Seriously. It’s not just “moist”; it’s **super-duper moist**. We’re talking melt-in-your-mouth, ‘is this even real?’ kind of moist. Plus, it’s pretty much **idiot-proof**. And I say that with love, having messed up my fair share of recipes. If I can nail this, you absolutely can. No fancy techniques, no crazy ingredients you have to hunt down in an artisan food cave. Just pure, unadulterated chocolate bliss, ready to make you the hero of any potluck (or, let’s be honest, your couch).
Ingredients You’ll Need
Time to gather your baking squad! These are the heroes that will transform into a chocolate masterpiece. Don’t worry, nothing too exotic here.
- All-Purpose Flour: About 1 ½ cups. The backbone of our operation. Don’t skip sifting if you’re feeling fancy, but it’s not a deal-breaker.
- Granulated Sugar: 1 ½ cups. For that sweet, sweet goodness.
- Unsweetened Cocoa Powder: ½ cup. And make it good quality! This is where the chocolate power comes from, so don’t skimp.
- Baking Soda: 1 teaspoon. Our bubbly friend, helps things rise beautifully.
- Salt: ½ teaspoon. Just a pinch to bring out all those delicious flavors. Trust me on this one.
- Eggs: 2 large. Room temperature if you can remember, but again, not the end of the world if you forget.
- Milk: 1 cup. Whole milk is best for richness, but whatever you have will probably work.
- Vegetable Oil: ½ cup. This is a **key player** for moisture. Don’t even think about butter here, oil wins for moistness.
- Vanilla Extract: 2 teaspoons. The secret weapon that makes everything taste better.
- Boiling Water: ½ cup. Sounds weird, right? But it’s what activates the cocoa and makes it extra rich and dark. Seriously, don’t skip this.
Step-by-Step Instructions
Alright, apron on (or not, your call), let’s get baking!
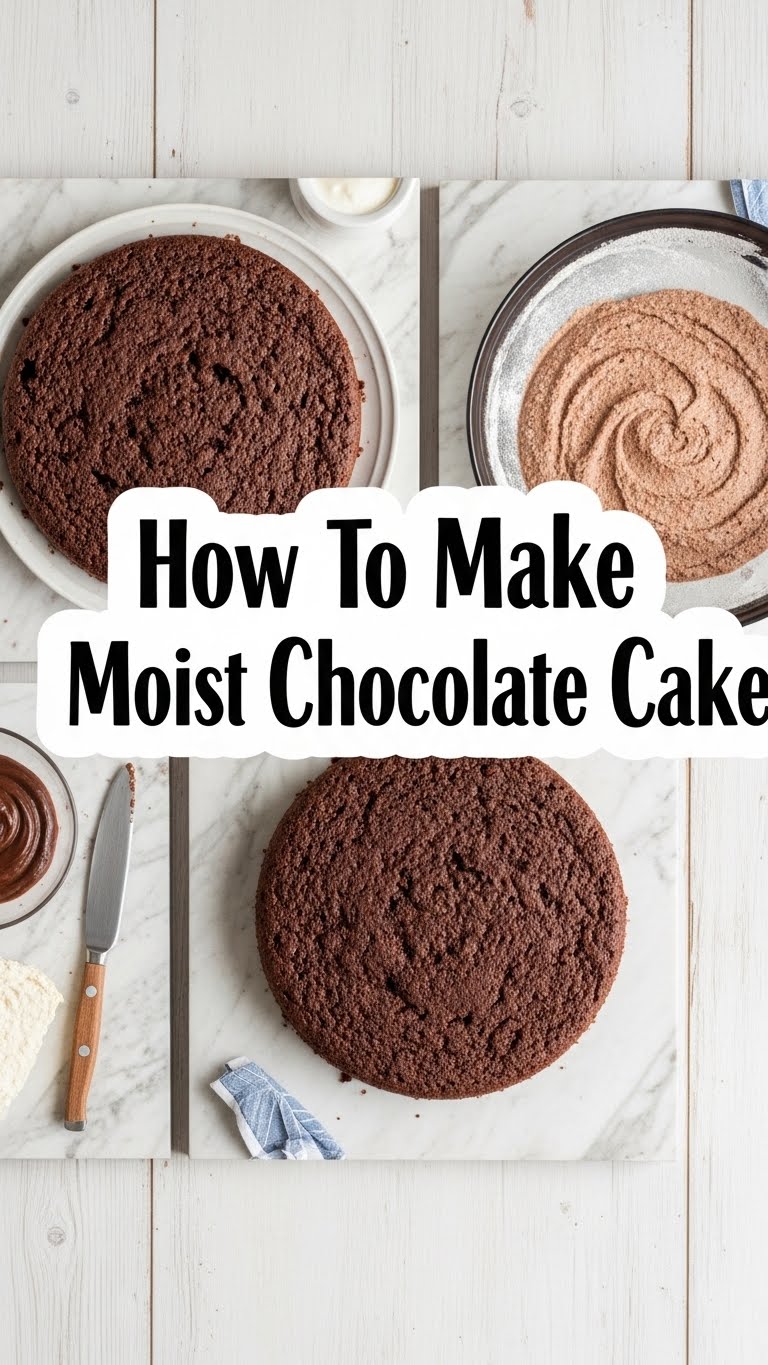
- **Preheat Power:** First things first, get that oven hot! Preheat it to 350°F (175°C). Then, grab a 9×13 inch baking pan and give it a good spray with non-stick cooking spray, or grease and flour it like a pro.
- **Dry Mix Magic:** In a large bowl, whisk together your flour, sugar, cocoa powder, baking soda, and salt. Make sure there are no lumpy bits. We want smooth sailing!
- **Wet Mix Wonders:** In a separate, medium-sized bowl, lightly beat the eggs, then whisk in the milk, vegetable oil, and vanilla extract. This is our wet team, ready to mingle.
- **Combine and Conquer:** Pour the wet ingredients into the dry ingredients. Mix with a spatula or spoon until just combined. Don’t overmix! A few lumps are totally fine. Overmixing leads to tough cake, and we’re aiming for tender.
- **The Hot Secret:** Now for the fun part! Carefully pour the **boiling water** into the batter and stir until it’s just incorporated. The batter will be quite thin, almost soupy. Don’t panic, this is exactly what we want! It’s the secret to that unbelievable moistness.
- **Pan It Up:** Pour the thin batter into your prepared baking pan. Give the pan a gentle tap on the counter a couple of times to release any big air bubbles.
- **Bake to Perfection:** Slide that beauty into your preheated oven. Bake for about 30-35 minutes. You’ll know it’s done when a wooden skewer or toothpick inserted into the center comes out clean or with just a few moist crumbs attached.
- **Cool Down:** Let your cake cool in the pan on a wire rack for at least 10-15 minutes before attempting to slice it. Resist the urge to dig in immediately, it needs a minute to set up properly. Then, feel free to dive face-first, or, you know, cut a slice.
Common Mistakes to Avoid
Nobody’s perfect, but we can learn from past cake mishaps. Here are a few things to keep an eye on:
- **Skipping the Preheat:** Thinking you can just shove it in a cold oven and hope for the best? Rookie mistake! **Always preheat.** A hot oven ensures even baking and proper rising.
- **Overmixing the Batter:** This is a biggie. Once you add the wet to the dry, mix *just until combined*. Mixing too much develops the gluten, making your cake tough and chewy instead of light and fluffy.
- **Under-Measuring Ingredients:** Baking is a science, not an art (mostly). Eyeballing isn’t your friend here, especially for flour, sugar, and leavening agents. Use proper measuring cups and spoons!
- **Opening the Oven Door Too Early:** Curiosity killed the cake! Opening the oven door in the first 20 minutes can make your cake sink in the middle. Resist the urge to peek!
- **Not Using Boiling Water:** I know, it sounds weird. But that hot water is crucial for blooming the cocoa and ensuring that deep, dark, moist goodness. Don’t substitute with cold water and expect the same results.
Alternatives & Substitutions
Life happens, sometimes you don’t have exactly what the recipe calls for. Here are a few friendly swaps:
- **Milk:** Don’t have whole milk? Skim milk, 2%, or even a non-dairy milk like almond or soy will work, though the cake might be slightly less rich. IMO, whole milk is king for this.
- **Oil:** Vegetable oil is best for a neutral flavor and maximum moistness. Canola oil also works perfectly. I wouldn’t recommend olive oil unless you want a distinctly olive-oil-flavored chocolate cake (which is a thing, but not what we’re going for here!).
- **Flour:** All-purpose is the default. If you only have self-rising flour, omit the baking soda and salt, but honestly, just stick to all-purpose if you can.
- **Cocoa Powder:** Use unsweetened natural cocoa powder. Dutch-processed cocoa powder will give you a darker color and slightly different flavor, but you might need to adjust the baking soda slightly (though for this recipe, it usually works fine without adjustments).
FAQ (Frequently Asked Questions)
Got questions? I’ve got (casual) answers!
“Can I use margarine instead of oil?”
Well, technically yes, but why hurt your soul like that? Margarine isn’t going to give you the same level of moisture or the neutral flavor we’re after. Stick with oil for this one, trust me.
“My cake sank in the middle! What happened?”
Ah, the dreaded crater! Could be a few things: oven door opened too soon, oven temp too low/high, expired baking soda, or it was underbaked. Next time, make sure your leavening is fresh and resist opening that oven door!
“Can I add chocolate chips?”
Uhm, is that even a question? Absolutely! Toss in about ½ to 1 cup of chocolate chips with your dry ingredients before adding the wet. Chocolate overload? Never!
“How do I store this masterpiece?”
Keep it covered at room temperature for up to 3-4 days, or pop it in the fridge for up to a week. If it lasts that long, you have more willpower than me.
“Can I make this into cupcakes?”
You betcha! Just line a muffin tin and fill cups about two-thirds full. Bake for 18-22 minutes, or until a toothpick comes out clean. Adjust baking time as needed.
“Do I really need boiling water?”
Yes, friend, you really, really do! It’s not just for making tea. It helps the cocoa powder bloom, intensifying the chocolate flavor and contributing significantly to the cake’s amazing moist texture. It’s non-negotiable for this particular recipe.
Final Thoughts
There you have it! Your new go-to recipe for the most ridiculously moist chocolate cake. It’s easy, it’s delicious, and it’s guaranteed to make you feel like a kitchen wizard without all the fuss. So, next time that chocolate craving hits, don’t just dream about it. Whip this up and treat yourself. Now go impress someone—or yourself—with your new culinary skills. You’ve earned it!


