So you’re craving something ridiculously tasty but also kinda want to avoid doing anything that requires actual effort, huh? Same, friend, same. We’ve all been there: staring into the fridge, wishing a gourmet dessert would magically appear. Well, today, my lazy-but-lovable culinary genius, that wish is about to come true. Get ready for a dessert so easy, it feels like cheating. (Spoiler: It kind of is, but shhh, no one needs to know.)
Why This Recipe is Awesome
Okay, let’s talk about why this 2-ingredient chocolate mousse is about to become your new best friend. First off, it’s **idiot-proof**. Seriously, even I, the queen of “oops, did I burn the water?”, can’t mess this up. It requires minimal dishes, which means less time scrubbing and more time indulging. Plus, it tastes like something a fancy French patisserie would charge you an arm and a leg for, but you whipped it up in your PJs. It’s rich, it’s airy, it’s unbelievably chocolatey, and it basically shouts “I’m fancy!” while secretly whispering “I took 10 minutes to make.” Win-win, IMO.
Ingredients You’ll Need
This is where things get truly scandalous in their simplicity. Brace yourself.
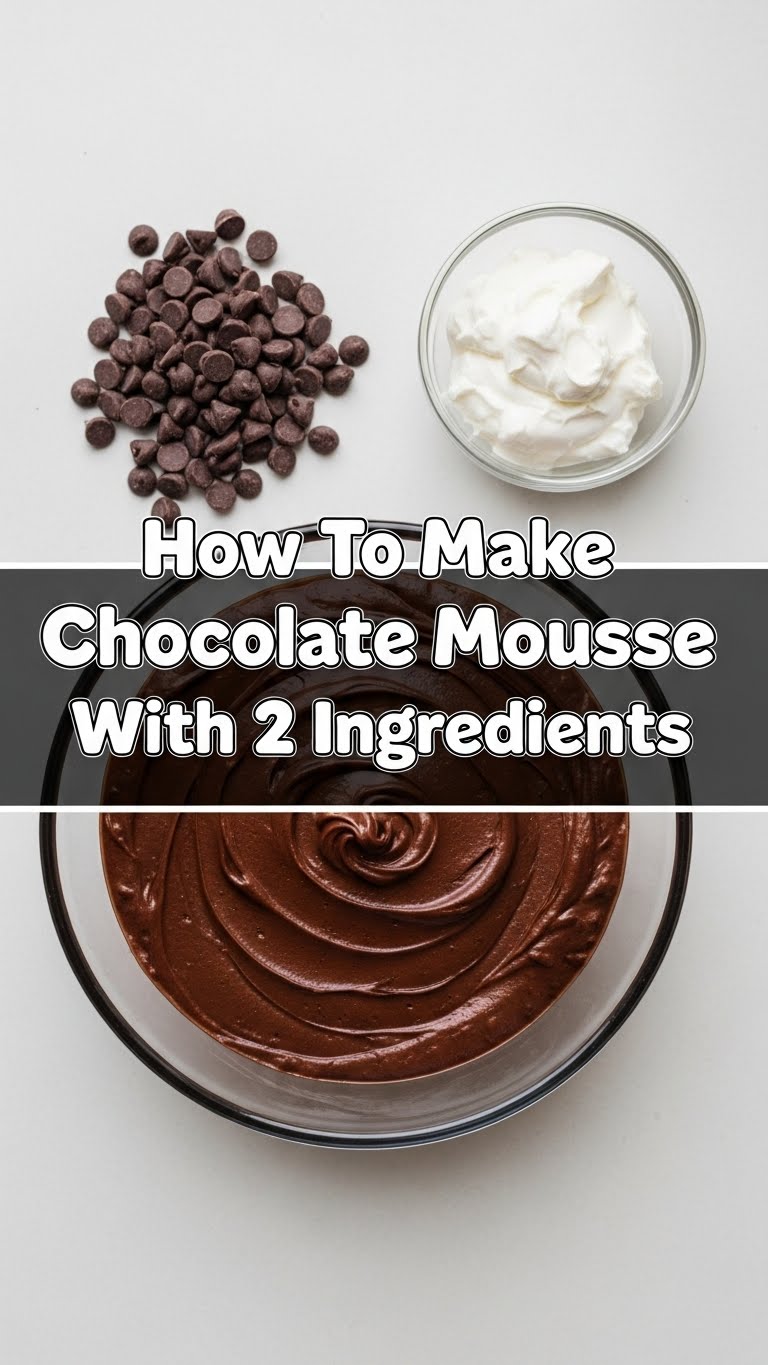
- 1 cup (or 6 oz / 170g) Good Quality Chocolate: This is the soul of your mousse, so don’t skimp! Milk chocolate, semi-sweet, dark, bittersweet – whatever floats your chocolate boat. Just make sure it’s actual chocolate, not those waxy “chocolate-flavored” bits. You deserve better, and your taste buds will thank you.
- 2 cups (480ml) Cold Heavy Cream (aka Heavy Whipping Cream): This is the magic potion that transforms everything into light, airy goodness. Make sure it’s **cold**, like straight-from-the-fridge cold. No low-fat imposters here, please; we need the good stuff for that luscious texture.
Step-by-Step Instructions
- Melt the Chocolate (Gently!): First things first, grab your chocolate and break it into smaller pieces. Pop it into a microwave-safe bowl. Microwave in 30-second bursts, stirring well after each, until it’s smooth and glossy. **Don’t overheat it!** Burnt chocolate is a sad, sad thing. Alternatively, you can use a double boiler for a more controlled melt. Once it’s melted, set it aside to cool slightly. You want it warm enough to be liquid, but not hot enough to scramble your cream.
- Whip the Cream Like a Boss: Pour your *super cold* heavy cream into a large mixing bowl. Using an electric mixer (handheld or stand mixer), start whipping on medium-high speed. Keep going until you get **medium-soft peaks**. What does that mean? When you lift the beaters, the cream should hold its shape but the tip should curl over slightly. Don’t go full-on stiff peaks; we want soft and luscious, not concrete.
- Fold in the Magic: Now for the delicate dance! Take about a third of your whipped cream and gently fold it into the slightly cooled melted chocolate. This lightens the chocolate and makes it easier to incorporate without deflating your beautifully whipped cream. Once that’s somewhat combined, add the remaining whipped cream and **gently fold, fold, fold**. Use a spatula and scoop from the bottom up, turning the bowl as you go. The goal is to mix it until it’s uniform in color, but still light and airy. **Don’t stir vigorously!** That air is your friend.
- Chill Out: Spoon your glorious, airy chocolate mixture into individual serving dishes, ramekins, or even just a big bowl if you’re feeling extra indulgent (no judgment here). Cover them and pop them into the fridge for at least 2-4 hours, or even better, overnight. This chilling time is crucial for the mousse to set and develop its perfect texture.
- Devour (Optional Toppings Included): Once chilled, pull out your masterpiece! You can serve it as is, or get fancy with some toppings: a dollop of extra whipped cream, a sprinkle of chocolate shavings, fresh berries, or even a dusting of cocoa powder. Now, go impress someone—or yourself!
Common Mistakes to Avoid
- Using Warm Cream: Nope, nada, absolutely not. Warm cream = sad, runny mousse that will never whip properly. **Always use cold cream!**
- Overheating the Chocolate: Burnt chocolate tastes like despair. Heat gently and remove from heat as soon as it’s melted.
- Over-whipping the Cream: If you whip it too much, you’ll end up with butter (tasty, but not mousse) or a grainy texture. Stop at medium-soft peaks. Trust me on this.
- Aggressively Mixing: Remember all that lovely air you whipped into the cream? Don’t punch it out by stirring too hard! Fold gently.
- Not Chilling Enough: Impatience is a virtue sometimes, but not with mousse. Give it its full chill time for that perfect, set texture. Otherwise, you’ll have chocolate soup.
Alternatives & Substitutions
Since this is a *2-ingredient* recipe, “substituting” the main players is kinda defeating the purpose, right? But fear not, my adventurous chef, we can still play around!
- Chocolate Flavor Fiesta: Want to spice things up? Try white chocolate for a lighter, sweeter mousse. Or add a tiny pinch of instant espresso powder to your melted dark chocolate to really deepen that cocoa flavor. A splash of vanilla extract (a *third* ingredient, gasp!) can also work wonders.
- Topping Extravaganza: This is where you can go wild! Fresh raspberries, strawberries, or blueberries add a lovely tart contrast. A few chocolate curls, a sprinkle of sea salt (hello, salted caramel vibe!), or even some crushed nuts can elevate your mousse from “OMG” to “OMG, is this even legal?”
FAQ (Frequently Asked Questions)
Got questions? I got answers (mostly humorous ones).
-
Can I use low-fat milk or half-and-half instead of heavy cream?
Absolutely not! Well, technically yes, you *can*, but you’ll end up with chocolate milk, not mousse. We need the high fat content of heavy cream for it to whip up properly. So, no, don’t do it. Your dessert will be sad, and so will you. -
Does the quality of chocolate really matter?
Oh, honey, yes. **Massively.** Since there are only two ingredients, each one has to pull its weight. Good chocolate means good flavor. Cheap, waxy chocolate means… well, disappointment. Invest in something you’d happily munch on by itself. -
My mousse didn’t set, what went wrong?
Probably one of two things: either your cream wasn’t cold enough or wasn’t whipped enough, or you didn’t chill it for long enough. Re-read those “Common Mistakes” tips! -
How long does this mousse last in the fridge?
If it somehow manages to survive that long (a rare feat in my house), it’ll last for about 2-3 days in an airtight container. The texture might change ever so slightly, but it’ll still be delicious. -
Can I make this ahead of time for a party?
YES! In fact, it’s better if you do. Giving it that overnight chill time really lets the flavors meld and the texture firm up perfectly. You’ll look like a culinary genius with zero last-minute stress. -
Can I add alcohol to it?
You are speaking my language! A tablespoon of your favorite liqueur (rum, Kahlua, Grand Marnier, Bailey’s) can be folded in with the melted chocolate for an adult twist. Just remember, that makes it a 3-ingredient mousse, but who’s counting?
Final Thoughts
See? I told you it was easy. You just created a rich, decadent, impressive-as-heck chocolate mousse with minimal effort. You are officially a kitchen wizard, a dessert whisperer, and probably someone who deserves a medal (or at least another spoonful of mousse). Now go forth and conquer that chocolate craving! You’ve earned it, you glorious, dessert-making machine, you.


