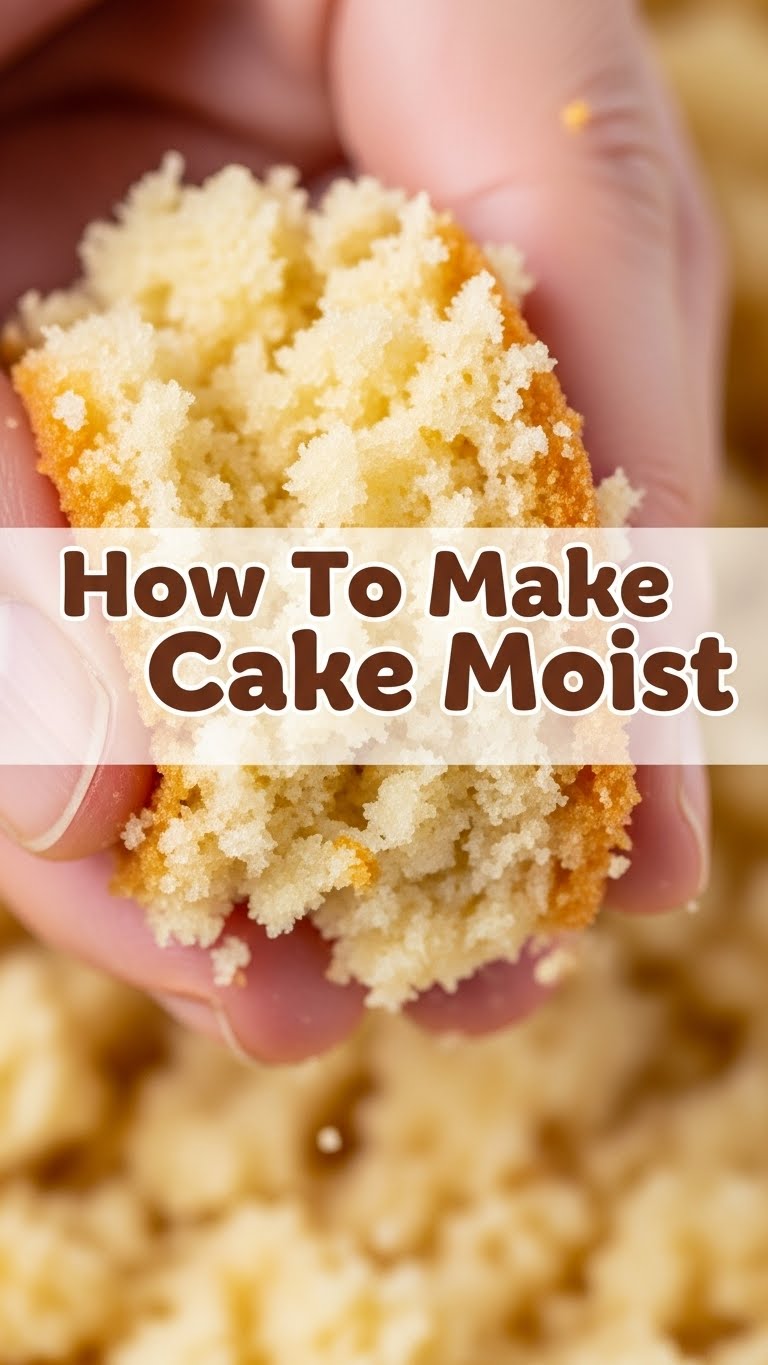
Ever bitten into a slice of cake, excited for that fluffy, melt-in-your-mouth moment, only to find yourself chewing on something suspiciously similar to a kitchen sponge? Yeah, me too. It’s a travesty! A culinary crime! A dry cake is a sad cake, and frankly, we don’t do sad cakes here.
But fear not, my friend! Today we’re embarking on a noble quest: the pursuit of the perfectly moist cake. We’re talking cake so tender, so juicy, it practically weeps with deliciousness. Get ready to banish dry crumb nightmares forever. You got this!
Why This Recipe is Awesome
This isn’t just a recipe; it’s a **moisture manifesto**! We’re diving into the secrets behind cake so good, your taste buds will throw a party. It’s designed to be pretty foolproof, which means even if your usual baking adventures involve setting off the smoke detector (no judgment here, we’ve all been there), you’ll still ace this. We’re combining the best of butter for flavour with a secret weapon for an enduring moist crumb. Plus, it’s a vanilla cake, meaning it’s a blank canvas for any frosting you fancy. Win-win-win!
Ingredients You’ll Need
Gather your troops, because these are the heroes of our moist cake saga:
- 1 ½ cups All-Purpose Flour: Just your regular flour, but remember, **less mixing means more moistness**. Don’t go all Hulk on it.
- 1 ½ cups Granulated Sugar: For sweetness, obviously. Don’t skimp; sugar also helps keep things moist.
- 1 ½ tsp Baking Powder & ¾ tsp Baking Soda: The ultimate power couple for lift and a tender crumb. They’re like the tiny personal trainers for your cake.
- ½ tsp Salt: Because even sweet things need a little savory BFF to make their flavors pop.
- ½ cup (1 stick) Unsalted Butter: **Room temperature is non-negotiable!** This is the OG moisture and flavour giver. Don’t melt it, folks!
- ¼ cup Vegetable Oil: Yep, oil! It contributes to a moist cake that stays moist longer than butter alone. Think of it as butter’s sidekick.
- 2 Large Eggs: Also room temperature, please! They’re like the emulsifying glue that holds everything together beautifully.
- 1 cup Full-Fat Buttermilk: THIS, my friends, is where a huge chunk of the magic happens. Buttermilk reacts with the baking soda for extra lift and contributes immensely to a super tender, moist crumb. Seriously, **it’s a game-changer**.
- 2 tsp Vanilla Extract: Use the good stuff! It’s vanilla cake, so let that pure flavour shine.
Step-by-Step Instructions
- Prep Your Stage: Preheat your oven to 350°F (175°C). Grease and flour a 9-inch round cake pan (or line with parchment paper for extra stick-proof insurance).
- Dry Mix Magic: In a medium bowl, whisk together your flour, sugar, baking powder, baking soda, and salt. Give it a good whisk to get rid of any lumps and distribute everything evenly.
- Cream Dream: In a large bowl (or stand mixer), beat your room temperature butter and oil together until light and fluffy – about 2-3 minutes.
- Egg-cellent Addition: Add your room temperature eggs, one at a time, beating well after each addition until just combined. Scrape down the sides of the bowl to ensure everything gets mixed in.
- Alternate & Conquer: Now for the tricky bit (but you got this!). Add about a third of the dry ingredients to the butter mixture and mix on low speed until *just* combined. Then, pour in half of the buttermilk and mix until *just* incorporated. Repeat with another third of the dry, the remaining buttermilk, and finally, the last third of the dry ingredients. **Seriously, do not overmix here!**
- Vanilla Finish: Stir in the vanilla extract until just combined. A few lumps are totally fine! Overmixing is the enemy of moisture.
- Pan It Up: Pour your glorious batter into the prepared cake pan. Give the pan a gentle tap on the counter to release any large air bubbles.
- Bake It Off: Pop it into your preheated oven and bake for 30-35 minutes, or until a wooden skewer inserted into the center comes out clean or with a few moist crumbs attached (not wet batter!).
- Cool Down: Let the cake cool in the pan for about 10-15 minutes before inverting it onto a wire rack to cool completely. Impatience is a virtue sometimes, but not with cake cooling!
Common Mistakes to Avoid
Listen up, buttercup! These are the pitfalls that will steal your cake’s moisture. Don’t be that person!
- Overmixing the Batter: This is the #1 killer of moist cakes. Too much mixing develops gluten, leading to a tough, dry cake. Mix until just combined, a few lumps are fine!
- Using Cold Ingredients: **Room temperature, people!** Cold ingredients don’t emulsify properly, leading to a less cohesive (and less moist) batter. Plan ahead!
- Overbaking: The second biggest moisture thief. Keep an eye on your cake! A skewer with a few *moist* crumbs is good; a completely dry skewer means you might be heading for Dryville.
- Not Weighing Flour: Eyeballing flour can lead to too much flour, which equals a dry cake. **Invest in a kitchen scale**, it’s a game-changer, FYI.
- Opening the Oven Door Too Often: Resist the urge to peek every five minutes. Each time you open it, the temperature drops, messing with your cake’s delicate structure and baking time.
Alternatives & Substitutions
Life happens, and sometimes you don’t have exactly what the recipe calls for. Here are some quick fixes:
- No Buttermilk? No Problem! You can make your own by adding 1 tablespoon of white vinegar or lemon juice to a measuring cup, then filling the rest with regular milk until it reaches 1 cup. Let it sit for 5-10 minutes until it looks slightly curdled. Voilà!
- Sour Cream or Plain Yogurt: These are also fantastic for moisture! You can swap out a portion of the buttermilk for an equal amount of full-fat sour cream or plain yogurt for an even richer, moister crumb.
- Cake Flour: If you want an even more tender cake, you can substitute the all-purpose flour with cake flour. Just remember to sift it!
- Dairy-Free? Use a good quality non-dairy milk (like almond or soy milk) with a tablespoon of vinegar for the “buttermilk” substitute, and a plant-based butter alternative. Results might vary slightly, but it still works!
FAQ (Frequently Asked Questions)
- Can I use cold ingredients if I’m in a hurry?
Well, technically yes, but why hurt your soul (and your cake) like that? Room temperature ingredients are truly the secret to a smooth, emulsified batter and a super moist cake. Seriously, it’s worth the wait!
- How do I know if my cake is overbaked?
A tell-tale sign is usually a very dark crust and a crumb that feels very dry and crumbly when you try to insert a skewer. When in doubt, a slightly underbaked (but cooked through!) cake is always better than an overbaked one for moisture.
- Why is my cake still dry even after following all the tips?
Hmm, double-check your oven temperature with an oven thermometer (those things can be liars!). Also, are you sure you’re not overmixing? And did you weigh your flour? These are the usual suspects, IMO.
- Can I add chocolate chips or fruit to this recipe?
Absolutely! Just toss your add-ins with a tablespoon of flour before folding them into the batter. This helps prevent them from sinking to the bottom of the pan.
- Should I use all oil or all butter for the best moisture?
For this recipe, we use a combo for the **best of both worlds**! Butter for that amazing flavor, and oil for that long-lasting, extra moisture. It’s the ultimate team-up!
Final Thoughts
There you have it, folks! Your new superpower: the perfectly moist cake. No more dry disappointments, only pure, unadulterated, tender deliciousness. This recipe is your ticket to impressing friends, family, or just yourself (which is arguably the most important audience). So go forth, bake with confidence, and enjoy every single moist crumb. You’ve earned it!

